How to Create a Workflow
This page takes you through the steps for creating a workflow. Each main step is broken down into sub-steps which are followed by one or more brief videos showing you the procedures for completing them. In this example, when a file is created or updated on a department path, an email is sent to a user to alert them that a new file is ready for review.
- Initiate workflow creation.
- In the navigation panel, click Workflows.
The Workflows page opens. Click Create New Workflow.
The drag-and-drop workspace opens.
- In the navigation panel, click Workflows.
- Choose a workflow trigger.
- In the drag-and-drop workspace, click Click Here to Start.
A list of triggers, events that initiate a workflow, appear.
For information about the different types of triggers, see Workflow Triggers. - Click a trigger, and click Next.
In the following example, we choose the trigger Automatically on a File Activity.
Since that trigger requires us to choose a file path and a file event, we select a path and choose the event If a file is created or updated, and then click Add.
An initial workflow appears on the drag-and-drop workspace.
- In the drag-and-drop workspace, click Click Here to Start.
- Add steps to the workflow.
Add a step.
For more information about the types of steps you can add to workflows and step parameters, see Workflow Steps.
In the following example, we add the Send Email step.Fill in the parameters for the step.
We fill in values for the To recipient, the Subject of the email, and the email Body.We include a variable in the Body of the email to make it more informative.
We add the full name of the new file including its path with the variable File full path.
For more information about using variables, see Using Variables in Workflows.- Click Save to save the workflow details.
- Repeat steps a through d to add any number of steps to the workflow.
- Save the workflow.
- In the upper-left corner of the drag-and-drop workspace, name the workflow.
Click Create Workflow.
When you return to the Workflow page, you should see the workflow listed.
- Test the workflow.
- Trigger the workflow.
We trigger the Copy File workflow by adding the file User Guide to the Team Folders/Marketing folder.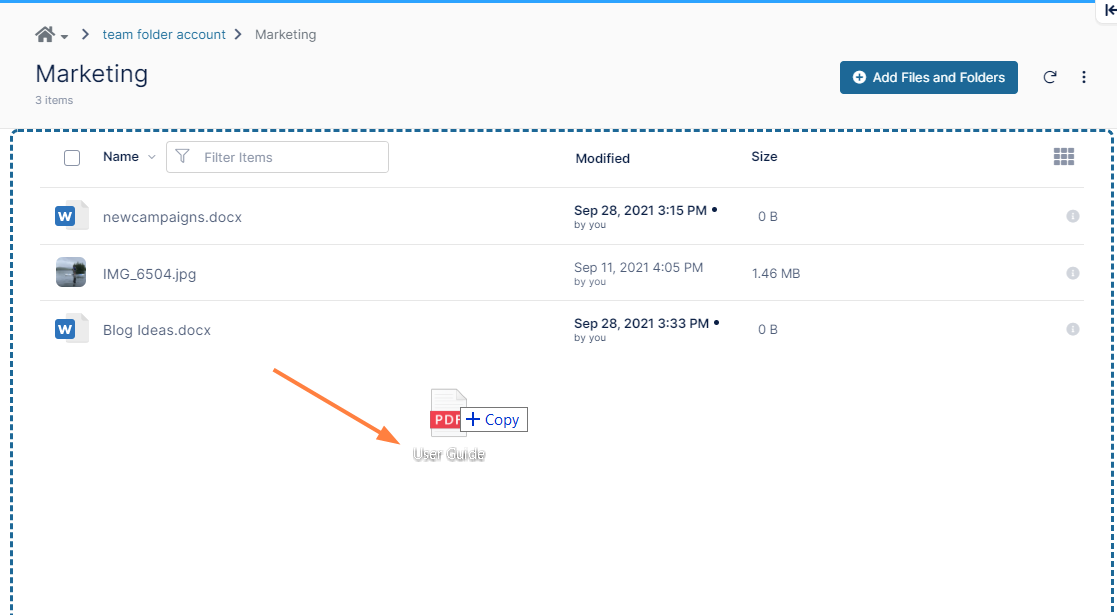
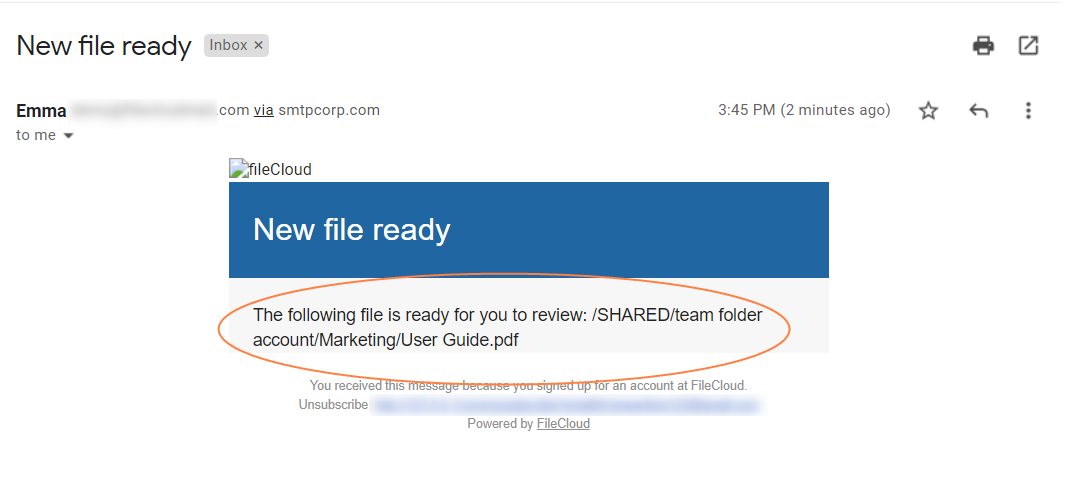
- Next we confirm that the workflow was triggered by checking if an email was sent to the recipient we added.
- We also check that our variable functions as expected by making sure the email includes name and path of the new file.
- Trigger the workflow.