Page History
...
Uploading files to channel folders
- Open Files view.
Navigate to the folder for the channel that will store
tothe file in My Files or in Shared Channels
..
If you want to be able to see the file in one of the tabs for the channel, you must add it to the files or wiki folder. Otherwise, you will only be able to access the file by navigating back to Files view.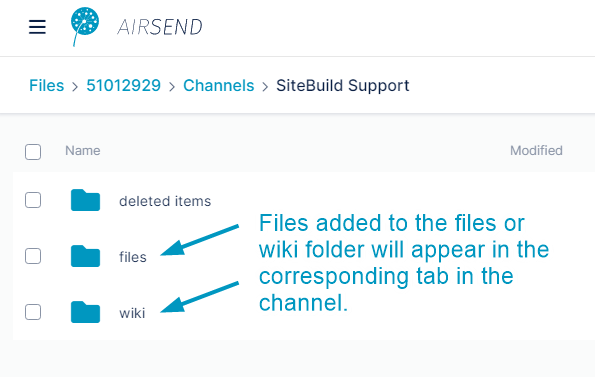
For information about the file structure in Files View, see Files view.- Drag and drop the file onto the files or wiki folder or one of their subfolders,
or
click Upload File and select a file Click Upload File or drag and drop a file over the main section of the screen.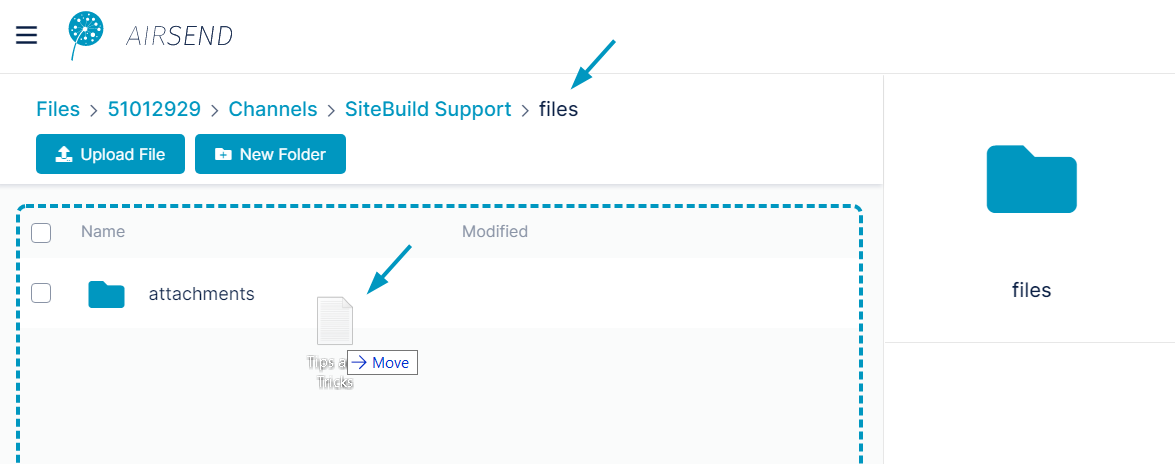
The file has been is uploaded to the folder and appears in the main section of the screen, which displays the contents of the folder.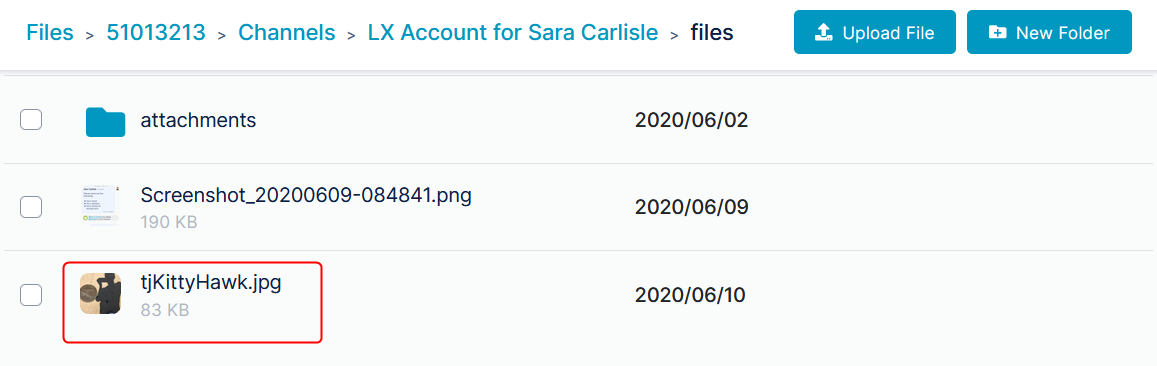
Uploading files outside of channels
You can add files to AirSend that are available only to you.
- Open Files view.
- Open My Files.
- Remaining at the top level of My Files, click the Upload File button in the upper-right corner of the page.
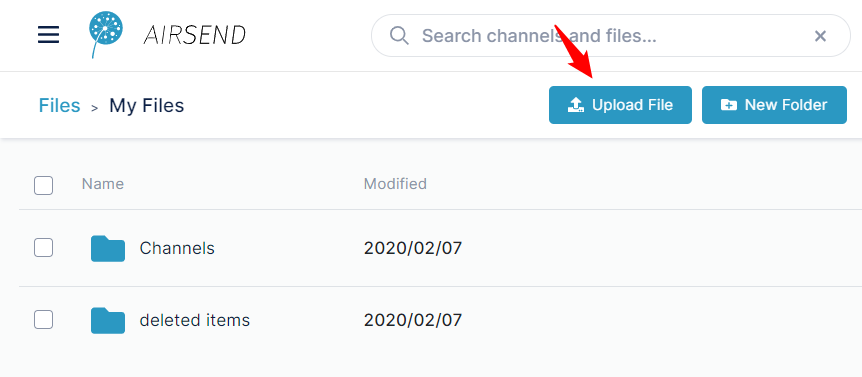
- Select a file from your file system and upload it.
The file is available to you, but it is not available in any channels, so members of your channels cannot access it.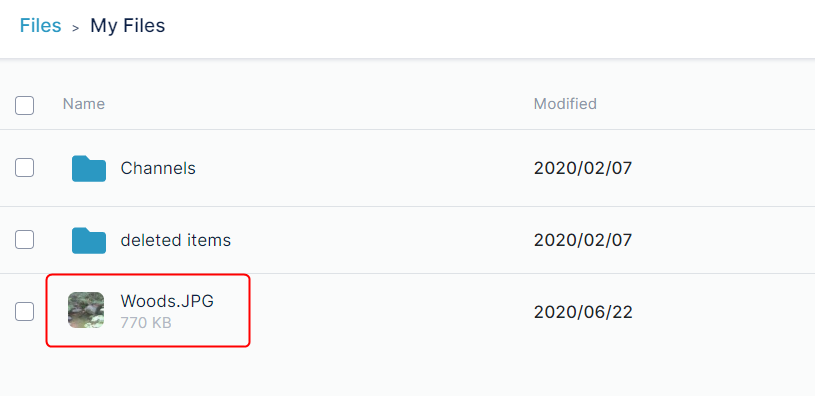
- At some point in the future, you may choose to move the file into a channel.

If you leave Files view and open the channel, you can see the file in the Files and Links tab when you click the Files sub-tab or, if you added it to the Wiki folder, when you edit the wiki.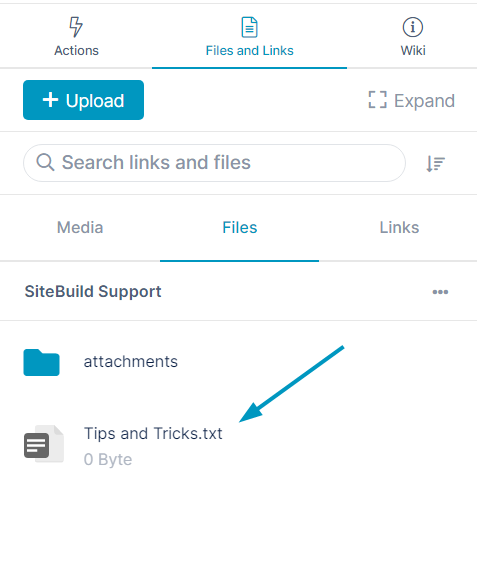
Moving files and folders
...
- Open Files view.
- Navigate to the file or folder that you want to move.
- Either:
- Hover over the file or folder until the icons in the row are visible and click the move icon:


or: - Click the three dots to the right of the file or folder and choose Move.
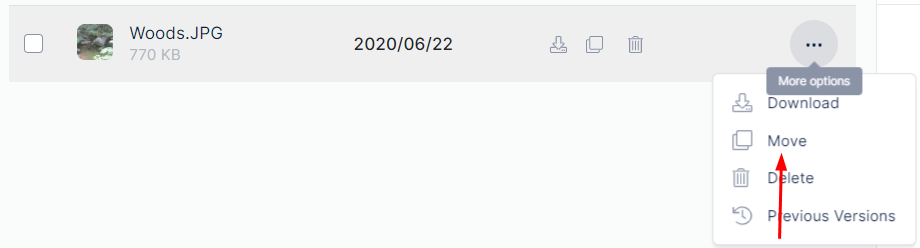

A Move Files dialog box opens.
- Hover over the file or folder until the icons in the row are visible and click the move icon:
- Navigate to the location where you want to move the folder:
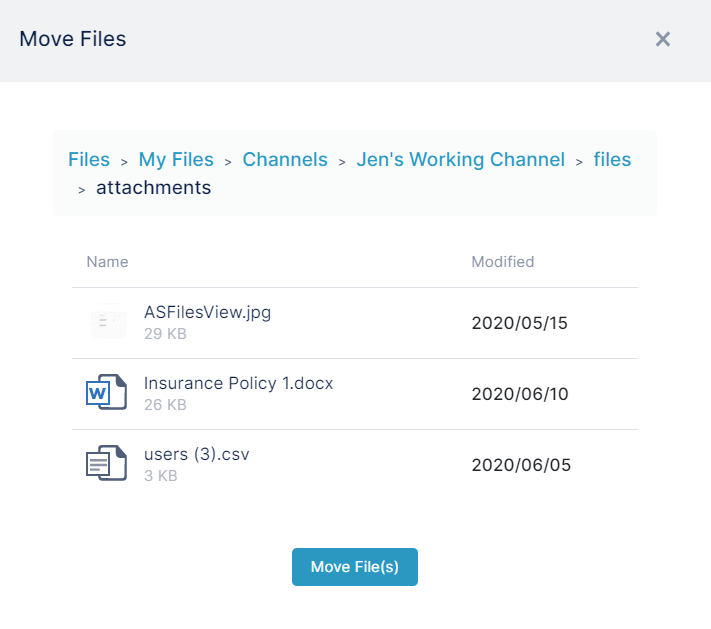
- Click Move File(s).
The file or folder is moved into the new location.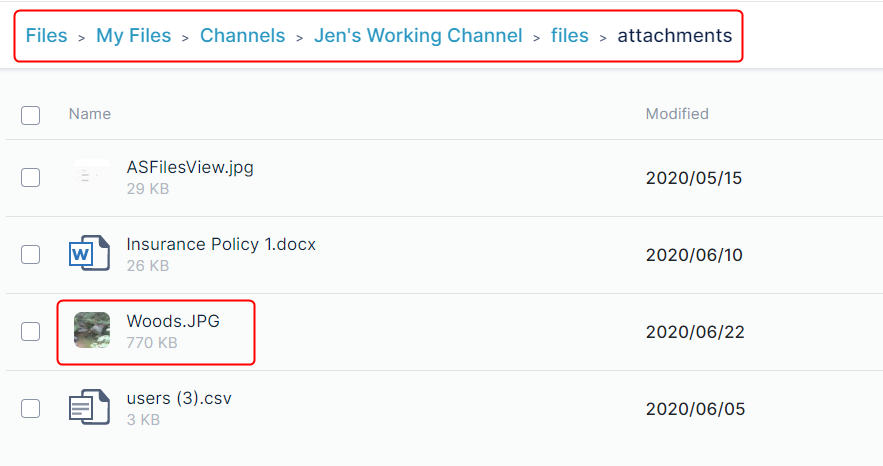
...
- Open Files view.
- Navigate to the folder that will store the sub-folder in My Files or Channels.
- Click New Folder.
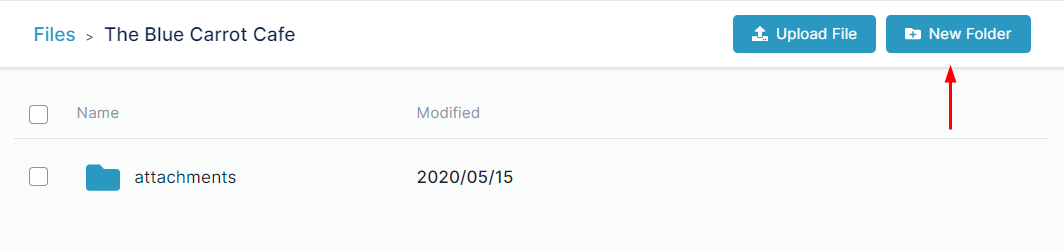
A New Folder dialog box opens. - Enter a name for the folder.
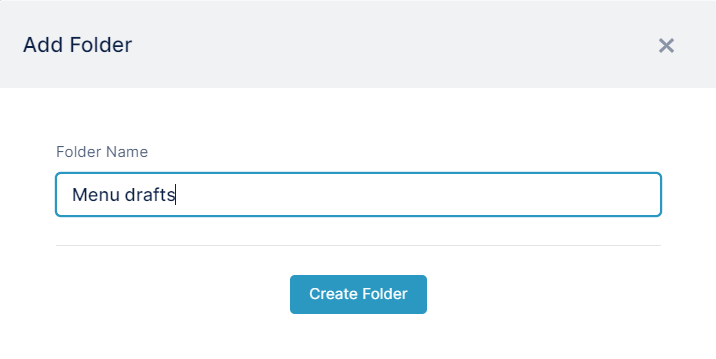
- Click Create Folder.
The new sub-folder is created.
Reverting to an earlier version of a file
Deleting files and folders
...
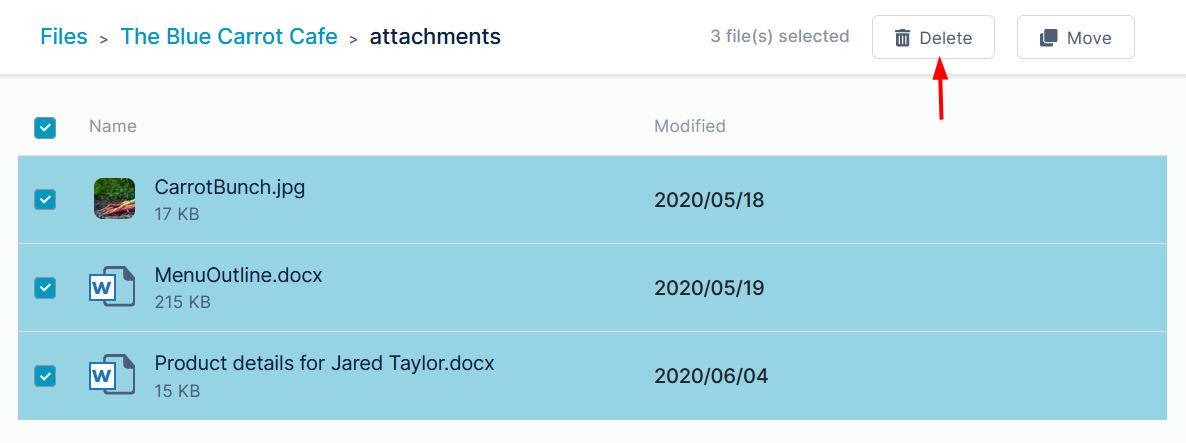
- Check the boxes for all of the files and folders that you want to delete.
- In the toolbar, click Delete.
Overview
Content Tools
Apps