Page History
...
- After you have installed the AirSend app and created an account if you need one, open it on your phone.
- Enter your email address and password.
- Click Login.
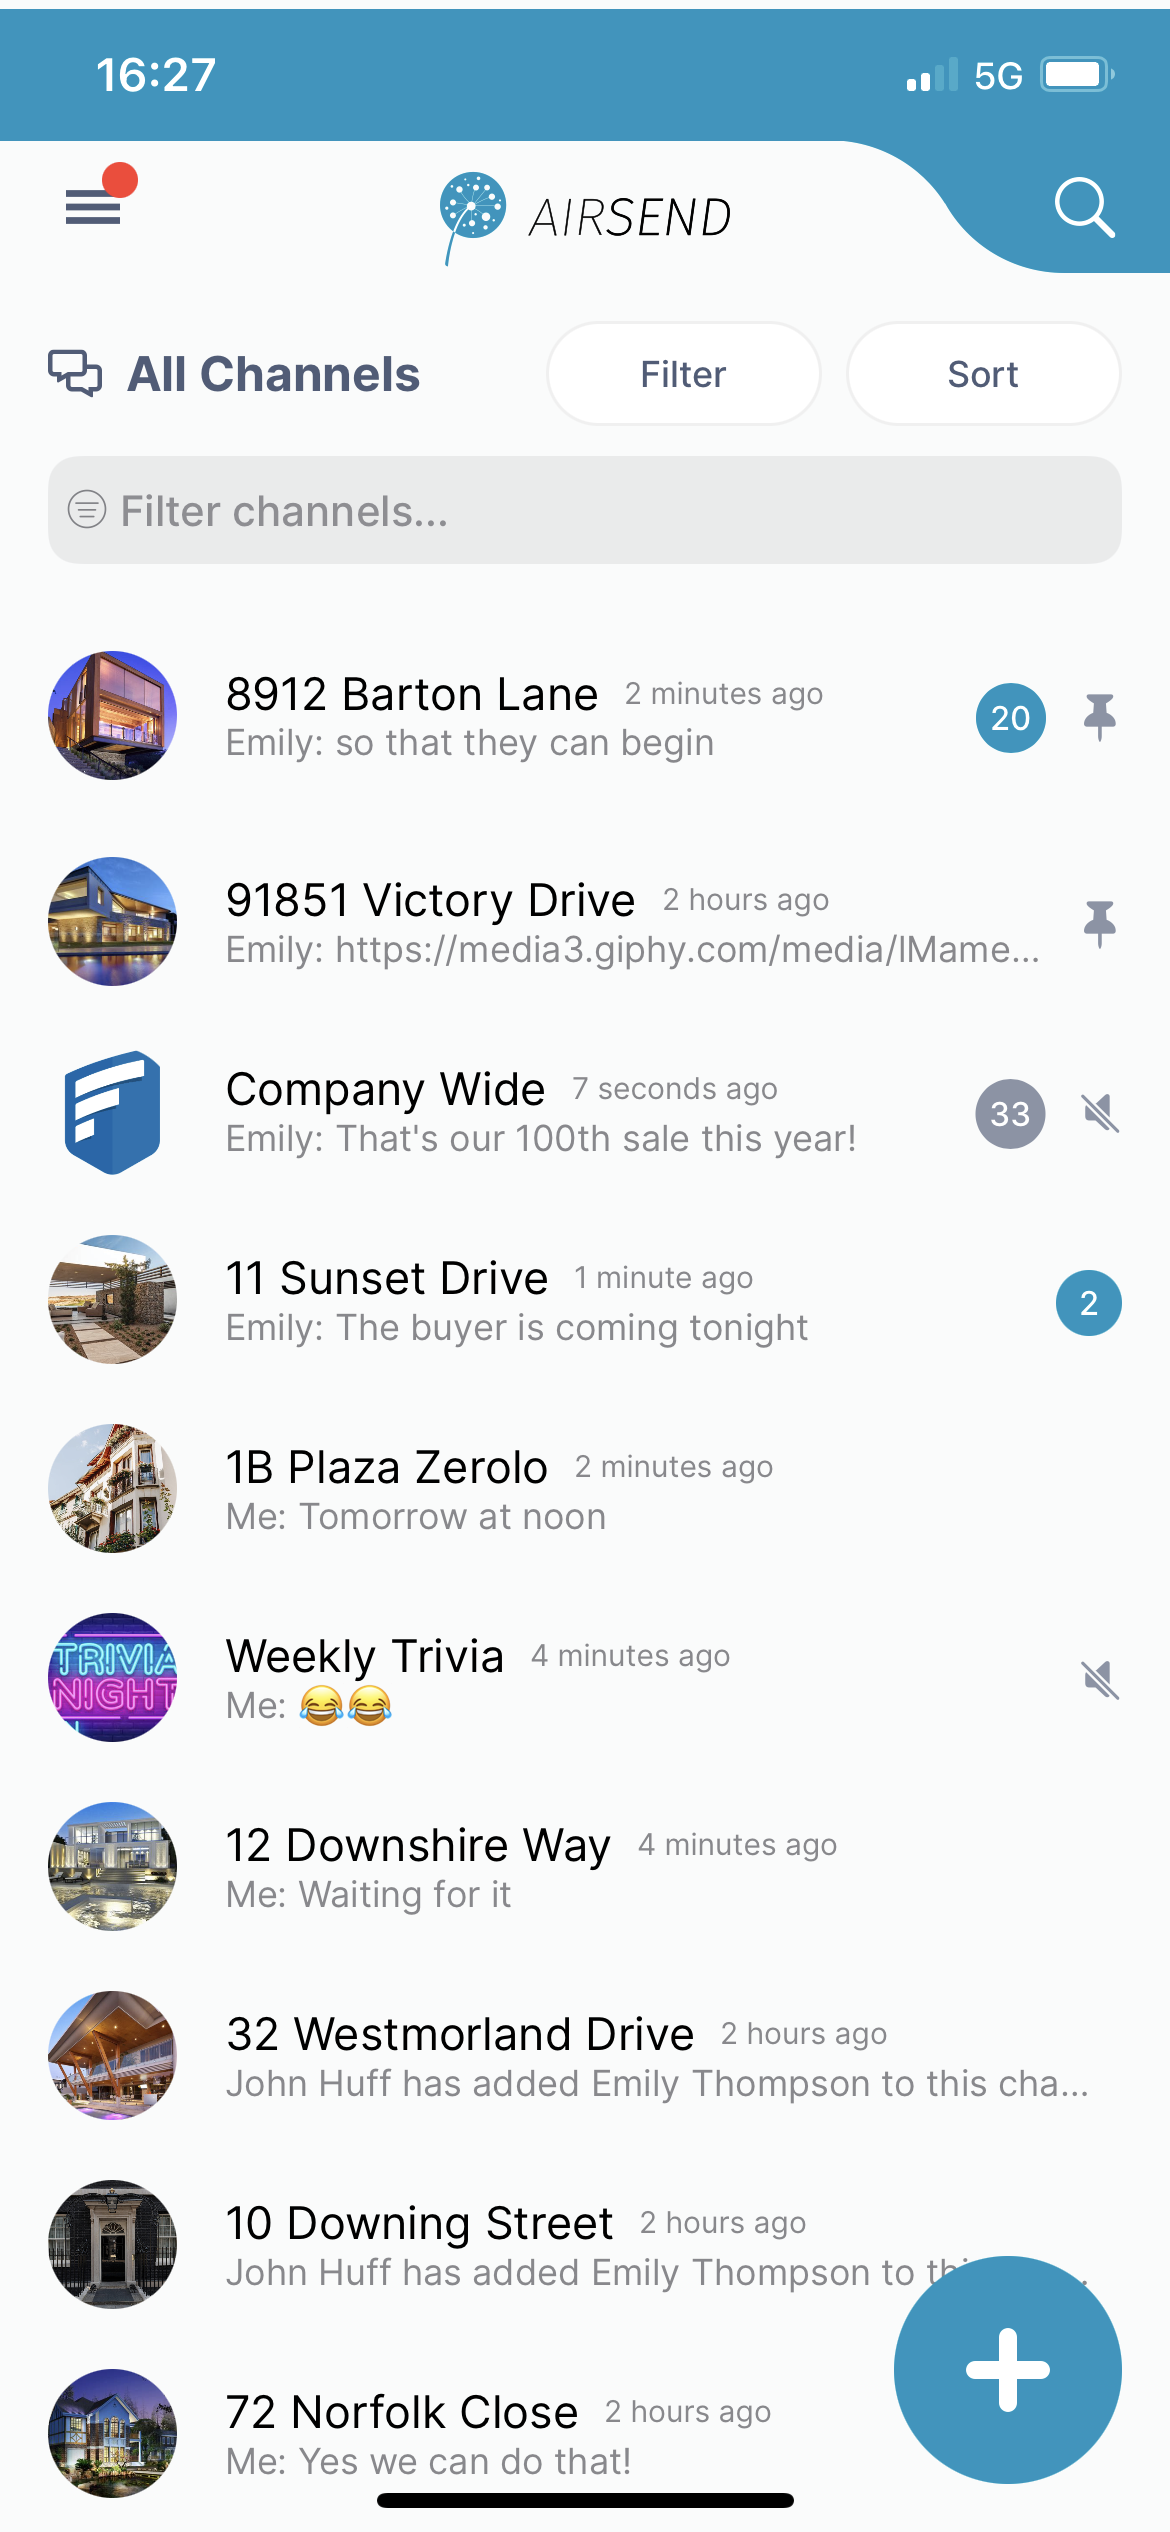
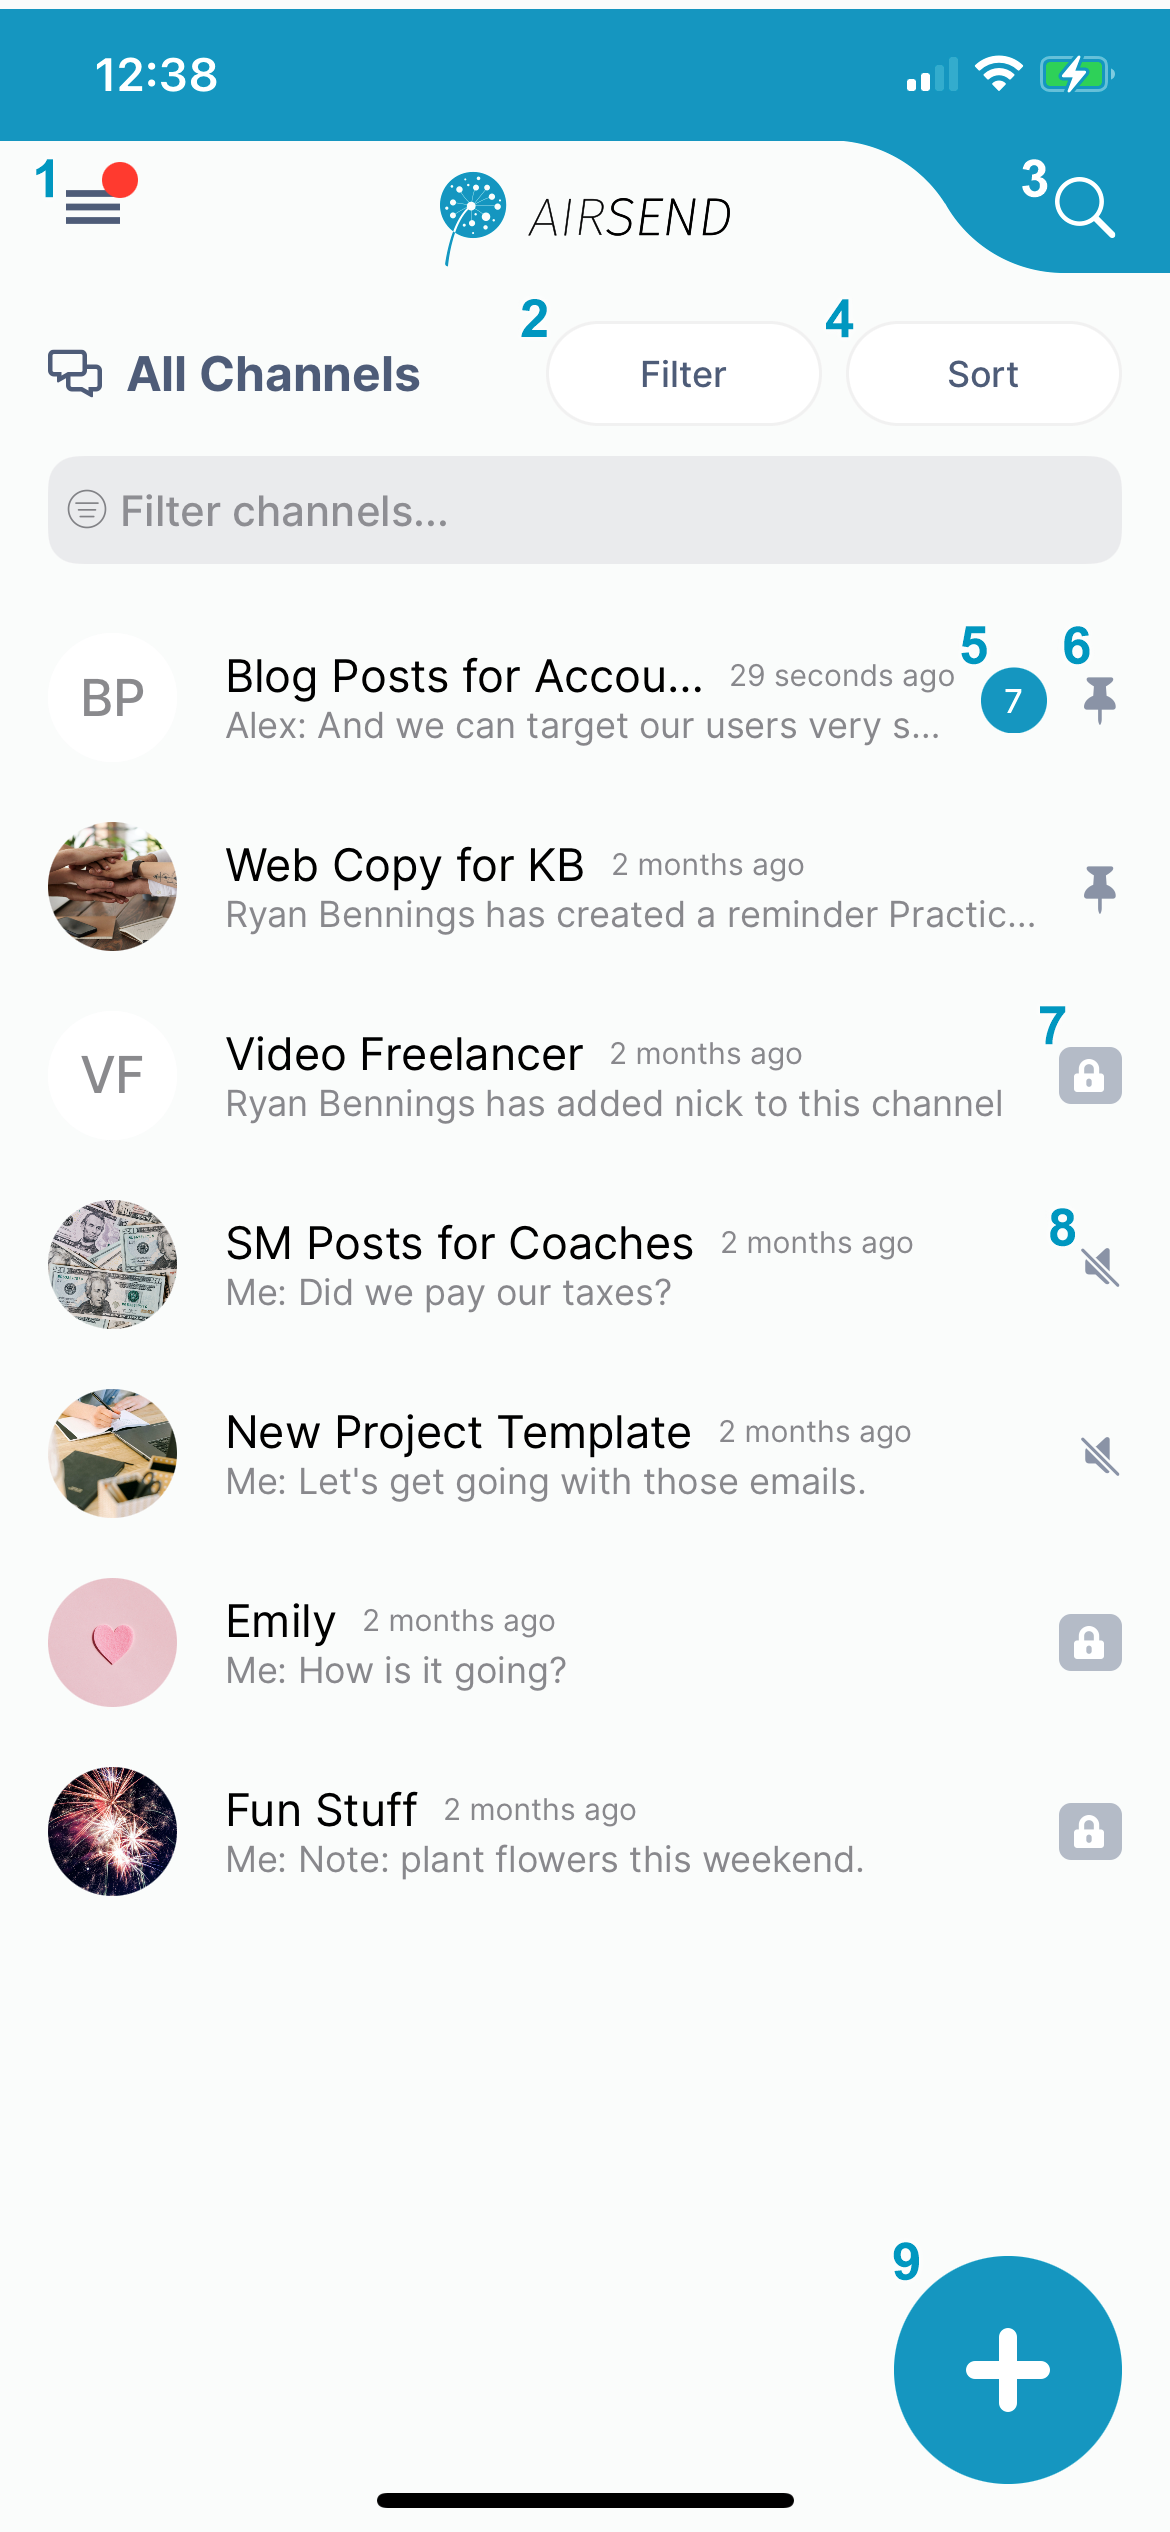
If you are not a member of any channels, the initial screen is empty; otherwise, it displays a card for lists each channel you own or are a member of.
| Anchor | ||||
|---|---|---|---|---|
|
|
|
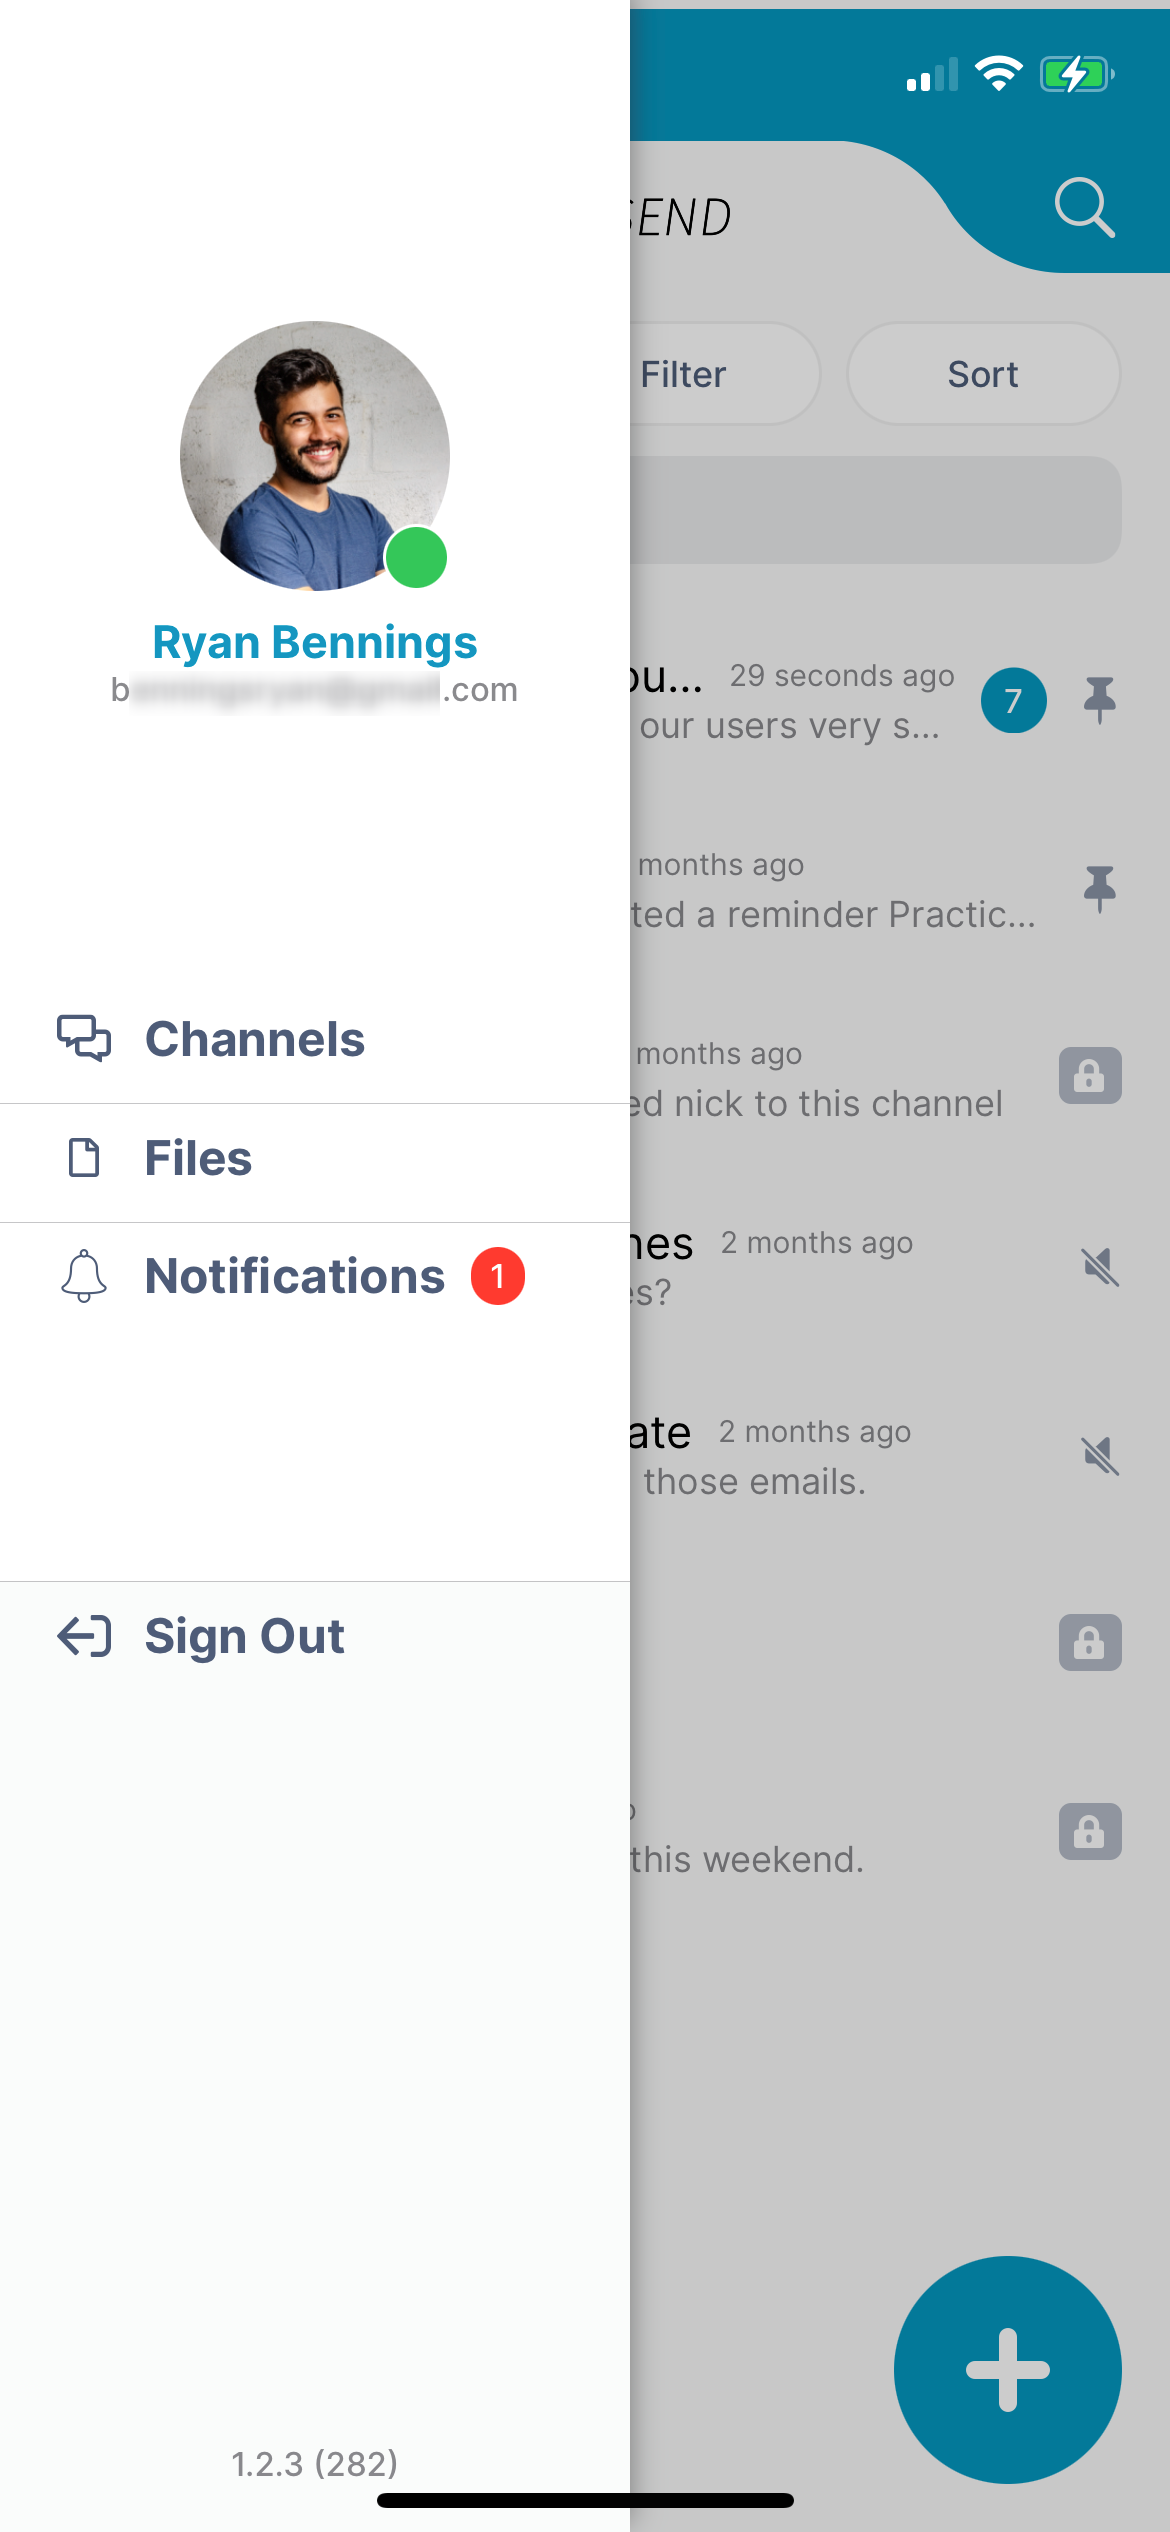
Navigation panel

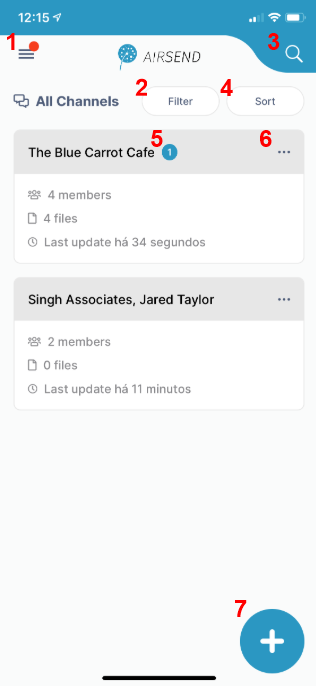
| You can access different views of the iOS AirSend app from the navigation panel. Channels view is described above under Using the IOS dashboard.
|
|
Viewing a channel's messages in the iOS app
|
|

View a channel's actions in the iOS app
|
|

Overview
Content Tools
Apps