Page History
When you edit the wiki, you can add images that have already been uploaded to the channel.
- Open the wiki editor
The left panel shows the files and images that are already uploaded to the channel.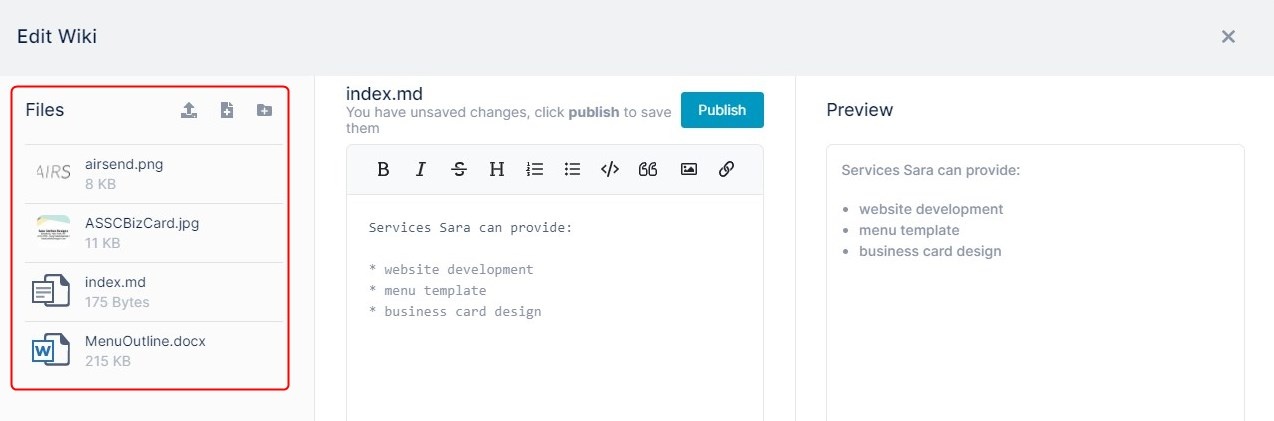
- To add an image file from the channel to the wiki, in the center panel's text editor, click the place where you want to add the image and then click the image icon in the toolbar.
A dialog box that lists the channel's files opens.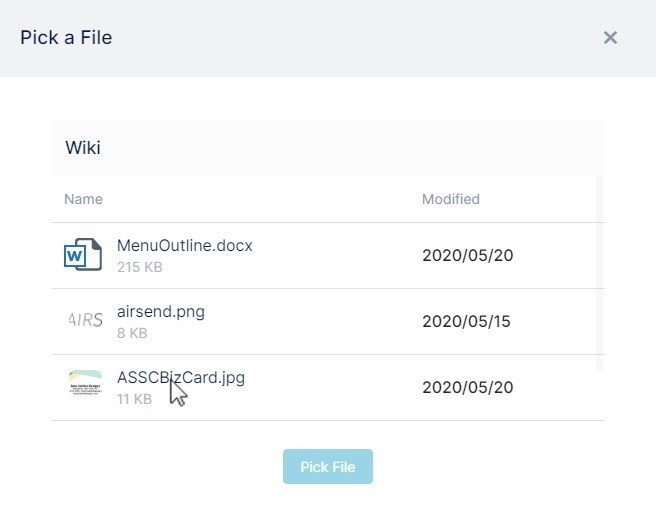
- Select the image file that you want to insert.
- Click Pick File.
The image file appears in the text editor in the format shown below. - You may change the text in My_Image to something more descriptive for a screen reader or for reference.
The Preview panel shows how it will appear in the wiki.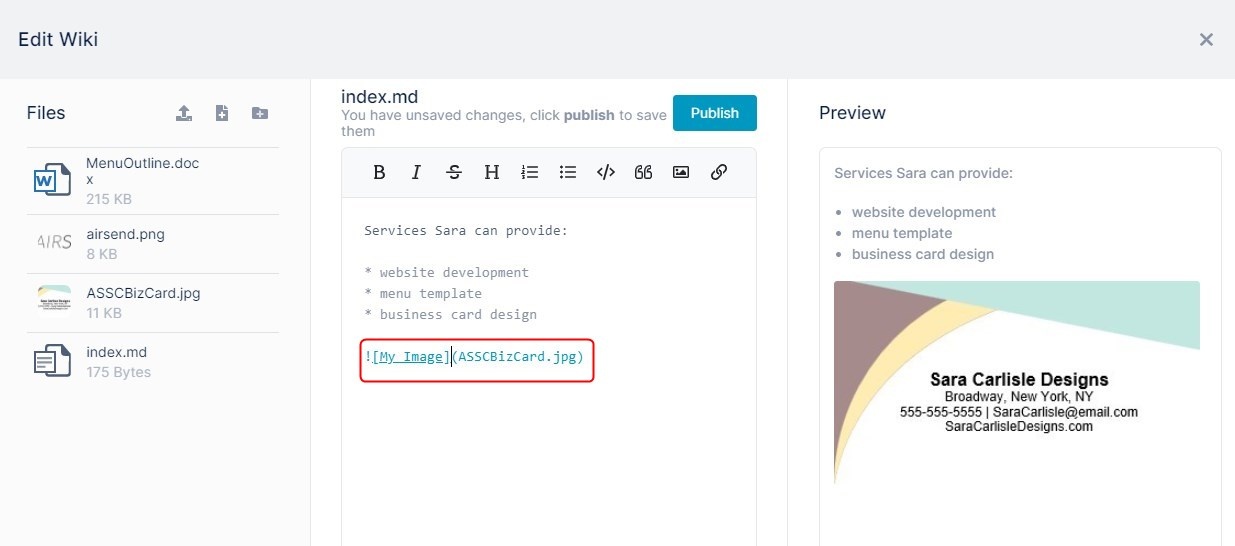
- To add a link to the text, click the link icon in the toolbar in the center panel.
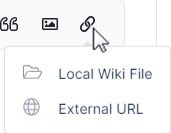
- Click Local Wiki File, to open a dialog box that enables you to link to a file from the left panel.
- Select a file.
A link placeholder appears. Change the text for the link. The correct link address is inserted for you.
Note: If you choose an image using Local Wiki File, a link to the image, not the image itself, is inserted.
Overview
Content Tools
Apps