Manage the Recycle Bin Using Policies
Administrators can configure FileCloud to deal with specific users' and groups' recycle bins through policies.
Why?
- Files deleted by users are moved to recycle bin (if enabled).
- The files in recycle bin will take up space over time.
To manage the recycle bin, you can decide what to do with files in the following cases:
![]()
If you enable this setting, whenever a user deletes a file, it will automatically be placed in the Recycle Bin.
This allows the user to recover an old file if it is deleted by accident.
![]() If this option is not enabled, then when a user deletes a file it is removed from FileCloud permanently.
If this option is not enabled, then when a user deletes a file it is removed from FileCloud permanently.
You can automatically clear the files deleted by users and partial uploads.
This is configured by the setting called:
- Automatically delete File from the recycle bin After Set Number of Days
You set this to the number of days you want a deleted file to be kept before being permanently removed.
- For example, if the value is set to 7, then files older than 7 days will be deleted automatically.
![]() If you do not want FileCloud to automatically empty the recycle bin at any time, use a value of 0.
If you do not want FileCloud to automatically empty the recycle bin at any time, use a value of 0.
If you do not want deleted files to take up too much space, you can decide to only store deleted files of a certain size.
This is configured in the following setting:
- Do Not Store Deleted Files Greater Than
![]() Files less than this size are stored
Files less than this size are stored
![]() Files greater than this size are permanently deleted
Files greater than this size are permanently deleted
You can specify the file size in the following ways:
- GB
- MB
- KB
- B
You can also restrict users' ability to empty their own recycle bins.
You must ensure that the Cron service is running. This is a prerequisite for any automatic functionality in FileCloud Server.
To configure a recycle bin policy for users or groups:
- In the FileCloud admin portal's left navigation bar, scroll down and click Settings. Then, on the Settings navigation page, click Policies
 .
.
The Policies page opens.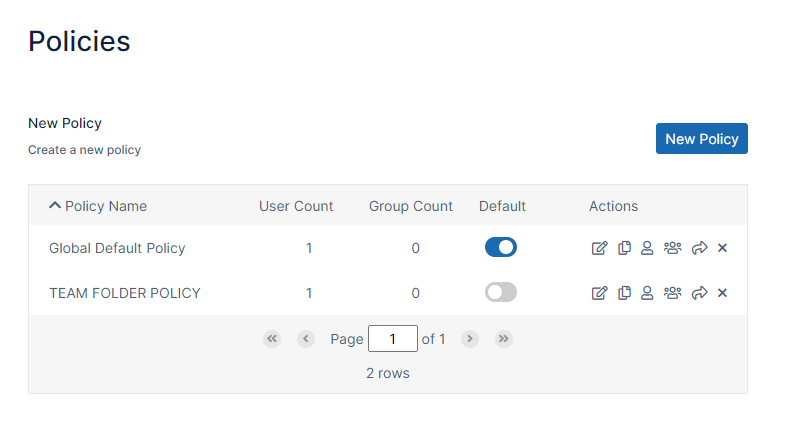
- Edit the policy of the users or groups.
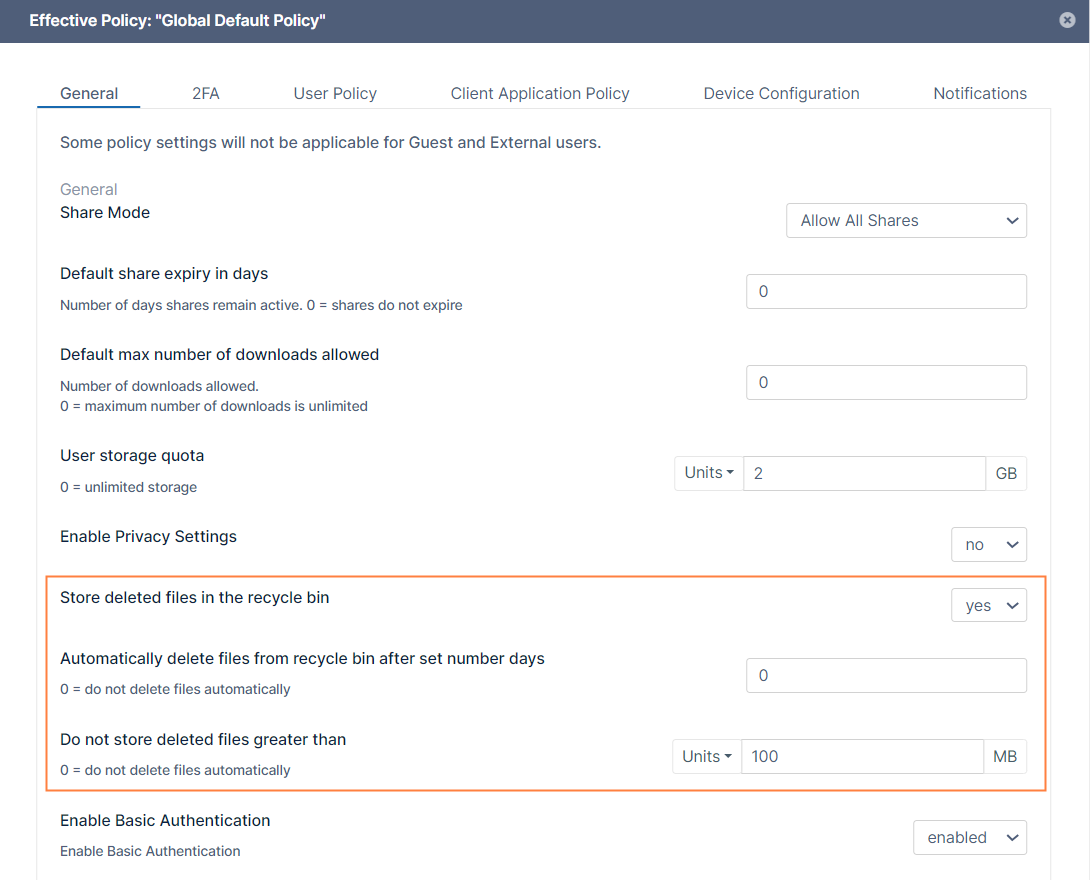
- In the General tab, scroll down and set Store deleted files in the recycle bin to yes or no.
- If you selected no, to save your changes, click Save.
- If you selected yes:
- In Automatically delete File from the recycle bin after set number of days, enter a number, or set to 0 to disable automatic deletion by number of days.
- In Do not store deleted files greater than, select the type of unit in Units, and then type in a number, or set to to 0 to disable automatic deletion by file size.
- To save your changes, click Save.