Page History
To get Get started in AirSend , first create by creating a channel that includes people, files, tasks and other information.
To Create a new channel
...
- Log in to the dashboard and
...
- click the
...
- Create New Channel
...
- icon.

A
...
- Create a New Channel dialog box opens.
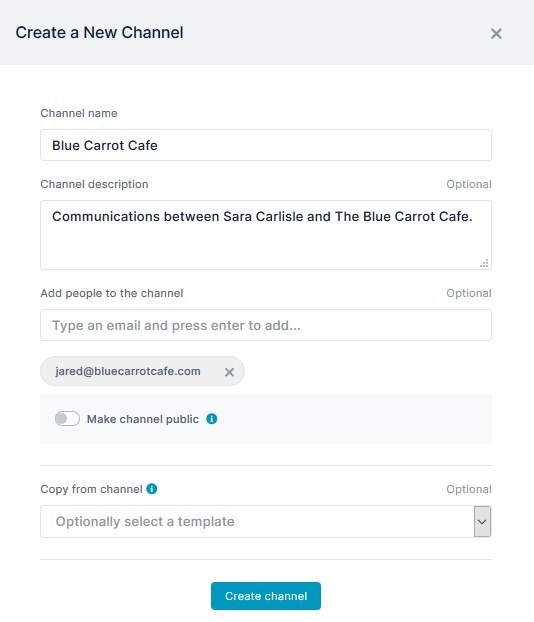
- In Channel name enter a name that makes it easy to identify the channel, such as
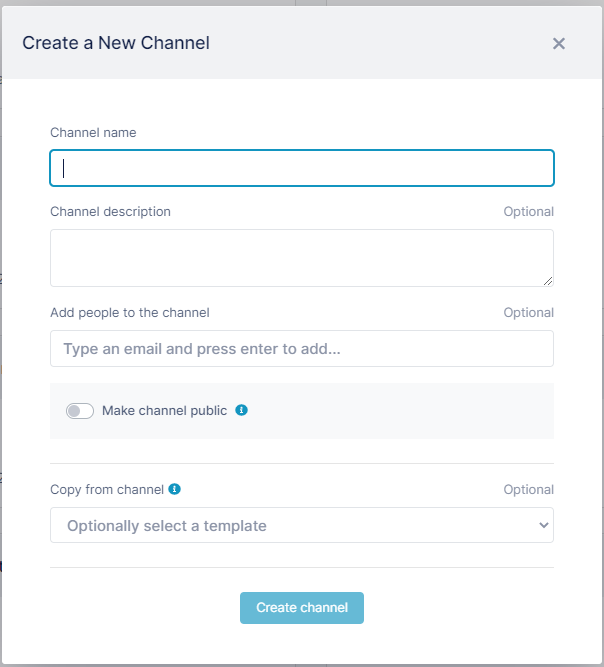
Enter the following information to get started:
...
- a subject, a client name, or a transaction name
...
- . This field is
...
- required. In the example, the client's name is entered.
- Enter any of the optional fields:
- Channel description - Enter a brief description of the channel's function.
- Add people to the channel - Enter the email addresses of people to add to the channel.
- Make channel public - Click the toggle to allow the public to view and join the channel. The example is for communication between two companies, so this option is not enabled.
- Copy from channel - Copy the xxxxxxxx from a channel that you have previously created. This is the first channel created in the AirSend account, so currently there are no templates to copy. See Copying from a template for help using a template.
- Click Create channel.
Overview
Content Tools
Apps