FileCloud Backup Server Configuration
Introduction
A new FileCloud installation needs to be configured before it can be used for backup purposes.
Step 1: Configuring Backup Server
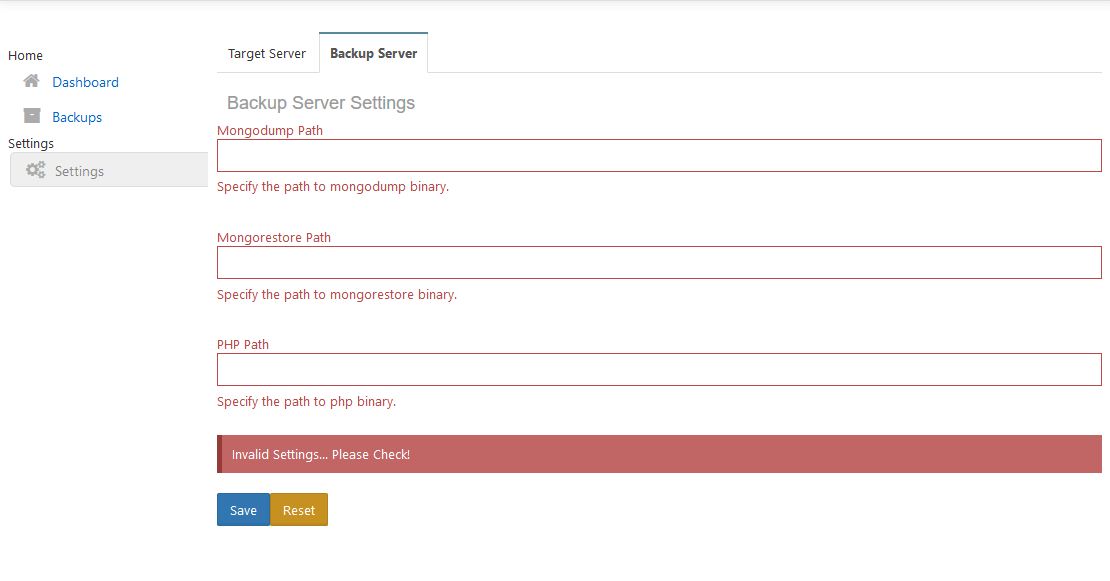
This step is necessary to configure some basic parameters necessary for backup server. To configure the backup server, open the backup server UI and click on Settings -> "Backup Server" tab.
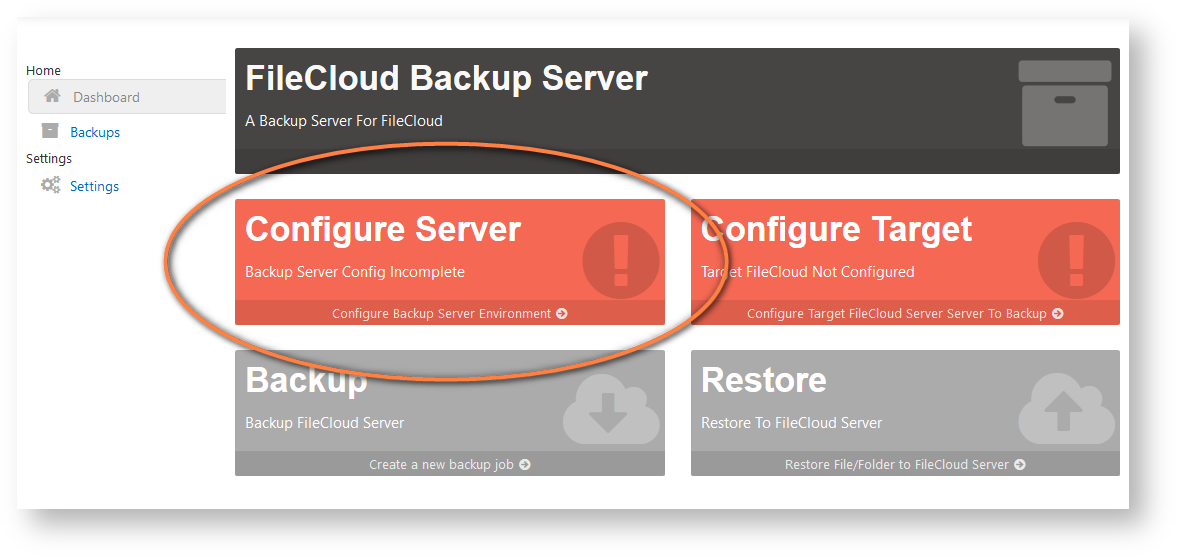
The backup server settings can also be opened by clicking on the "Configure Server" button on the dashboard.
By default the backup server parameters will be empty and update them using the table below.
| Parameter Label | Value | Remarks |
|---|---|---|
| Mongodump Path | Linux: /usr/bin/mongodump | Path to the mongodump command. |
| Mongorestore Path | Linux: /usr/bin/mongorestore | Path to the mongorestore command. |
| PHP Path | Linux: /usr/bin/php | Path to the php executable. |
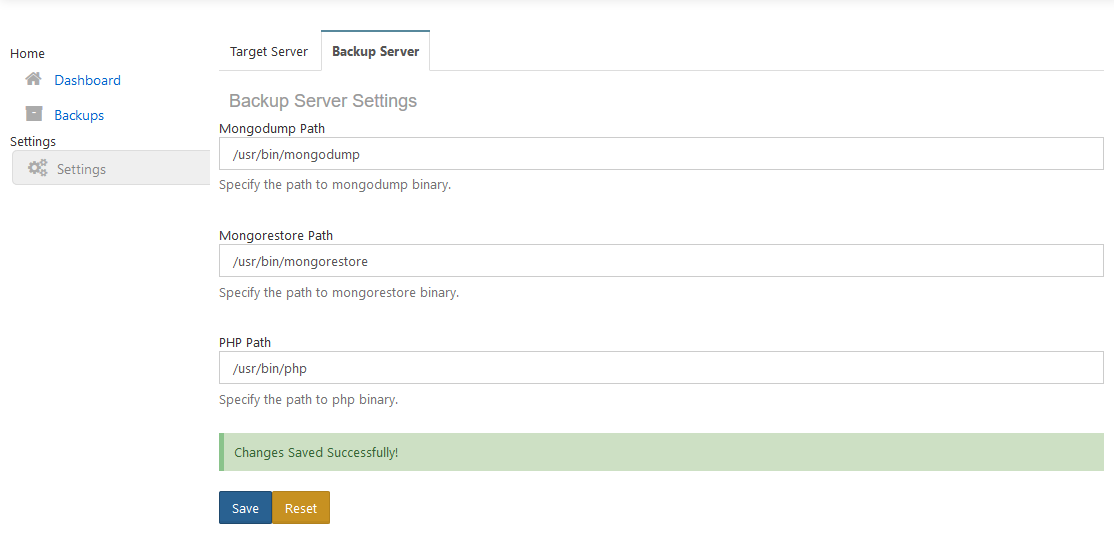
A properly configured backup server settings should like this:
Step 2: Preparing Target FileCloud Server
Before a FileCloud server can be added to the backup server as a backup target, it needs to be prepared with a access key. This access key serves as a security mechanism, allowing only backup requests made along with this key.
To enable this access key, follow these steps:
- Open the folder WWWROOT/config/ on the target FileCloud server.
- Copy the file backupagentconfig-sample.php as backupagentconfig.php
Edit the backupagentconfig.php file and set a backup security key.
<?php
/* Configuration values for FileCloud */
// ... Server URL
define("BACKUPAGENT_ACCESS_KEY", "test908acc" );?>
Optional: If your installation is not the default location, then you can specify the installation paths using the following keys in backupagentconfig.php
define("BACKUPAGENT_DBDATA_PATH", "D:\\xampp\\mongodb\\bin\\data" );define("BACKUPSERVER_MONGODUMP_PATH", "D:\\xampp\\mongodb\\bin\\mongodump.exe" );
Step 3: Adding Target FileCloud Server
After setting the access key, the prepped FileCloud server can be added as a backup target. To add a new FileCloud server target, open the backup server UI and click on Settings -> "Target Server" tab.
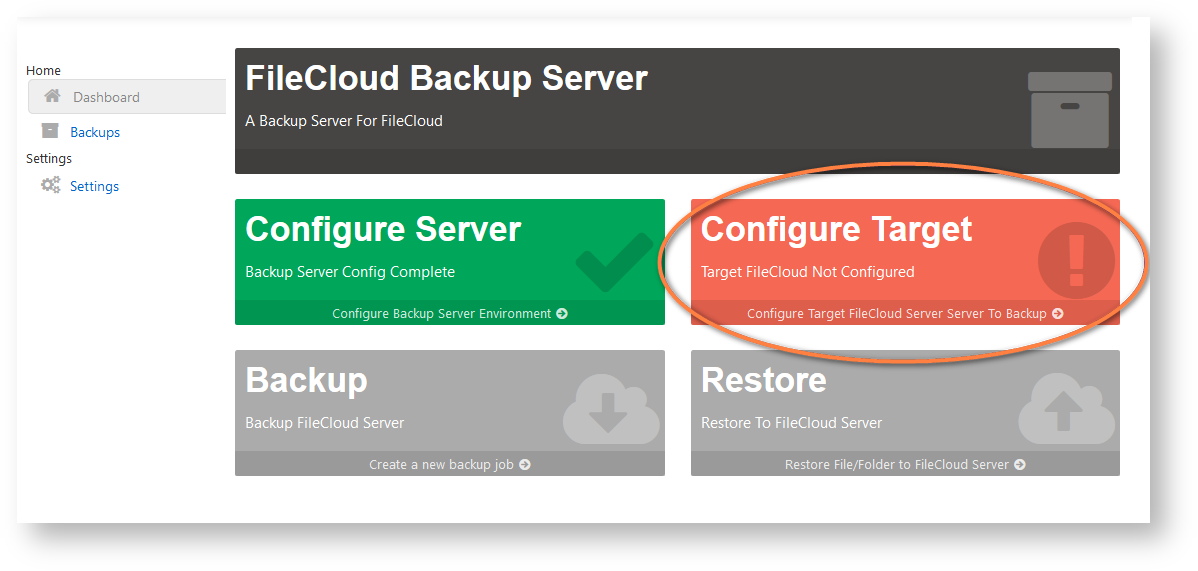
The backup server settings can also be opened by clicking on the "Configure Button" button on the dashboard.
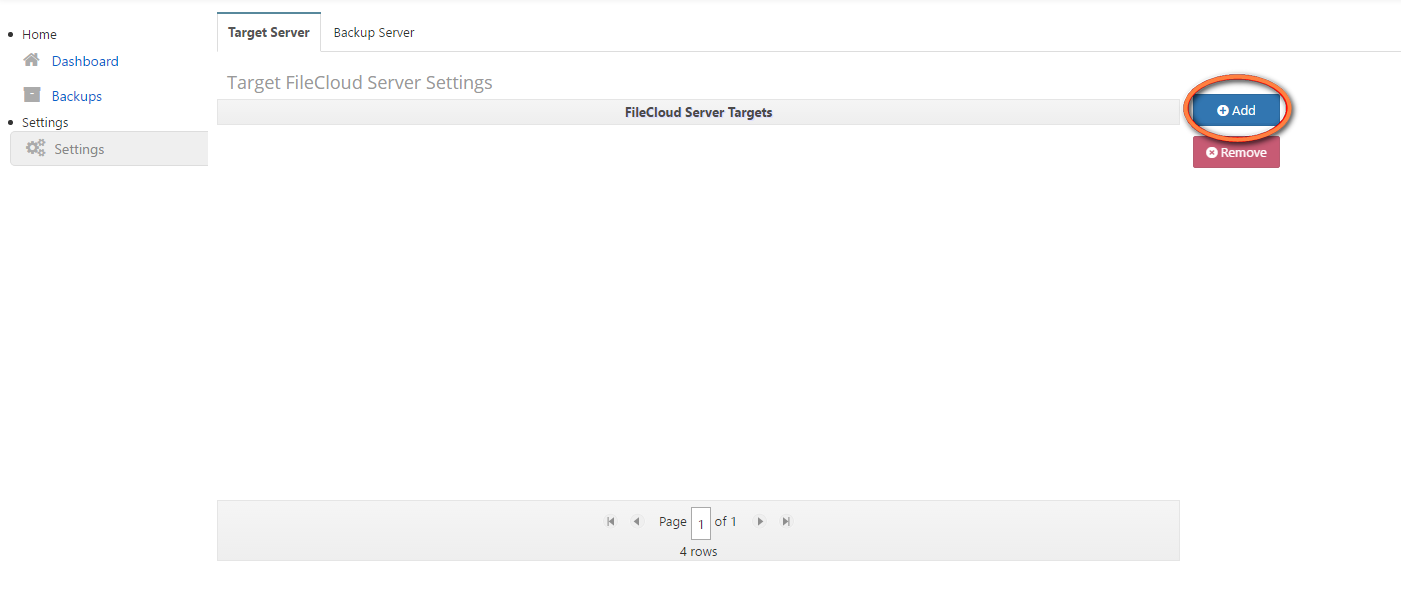
This will navigate to 'Settings' tab. Click on the 'Add' button, to add a new target site.
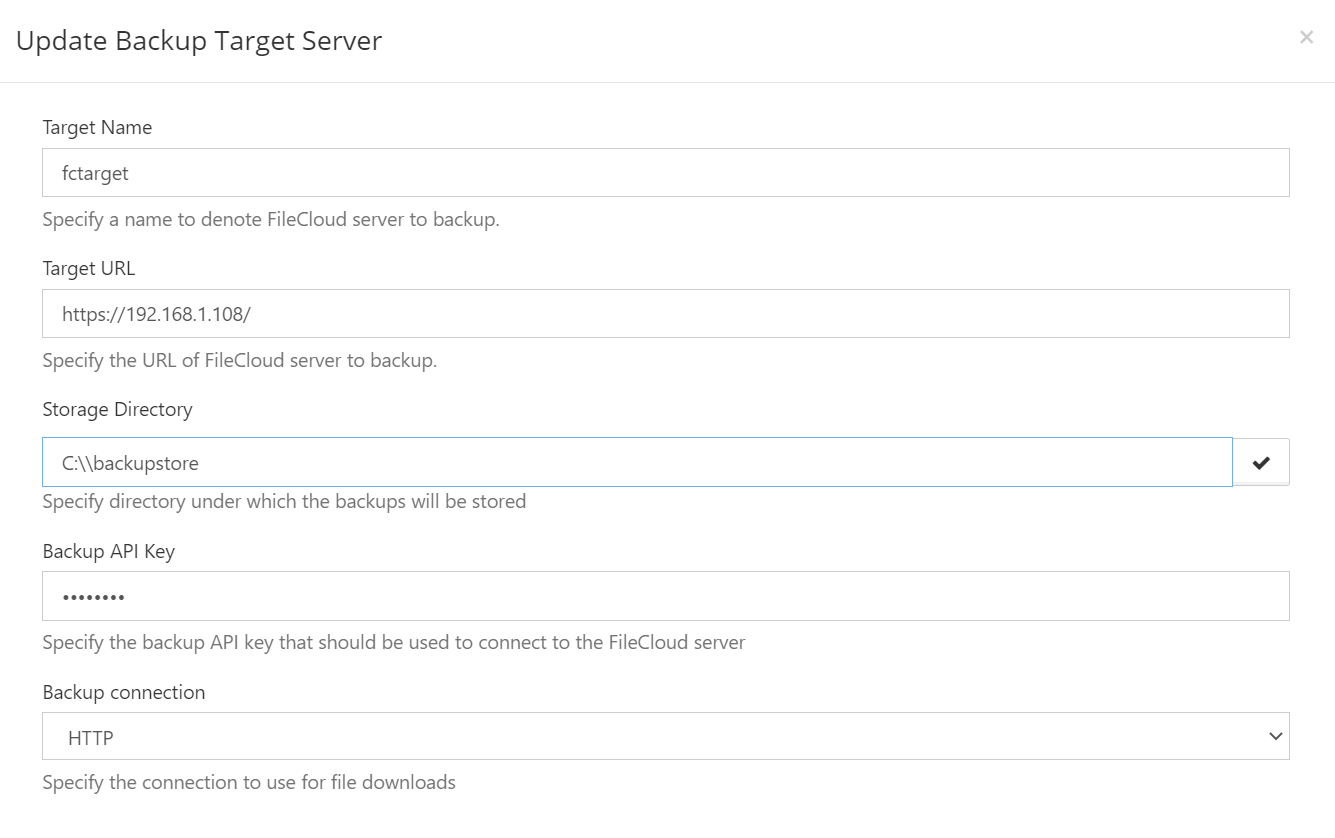
Clicking 'Add' button will bring up the backup target server dialog.
By default the target server parameters will be empty and update them using the table below. Click 'Add' once all the information has been added.
| Parameter Label | Sample Value | Remarks |
|---|---|---|
| Target Name | fctarget | A string to represent the target. |
| Target URL | http://192.168.1.108/ | Base URL to the target FileCloud server. |
| Storage Directory | Linux: /backupstore/ | A folder in the backup server where the backups from this target will be stored. Admins can use the "Check Path" button to check if the folder is valid and writable for the backup server. Note: This directory must be mounted locally; it cannot be a remotely mounted network share. |
| Backup API Key | test908acc | The target access key set in the previous step (Step 2). |
| Backup Connection | HTTP | You can set the backup connection to HTTP or RSYNC. This example shows you the setup for using HTTP. To set up using RSYNC, see Backup Server Configuration Using RSync. |
Note:
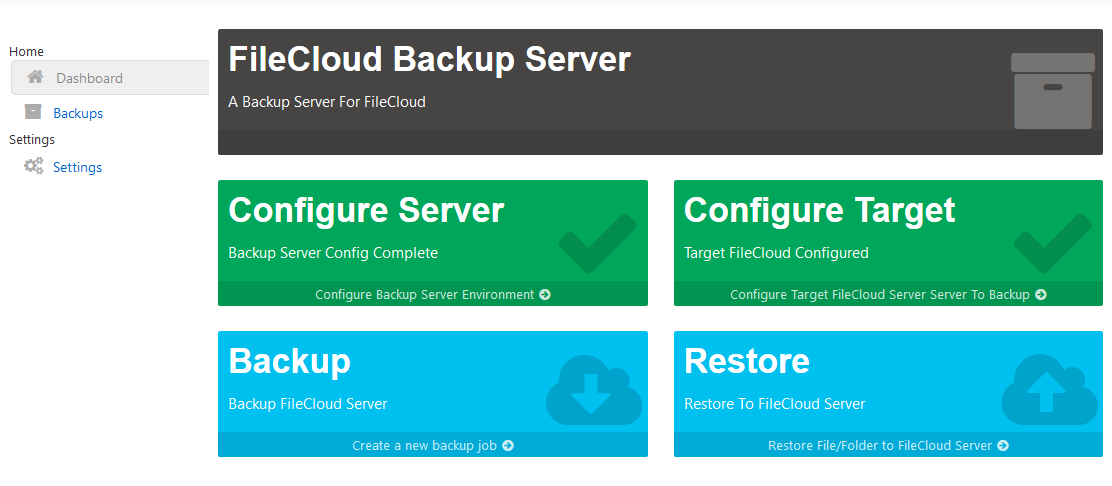
A dashboard with at least one fully configured backup target will look like this:
Step 4: Adding Multiple Target FileCloud Servers
Adding multiple target servers is same as adding a single server. From the 'Settings' tab, click on 'Add' button, to bring up the target server dialog. Enter all the information there and click 'Add' button.
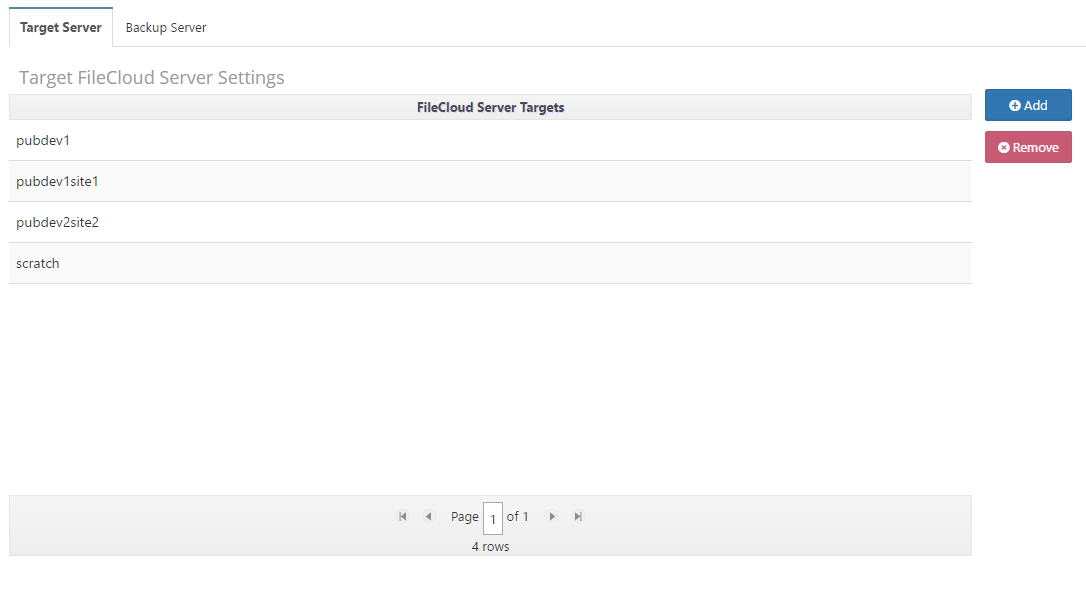
Following screenshot shows multiple target servers added to the backup server.
Multi-sites can also be added as multiple target servers which is same as adding single server.
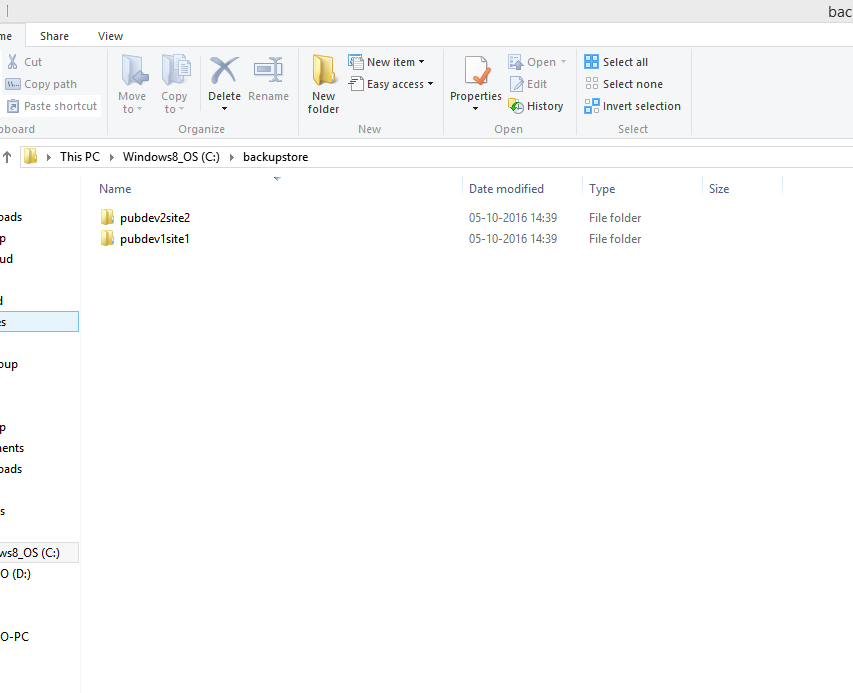
Once the backup is done, the contents are stored separately for each multi-site backed up.
