Report Problems in FileCloud
When an administrator runs into issues with FileCloud Server, they can contact support to resolve the issue.
- Support will request that the administrator collect the debug logs when the problem occurs.
- You can capture the required data in logs and send them to FileCloud development team.
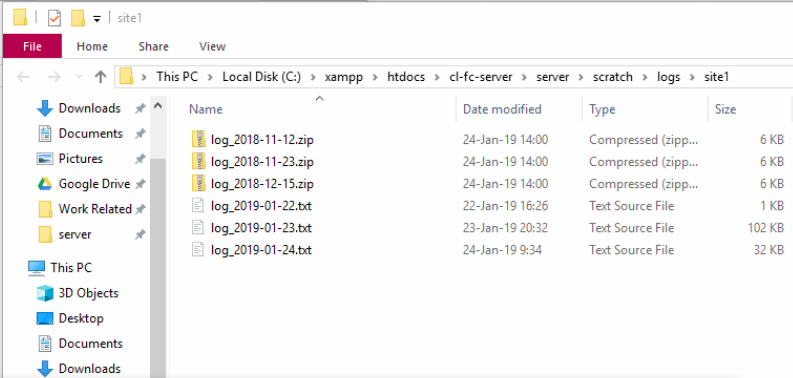
- Log files for FileCloud Server are normally found in the scratch folder.
What is a scratch file or folder?
When looking for log files, you may see the term scratch.
- Scratch is a term used to describe a temporary file or location in memory storage that a computer uses as a place to store data.
- FileCloud Server uses a scratch folder to contain the application code trace data (in log files) that are used for debugging issues.
- In production (PROD) mode, a scratch folder will have minimal logs.
- In development (DEV) mode, a comprehensive amount of trace data is generated, so this scratch folder can become large. This may slow down the speed of FileCloud Server responses.
Enable Debug Logging
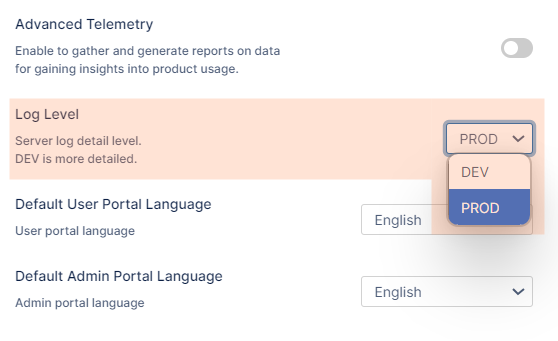
By default FileCloud installation operates in PROD mode.
- This is the production mode, in which the amount of logging generated is very little.
To increase the logging information, an administrator has to enable development mode.
- In production (PROD) mode, minimal logs are generated.
- In development (DEV) mode, a comprehensive amount of trace data is generated, so the amount of log files and their size can become large.
Setting Log Level to DEV may slow down the speed of FileCloud Server responses.
To enable debug mode:
- In the FileCloud admin portal's left navigation bar, scroll down and click Settings. Then, on the Settings navigation page, click Server .
The Server settings page opens. - Scroll down until you see Log Level.
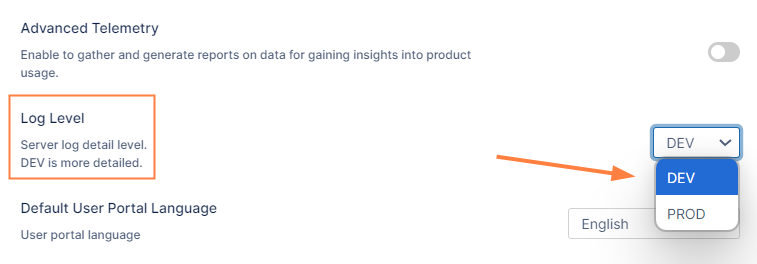
- In the Log Level drop-down list, select DEV.
- Click Save.
After saving, you do not need to restart any services. The change should be picked up automatically.
Recreate the Issue
If the issue on hand is re-creatable, perform the steps to recreate the issue.
If the issue is not reproducible, then keep running FileCloud in DEV mode.
Locate the Log Files
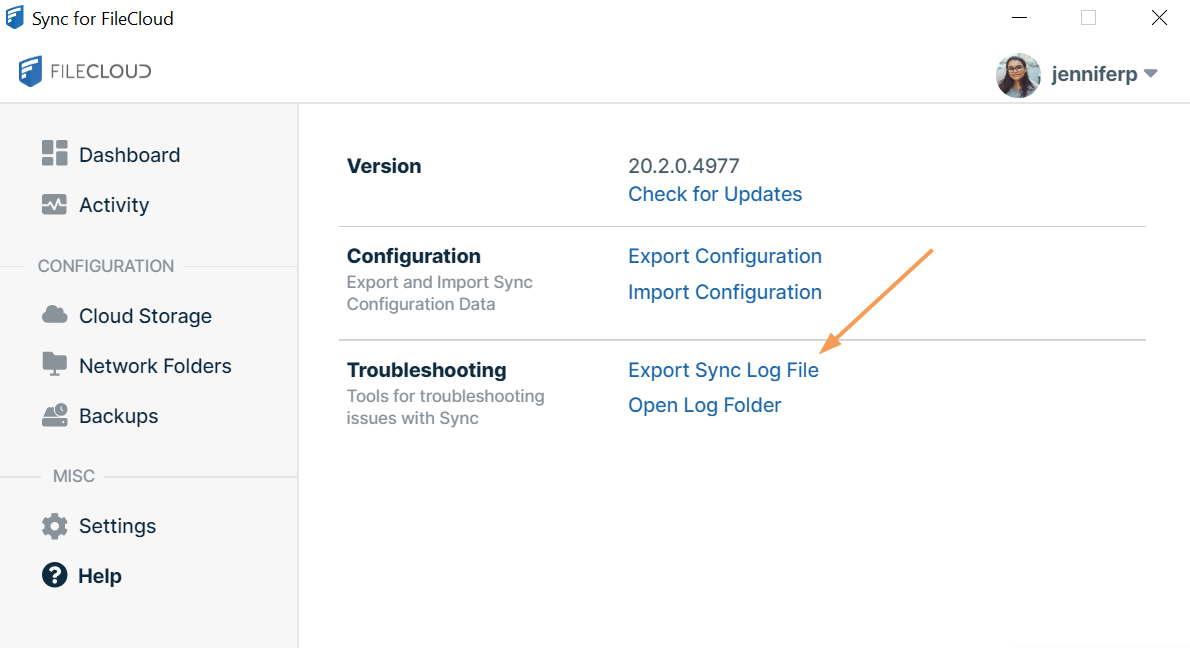
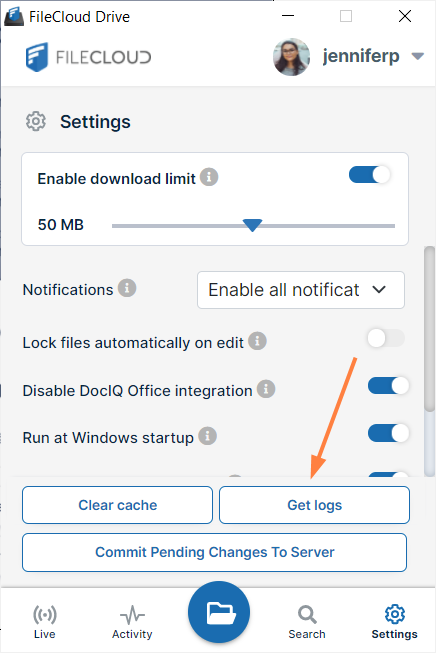
You can either allow FileCloud Server and client applications to generate log files to send to support, or you can manually collect the files you need.
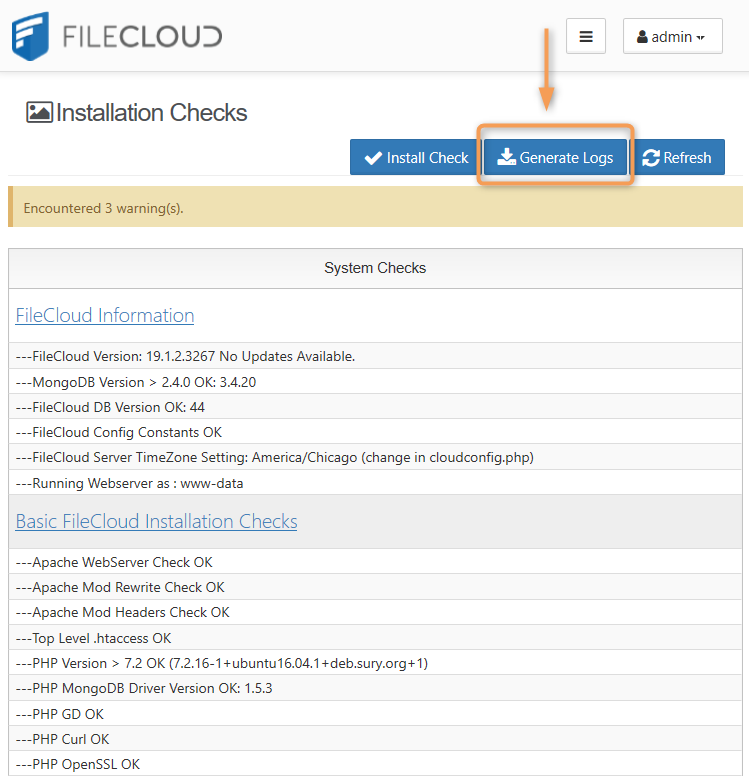
It is recommended that whenever possible, you use the Admin Portal or client applications to generate log files.
- This ensures you have the most recent, up-to-date information in the log files
- This will also automatically collect all the log files in a compressed zip file
Automatically Generate Log Files
Manually Collect Log Files
SERVER LOGS
| Windows Location | Linux Location | |
|---|---|---|
| Apache Web Server | access.log and error log in folder: <DriveLetter>\xampp\apache\logs\ | access.log and error log in folder: /var/logs/apache2/ |
| FileCloud Server | <DriveLetter>\xampp\htdocs\scratch\logs\log_YYYY-MM-DD.txt | /var/www/html/scratch/logs/log_YYYY-MM-DD.txt |
| FileCloud Helper | %APPDATA%\FileCloudHelper\cloudntfs.log (or) <DriveLetter>\xampp\FileCloudHelper\cloudntfs.log | N/A |
| MongoDB | <DriveLetter>\xampp\mongodb\bin\log\mongod.log | /var/log/mongodb/mongd.log |
| PHP | <DriveLetter>\xampp\php\logs\php_error.log | Only if PHP Error logging is enabled |
| ServerSync | %APPDATA%\%appdata%/.local/share/FFOServerFileCloudServerSyncData\client\syncclient.log | N/A |
CLIENT LOGS
| Windows | Linux | Mac | |
|---|---|---|---|
| Sync Client | %APPDATA%\FileCloudSyncData\client\syncclient.log | ~/FileCloudSyncData/client/syncclient.log | ~/FileCloudSyncData/client/syncclient.log |
| Drive Client | %APPDATA%\FileCloudDrive\data\FileCloudDrive.log | N/A | ~/Library/Application Support/Filecloud/macdrive/data/filecloudmacdrive.log |
| DocIQ | %APPDATA%\dociq\data | N/A | N/A |
| FileCloud for Office (FFO) | %APPDATA%\.local\share\FFOServer | N/A | /Users/[USERNAME]/Library/Preferences/FFOServer |
Send the Logs to Support
Once you are ready to report the problem, please Contact FileCloud Support.
