Installing FileCloud Desktop for macOS
FileCloud Desktop is supported on macOS Ventura 13.3.1 and higher.
To install FileCloud Desktop on macOS:
- Install or upgrade to the latest FileCloud version if you do not have FileCloud 23.1 or higher already installed.
- Download FileCloud Desktop for macOS at https://www.filecloud.com/additional-downloads/. Then unzip and run FileCloudDesktopInstaller.pkg.
The installer's welcome screen opens:
- Click Continue.
The Select a Destination screen opens.
- Leave Install for all users of this computer or select a different option, then click Continue.
The Installation Type screen opens.
By default, FileCloud Desktop is installed in your Apps folder. - To install it in another location click Change Install Location.
- Click Install, and during installation, follow any prompts to allow processing to complete.
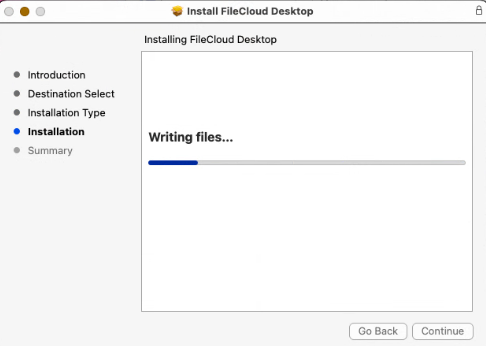
When installation is complete, the following message appears:
- Click Close.
The following message prompting you to move the installer application into your trash folder appears. - In most cases, it is a good idea to choose Move to Trash.

When installation is complete, the FileCloud Desktop login page opens.
The following notification appears on your screen..
- If you do not want FileCloud Desktop to open automatically when you log in, you can change the setting after you log into the application.
If you do not want related software running in the background, change it in your System Settings in General > Login Items.