DRM for exporting secure documents
The Digital Rights Management feature (DRM) for secure file export is available for licensed users beginning in FileCloud 20.2.
Although the DRM file export feature is available for most types of Office files, it is not available for Excel file types.
FileCloud's Digital Rights Management (DRM) file export feature helps you securely distribute Office files, PDFs, and image files and restrict users' actions on their content. For example, you can prevent screenshots and screen sharing of secure documents.
Download a document securely using DRM
If your FileCloud license includes DRM, any file of a type that is supported by DRM (jpg, png, docx, pptx, and pdf) has the Export Secure Document option enabled. When you export a document securely, users must view it through the FileCloud Secure Document Viewer using an access key.
To download a document securely and give a user access to it:
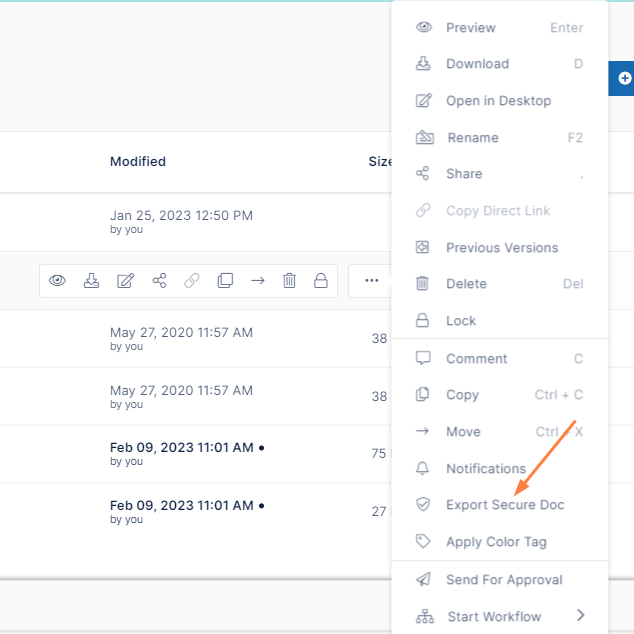
- Hover over the listing for the file and click the More icon.
- In the menu click Export Secure Doc.
- The file is downloaded in a document container. Save the document container.
The following window opens. It lists the key required to view the document as well as a message to send to recipients.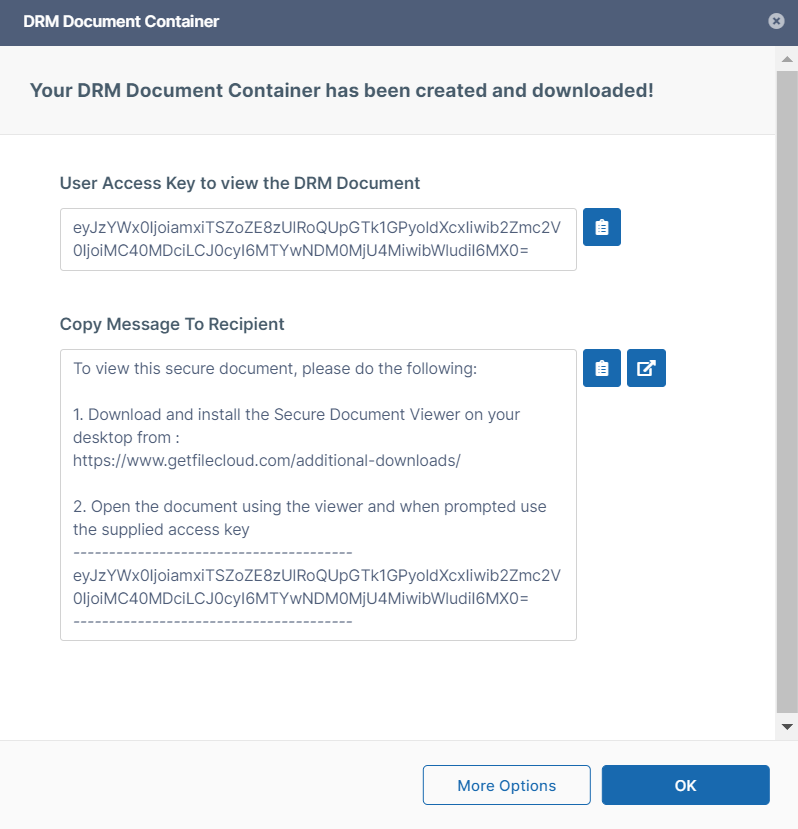
To change the recipient's permissions for the file, click More Options.
The following window opens: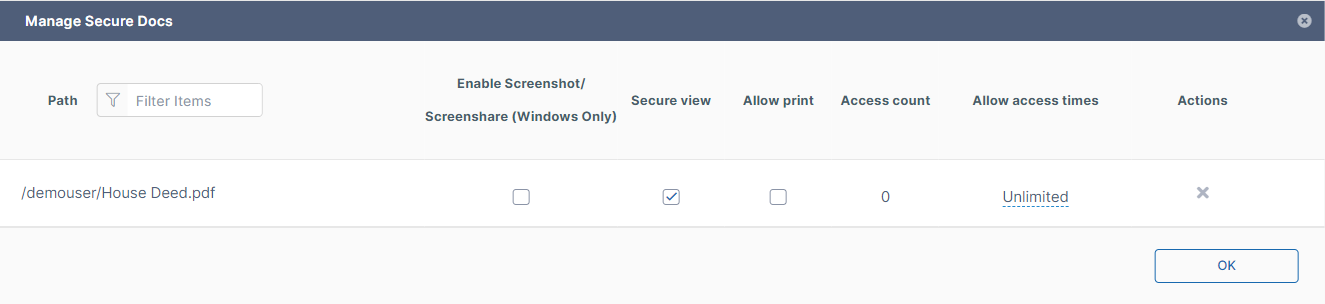
By default only Enable Secure View is checked. Check or change any of the options and click OK.Option Description Enable Screenshot/Screenshare (Windows only) Allows Windows users to take screenshots of the file and to share their screen when the file's contents are displayed. Secure view Allows users to view the file through the secure viewer. Allow print Allows users to print the file. Access count Keeps a tally of how many times the file has been accessed. Allow access times Limits the number of times the file can be accessed to this number. Actions X removes users' ability to view or otherwise access the file. Copy the message from the DRM Document Container window.
- Send the message and the file to the recipient.
You may also upload the file to FileCloud and share it with recipients. Make sure you send the key and the download link for the FileCloud Secure Viewer to the recipients.
Download multiple secure documents
You can download multiple documents securely at the same time:
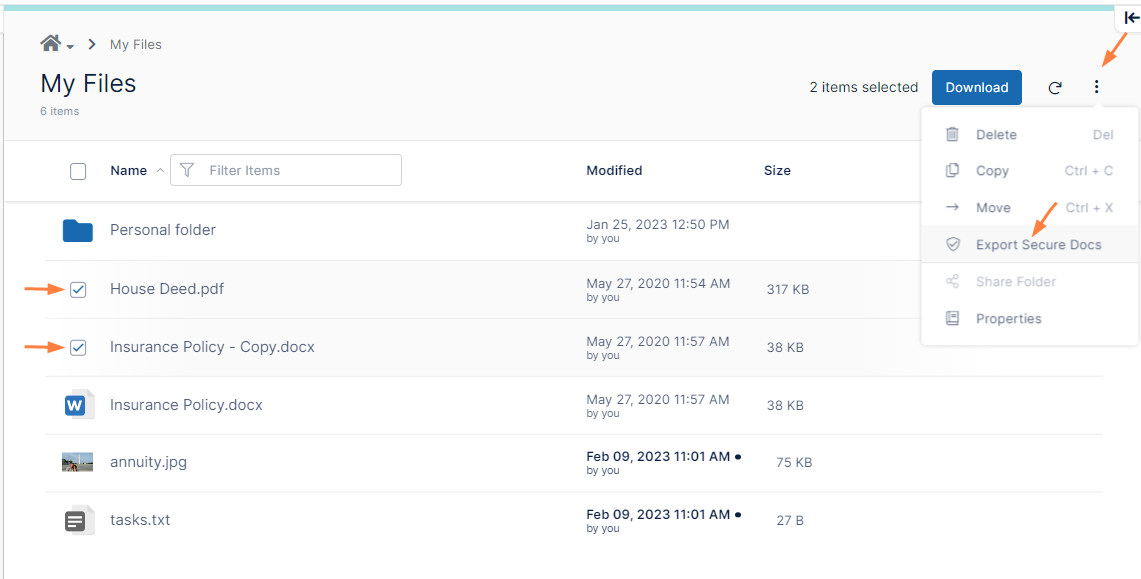
- Check the box next to each file.
- In the upper-right corner of the screen, click the More icon and choose Export Secure Docs.
The files are downloaded in one document container. - Continue from Step 3 in the preceding procedure.
When you open the document container, both documents are available for viewing in the FileCloud Secure Viewer.
Change viewing options for secure documents after download
You can view all of your securely shared documents and change permissions on them at any time:
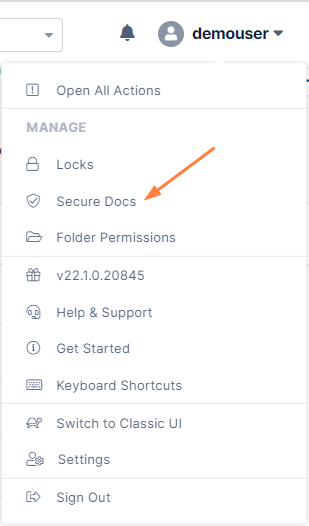
- In the upper-right corner of the screen, click your username and choose Secure Docs.
A Manage Secure Docs dialog box that lists all files that you have exported securely opens.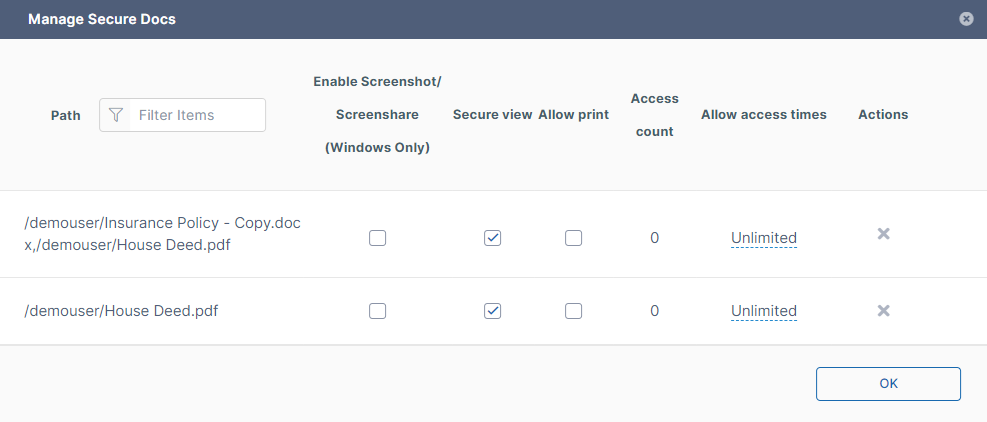
- Check or change options for any of the files.
Open a document in the FileCloud Secure Viewer
To view documents in the FileCloud Secure Viewer:
- If you have not downloaded the FileCloud Secure Viewer, download it from https://www.filecloud.com/additional-downloads/.
- Find the downloaded document container and open it.
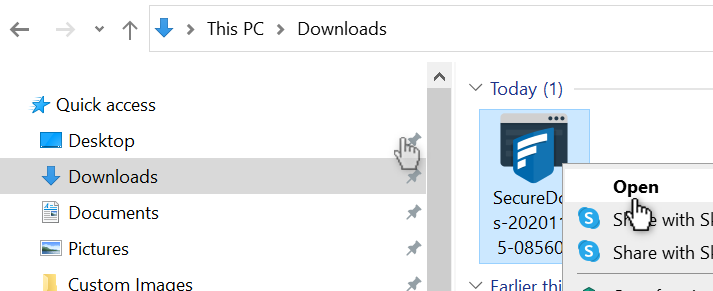
- Enter the password supplied when the document container was downloaded.
The file(s) in the container open in the FileCloud Secure Viewer.
In the following image, two documents were downloaded to the document container, so both appear in the document viewer navigation pane.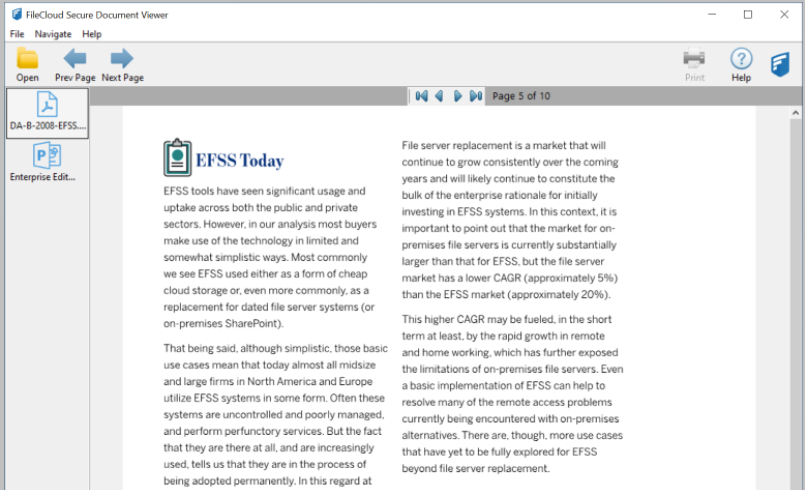
Hiding the Export Secure Doc option
If you don't want to make the Export Secure Doc option available to users, you can add a setting in the FileCloud configuration file to hide it.
To hide the Export Secure Doc option in the More drop-down menu:
- Open the cloudconfig.php file
Windows Location: XAMPP DIRECTORY/htdocs/config/cloudconfig.php
Linux Location: /var/www/config/cloudconfig.php Add the following setting:
define("TONIDOCLOUD_HIDE_SECURE_DOCS",1);
To display the option again, change the setting to:
define("TONIDOCLOUD_HIDE_SECURE_DOCS",0);
More Information:
| FileCloud Videos |
|---|