User Account Settings
You can use the FileCloud User portal to configure your user account settings.
For help with notification settings, see Notifications.
To access the Settings page,
- In the user portal, click your name in the upper-right corner of the screen and choose Settings.
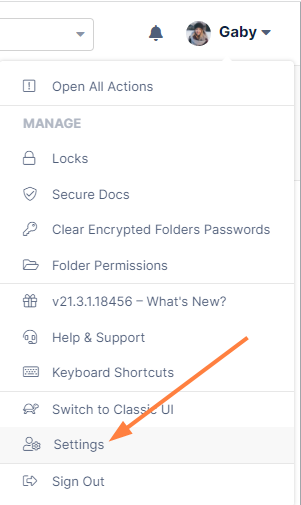
The Settings page opens to the General tab.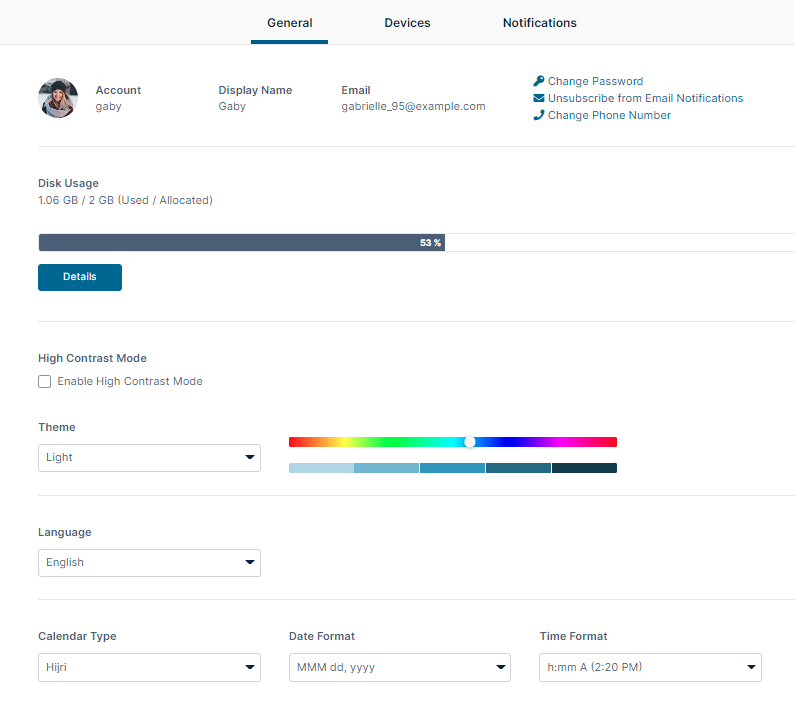
A Profile Picture is available in FileCloud Server version 15 and later.
To add or update your profile image:
- In the Settings page, click the profile icon or image.
An Upload New Photo button appears.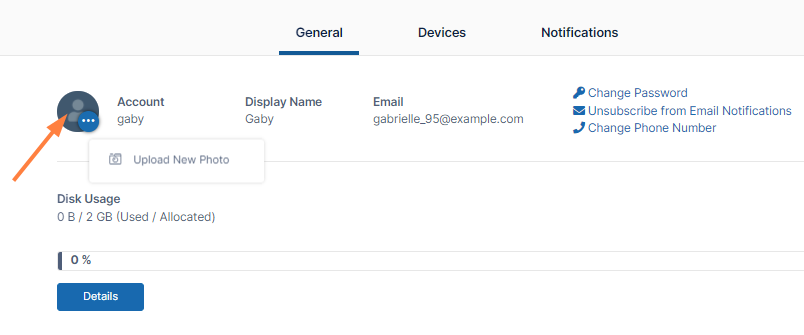
- Click the Upload New Photo button.
- Upload an image from your file system.
- Refresh your screen.
The uploaded image is now your profile image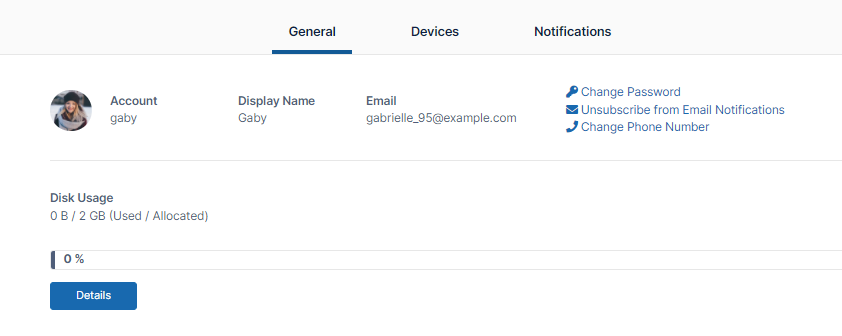
To remove your profile image:
- In the Settings page, click the profile image.
- Choose Remove Photo.
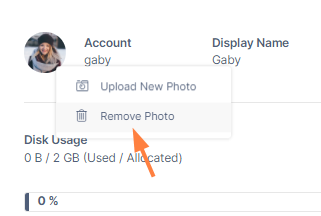
Your profile photo is removed and your profile image appears as: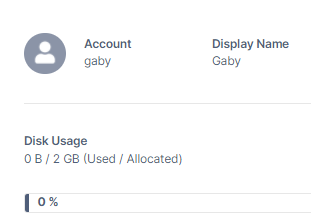
Your account name is the name you log in with. It may not be the same as your display name, which appears in the upper-right corner of the FileCloud screen.
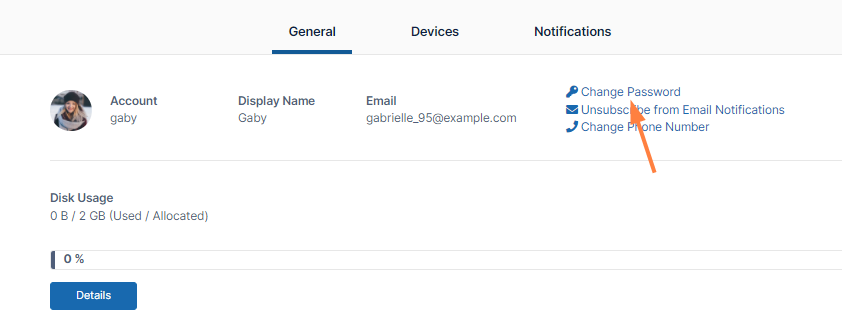
On the Settings page, your account name appears after your profile image or icon under Account.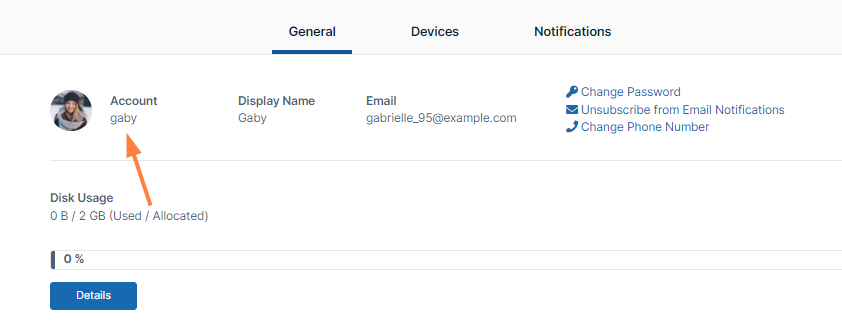
Only an Administrator can change your account name.
By default your display name is the same as your account name and appears in the following places:
- The upper-right corner of the FileCloud screen.
- On any FileCloud email notifications
- On the General tab of the Settings screen.
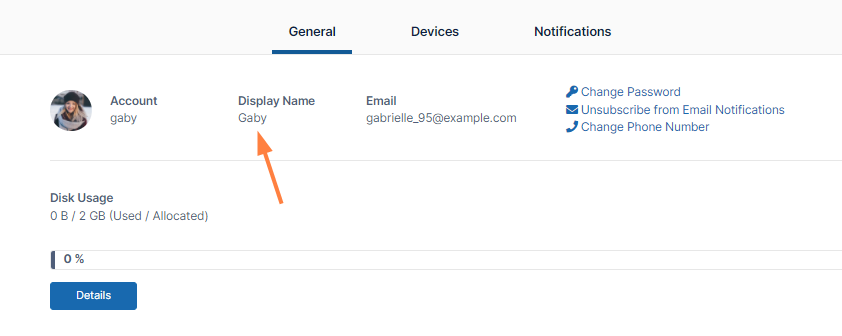
![]() Only an Administrator can change your Display Name.
Only an Administrator can change your Display Name.
A good security policy includes changing your password often.
![]() These instructions require you to know your old password.
These instructions require you to know your old password.
To change your password:
- In the Settings page, click Change Password.
A dialog box for entering your old and new password opens.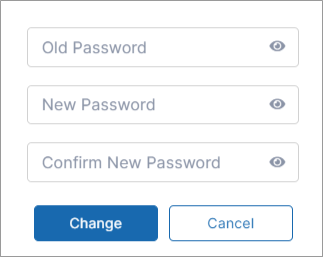
- Type in your old password, your new password, and then retype your new password.
- Click Change.
AD and LDAP users and users created via SSO cannot change their passwords. Beginning with FileCloud 20.2, the Change Password option does not appear for these users.
If you have forgotten your password, see Reset a Forgotten Password.
In the User portal you can:
- View your email address. This is where all FileCloud notifications are sent. Only an Administrator can change this setting.
- Unsubscribe from the mailing list.
Your email address appears at the top of the Settings page.
To unsubscribe from email notifications:
- In the top row of the Settings page, click Unsubscribe from Email Notifications.
- A dialog box prompts you to confirm.
- Click OK.
The link now appears as Subscribe to Email Notifications. If you want to resubscribe to notifications, click the link.
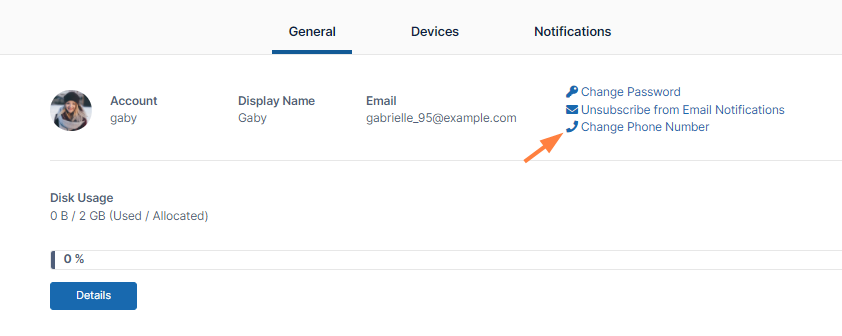
To receive text messages from FileCloud, your phone number must be entered into the system.
If your admin has given you permission, you may add or change your phone number in the Settings page. Click Change Phone Number, and enter or modify the phone number.
Admins: To enable users to add or change there phone numbers, see User Settings on the page Misc Settings.
To view how much of your My Files space you have used:
- In the Settings page, view your available and used My Files space under Disk Usage.
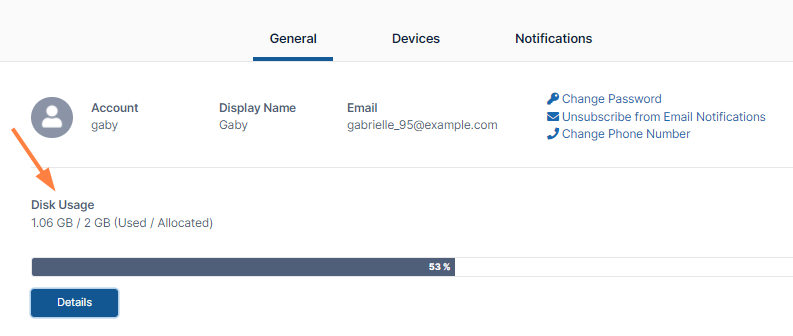
The bar below your used/allocated space shows the percent of your allocated space that you have used. - Click the Details button to view details about the files and folders stored in your My Files space.
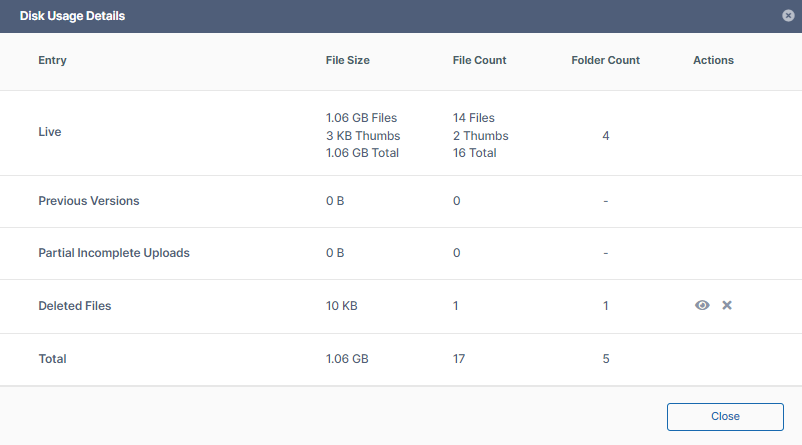
- Click the eye icon in the Deleted Files row to view your deleted files.
If you have deleted files, an x appears next to the eye icon. - Click the x to clear the deleted files from your disk.
![]() Only an Administrator can allocate disk space for you to use.
Only an Administrator can allocate disk space for you to use.
Beginning with FileCloud Version 20.2, you can choose a light or dark theme, select your own color for main features in the user interface, and view your user interface in high contrast mode.
Beginning with FileCLoud Version 20.3, you can choose one of our custom themes.
Theme
By default the user portal uses the light theme, but you can change to the dark theme or a custom theme.
You can preview all currently available themes at User Portal Themes.
To change the theme, select an option in the Theme drop-down list of the Settings page.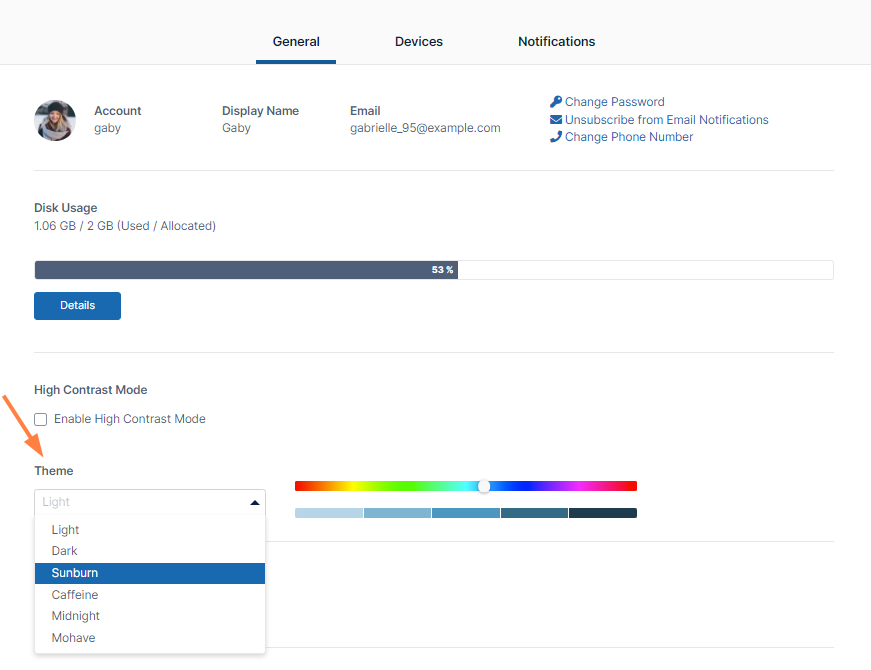
The FileCloud user portal viewed with the dark theme:
Color
By default, the main features in the user interface are a blue. To change their color, move the slider on the color bar to the left or right.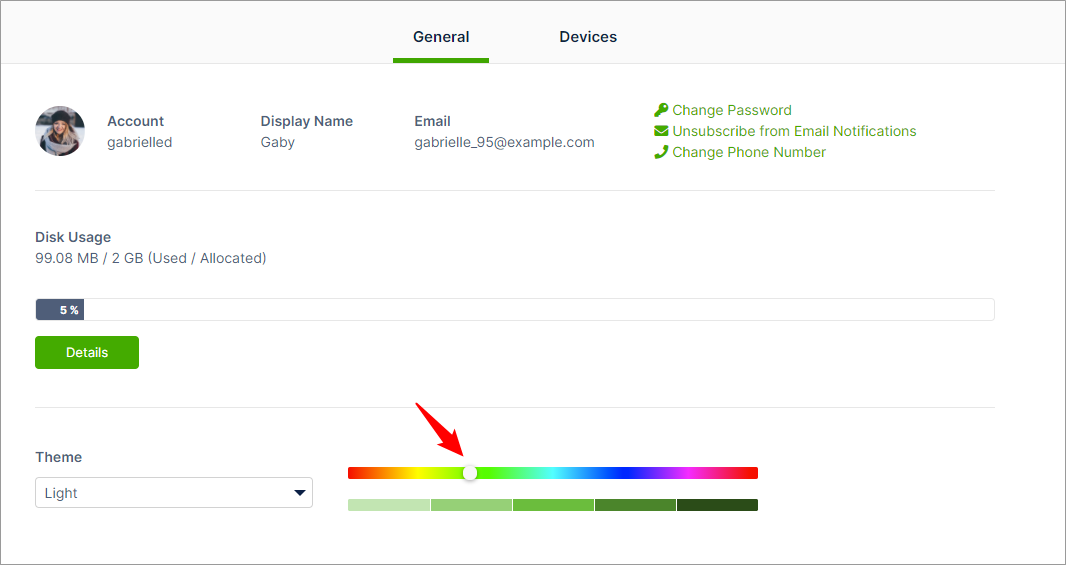
The FileCloud user portal viewed with green features: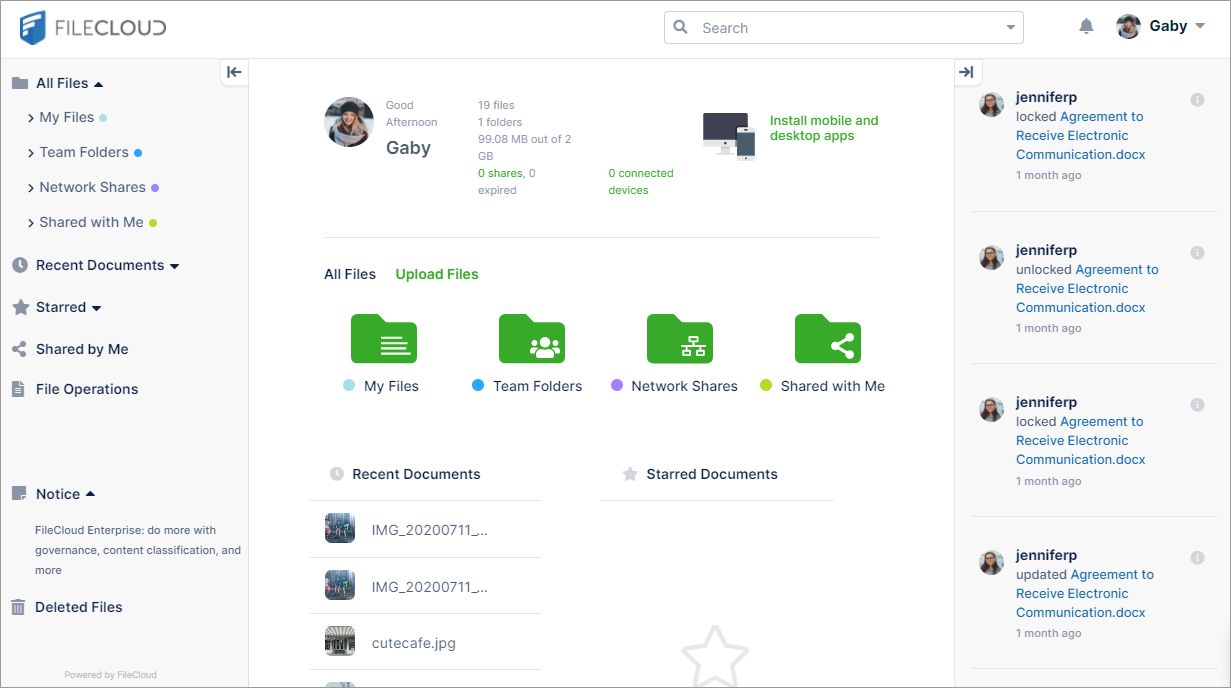
Shade of color
Select one of the five bars below the color bar to set how light or dark the selected color appears.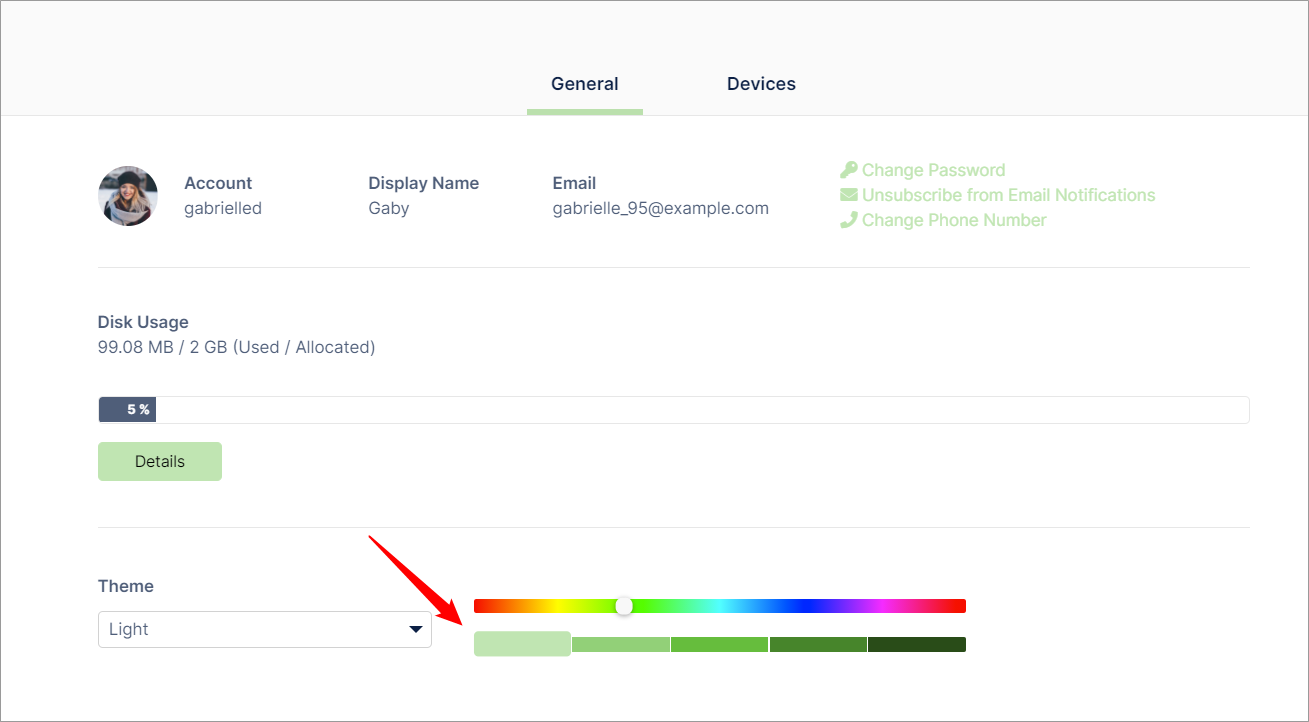
The FileCloud user portal viewed with light green features.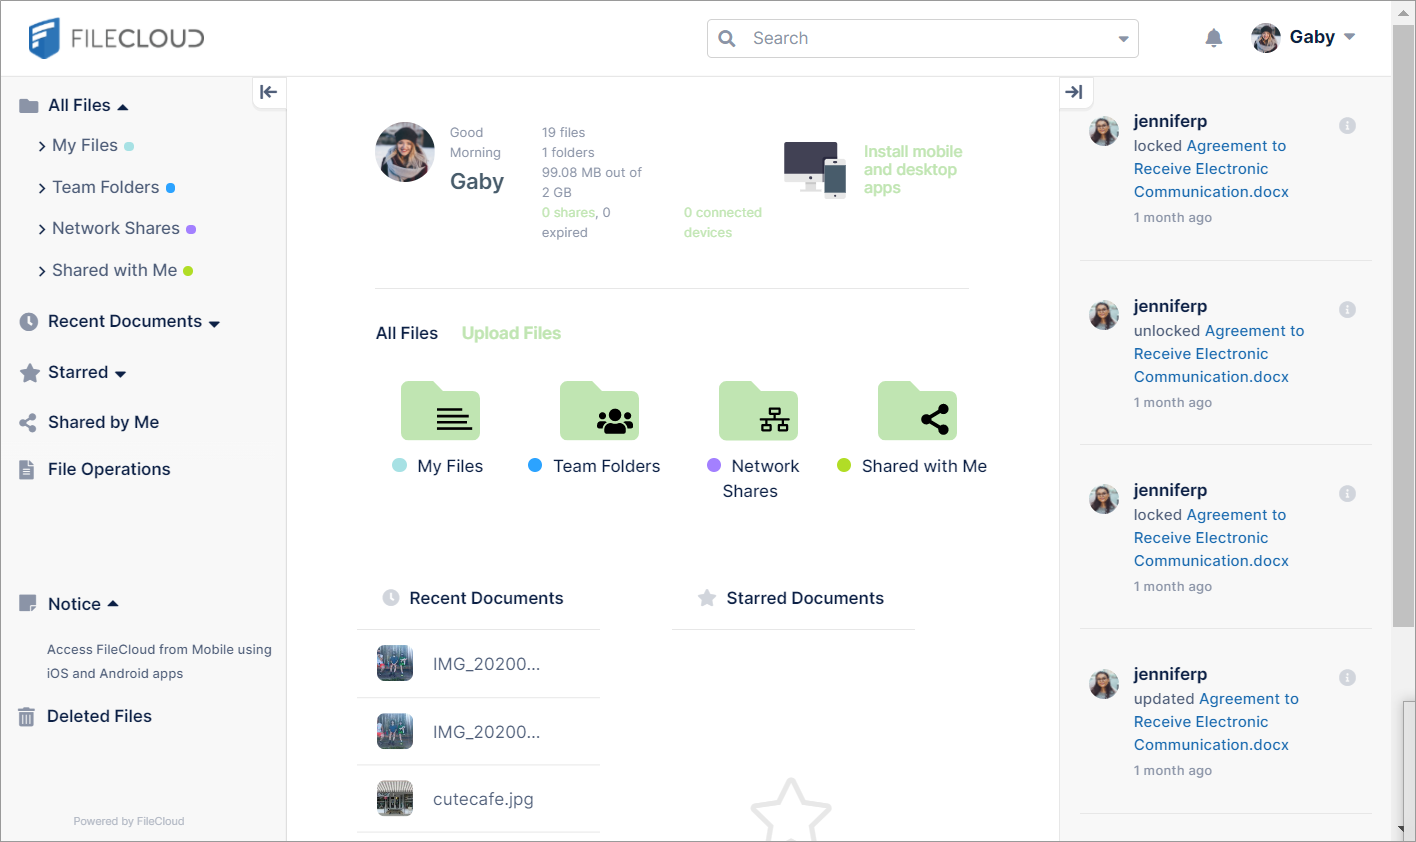
High Contrast Mode
To enhance visibility of text in your user interface, in the Settings page, check Enable High Contrast Mode.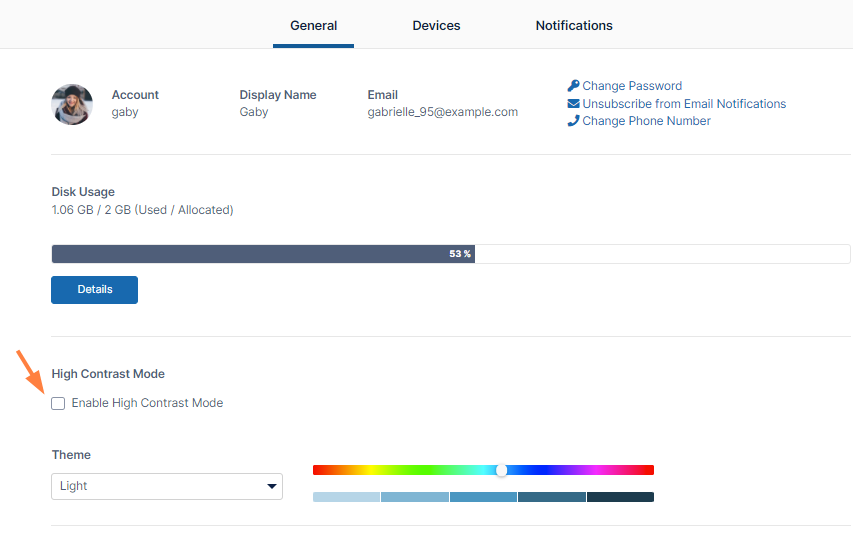
In high contrast mode, the user interface appears with the following theme:
If you change this setting, the labels on all screens in the User Portal appear in the selected language.
To change your display language:
- In the user portal, click your name in the upper-right corner of the screen and choose Settings.
The Settings page opens to the General tab. - In the Language drop-down list choose a language.
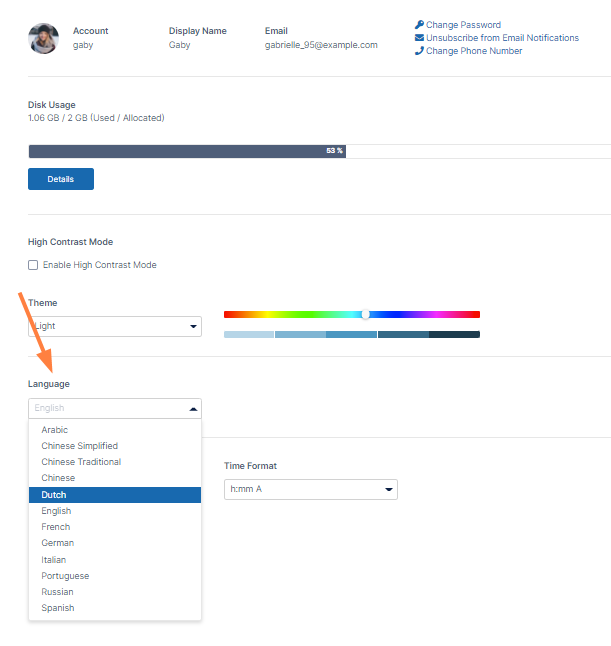
You are not asked to confirm this change. As soon as you select a language, the screen refreshes in the chosen language.
The default date and time formats you see in FileCloud are set by your administrator. However, you can change them on the Settings page by choosing different options in the Calendar Type, Date Format and Time Format drop-down lists.
Choices for Calendar Type are Gregorian (English) and Hijri (Islamic). The date and time formats change depending on whether you choose Gregorian or Hijri.
- To change the calendar type, choose an option in the Calendar Type drop-down list.
The Date Format and Time Format change to the default value for your Calendar Type choice, so you may want to change them as well.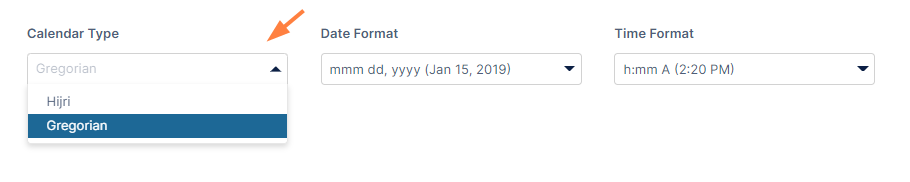
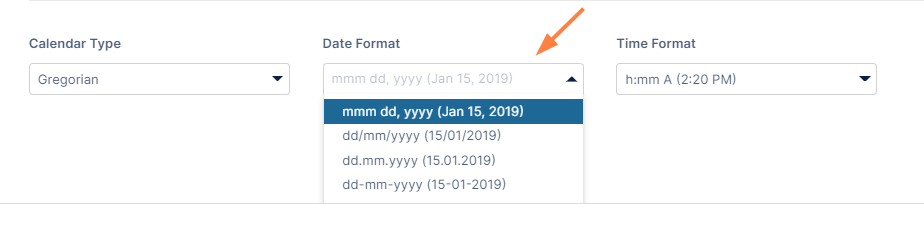
- To change the date format, choose an option in the Date Format drop-down list.
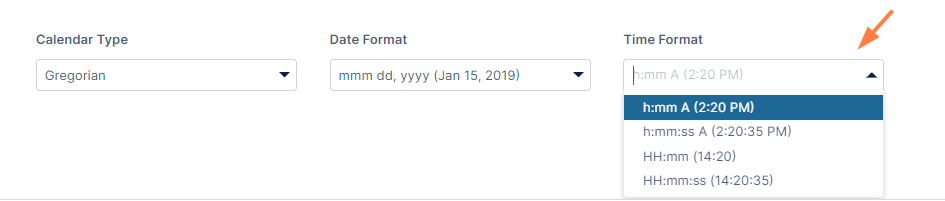
- To change the time format, choose an option in the Time Format drop-down list.
This tab does not appear in the user interface for External users.
This Devices tab of the Settings page provides options for managing your connected devices and removing them if needed.
Devices can use the following clients to log in to a FileCloud Server site:
- FileCloud iOS App
- FileCloud Android App
- FileCloud Windows Store App
- FileCloud Sync
- FileCloud Drive
- FC Outlook Add-in
- FC Office Add-in
- FC Desktop Edit
- FC File Browser
To view your devices:
- In the user portal, click your name in the upper-right corner of the screen and choose Settings.
The Settings page opens to the General tab. Click the Devices tab.
View details of your devices.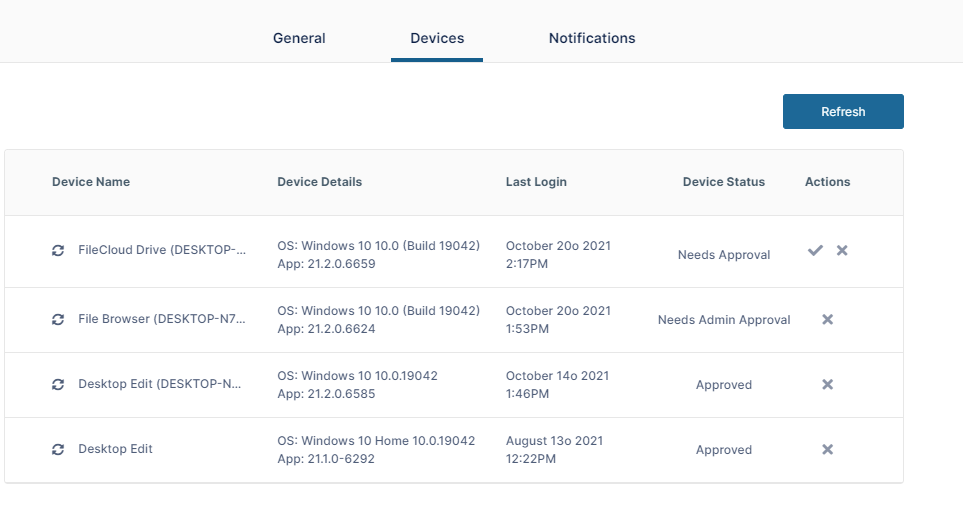
Device Status
| Device Status | Description |
| Approved | The device is available for you to log in to and use. |
| Needs Admin Approval | The device is waiting for your Admin to approve it. You cannot currently log in and use it. After your Admin approves the device, its Device Status either changes to Approved, enabling you to log in and use it, or changes to Needs Approval, requiring you to approve it, and then enter a device authentication code before you can use it (see below). |
| Needs Approval | The device is waiting for you to approve it. Once you approve it, you must enter a device authentication code to log in and use the device (see below). |
To get the authorization code for a device:
- When you log in through a device, you may be required to enter an authorization code.
To get the authorization code you must approve the device on the Devices tab.- Log in and access the Devices tab.
- The Device Status column displays Needs Approval if it needs your approval.
- Click the check for the device under Actions.
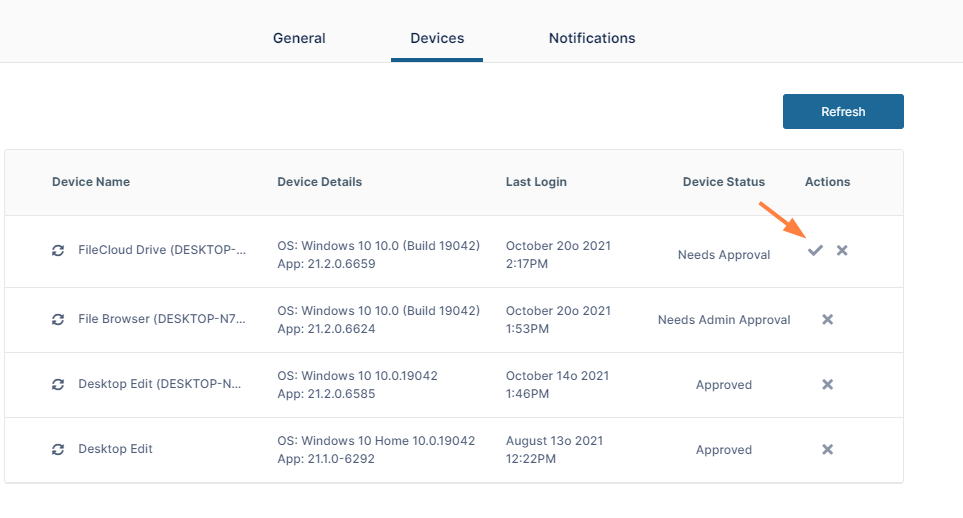
A dialog box with the authorization code opens. - Enter the authorization code into Enter Code on your device.
For help using the Notifications tab, see Notifications.