Share a Workflow
You can share workflows that you have created with other users or groups to enable them to run the workflow, and, if you give them permission, to edit it.
To share a workflow with other users or groups:
- In the workflow listing, hover over the workflow and click the Share icon.
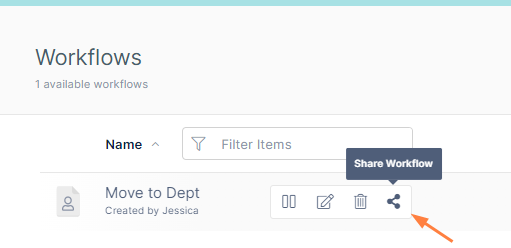
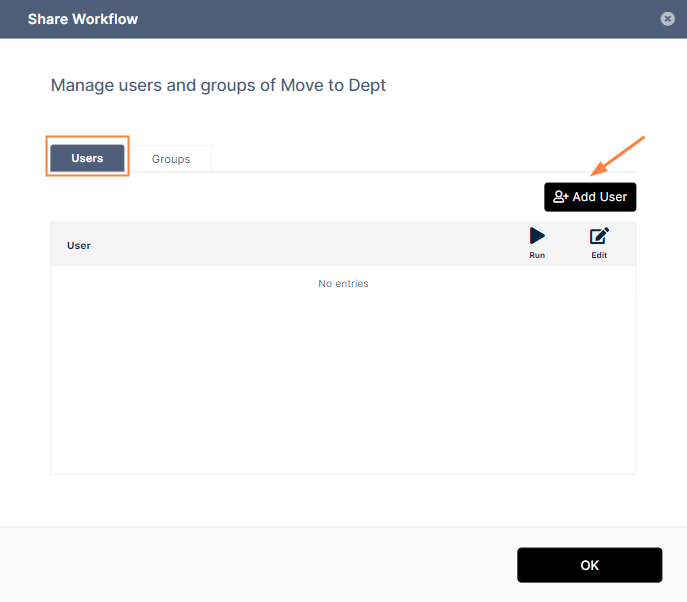
A Share Workflow dialog box opens. - To share the workflow with other users, leave the Users tab selected and click Add User.
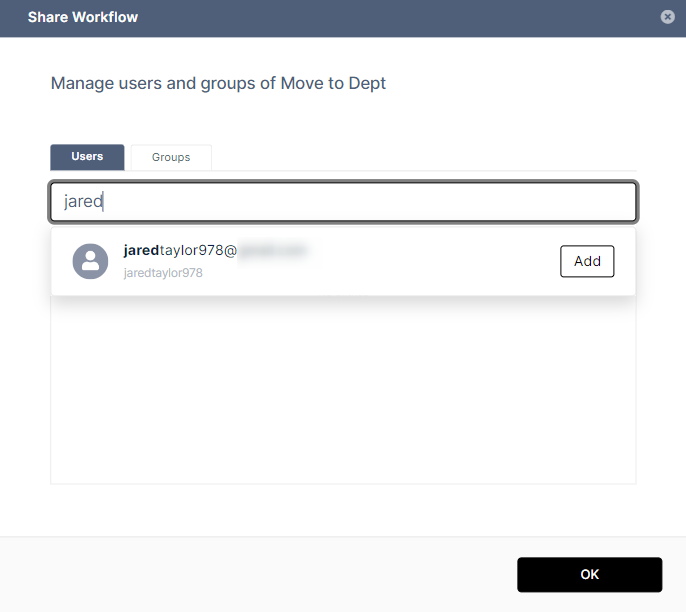
A search box opens. - Enter an existing user into the search box and click Add.
The user is added. A shared workflow can always be run by the share recipient, so Run is checked and cannot be unchecked. - To also enable the share recipient to edit the workflow, check Edit.
Any changes that the share recipient makes to the workflow also appear in your copy of the workflow and any other share recipients' copies.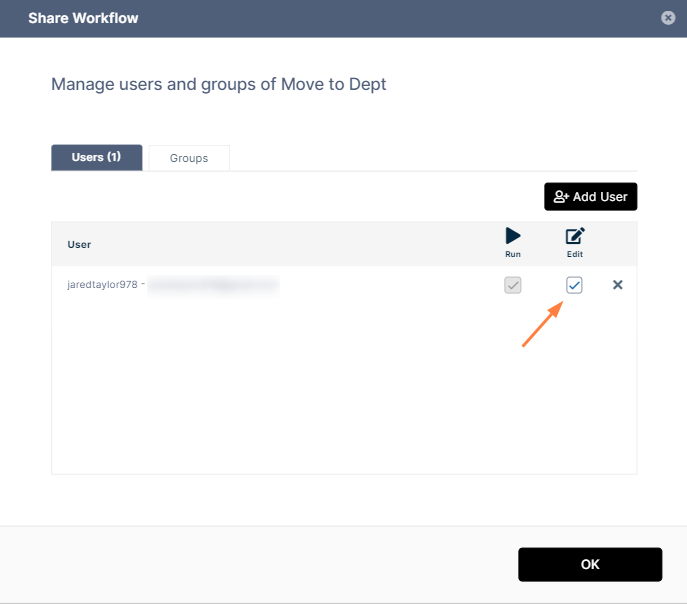
- Share the workflow with any number of users.
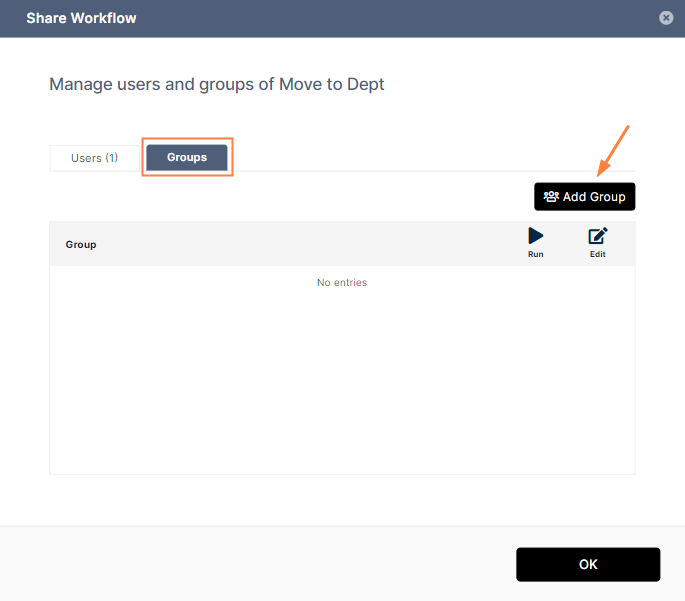
- To share the workflow with groups, click the Groups tab and click Add Group.
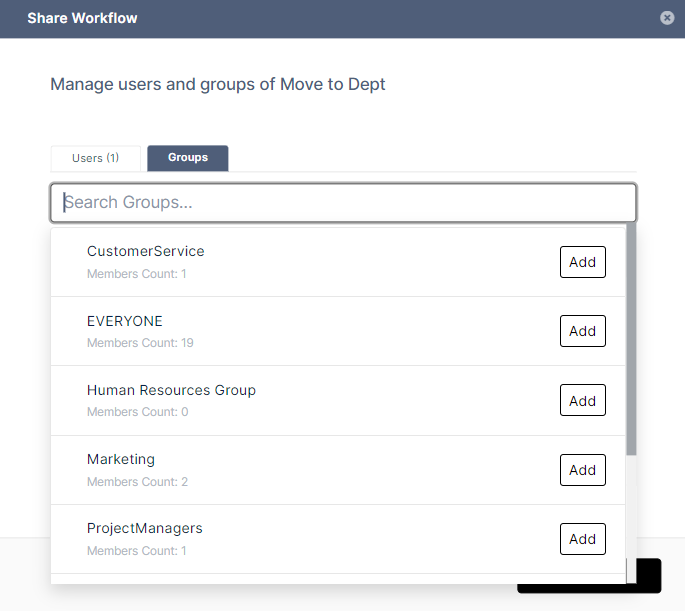
A search box with a list of existing groups below it opens. - Enter a group name or find it in the list below.
- Click Add beside the group name.
The group is added. A shared workflow can always be run by any members of the group shared with, so Run is checked and cannot be unchecked. - To also enable member of the group to edit the workflow, check Edit.
Any changes that group members make to the workflow also appear in your copy of the workflow and any other share recipients' copies.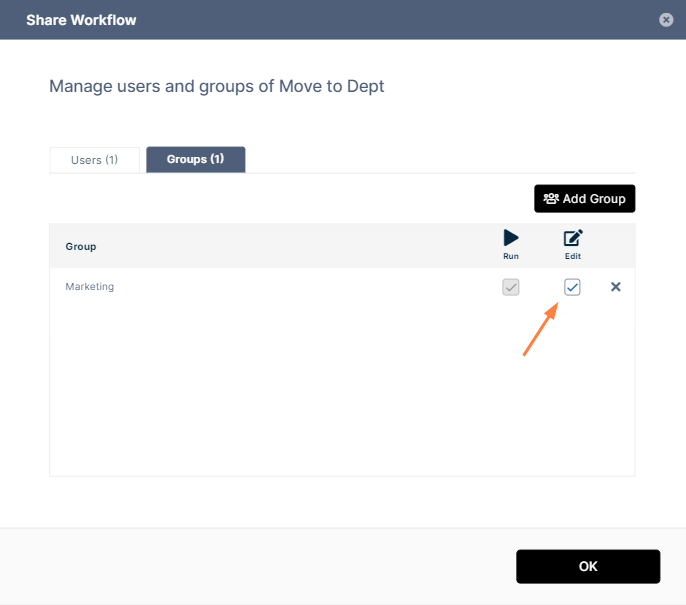
- Share the workflow with any number of groups.
- When you have finished adding users and groups to the share, click OK.