Share Approval Workflows
If you are an admin user with full User Share privileges, Share approval workflows that you create apply to any files in FileCloud. If you are not an admin user with all User Share privileges, your Share Approval workflows only run if they are triggered by you, and only apply to files in your My Files folder. You may want to check with your FileCloud admin if you have full User Share privileges before creating a Share Approval workflow.
In addition, required share approvals must be enabled in the FileCloud admin portal, and your share approval workflow must be selected to make it active.
To ensure that your Share Approval workflow performs correctly, please work with your FileCloud admin when creating it.
If you are an Admin, see Automated Workflow Management for information on share approval workflow configuration.
Share approval workflows are a special type of workflow that run when a user creates a share. Instead of automatically making the share available to other users, the share approval workflow sends it to one or more approvers first. If the required number of approvers approve the share, it becomes available; when one user rejects the share it is considered rejected, and it is deleted.
Share approval workflows use the Automatically on Share activity trigger and include steps that are specific to share approval.
The following example shows you how to create a basic share approval workflow that requires one approval.
You can create more detailed share approval workflows by including multiple approvers, approval and rejection notifications, and other steps and details.
- Go to the drag-and-drop workspace.
- In the navigation panel, click Workflows, then, click Create New Workflow.
A drag-and-drop workspace for creating workflows opens:
- In the navigation panel, click Workflows, then, click Create New Workflow.
- Choose the Automatically on a share activity trigger.
- Click Click here to start.
This opens a box of triggers to choose from. - Choose Automatically on a share activity, the trigger required for a Share Approval workflow, and then click Next.
The Automatically on a share activity trigger prompts you to choose a share activity and, optionally, a file path. Choose either If a share is created or updated or if a share is created or updated or share content modified.
Click Add.
Start and end nodes appear on the workspace.
- Click Click here to start.
- Drag and drop share approval steps onto the workflow.
The steps you can add to the workflow appear in the right panel.- Drag and drop the Wait for Share Approval step onto the workflow.
The step has parameters, which appear in the right panel. In Approver Emails, enter an email address of a share approver.
If you are not an admin user with all User Share privileges, the workflow will only apply when you trigger the workflow condition on files in your My Files folder.
You may change Custom Message and Approval Count Number or leave their default values.
By default, 1 approval is required; if you increase the number of required approvals, you must increase the number of Approver Emails.
Check Send Approval Email Notification to send approvers email notifications in addition to notifications that appear at the top of their user portal screen about the pending approval.- Click the + icon where you want to drag the step, and then drag and drop the Share Approve and Share Rejection steps under Yes and No.
If the approver approves the share, Share Approve automatically creates the share. If the approver rejects the share, Share Rejection automatically deletes it.
- Drag and drop the Wait for Share Approval step onto the workflow.
- Name and save the workflow.
If you return to the previous page, the new workflow is listed. - Test the Share Approval workflow.
- Share a file.
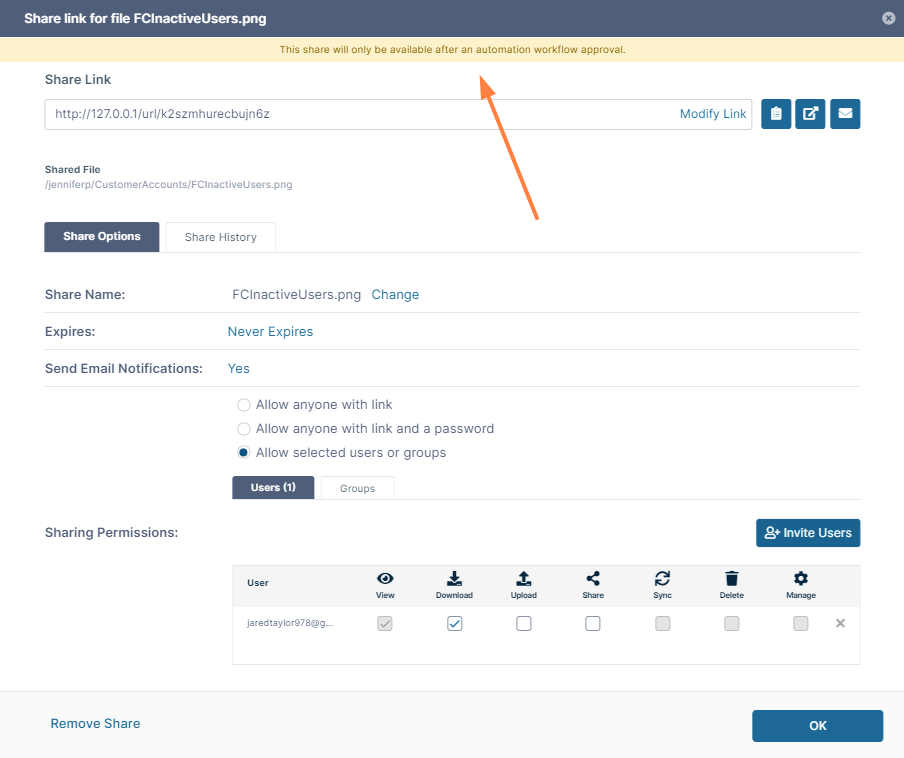
You should see the message This share will only be available after an automation workflow approval at the top of the share dialog box.
To make it easier to check that share has been made available after it is approved, share it privately with a user.
Note: If you check Send Email when adding the user, the email is not sent to the user until after the share is approved. Similarly, if you edit the share and click the Send Email button next to the Share Link, a notification informs you that the email cannot be sent. - Have the share approver log in to the FileCloud user portal and find and click the pending action message at the top of the screen.
- In the pending actions screen, the approver should click the thumbs up icon to approve the share.
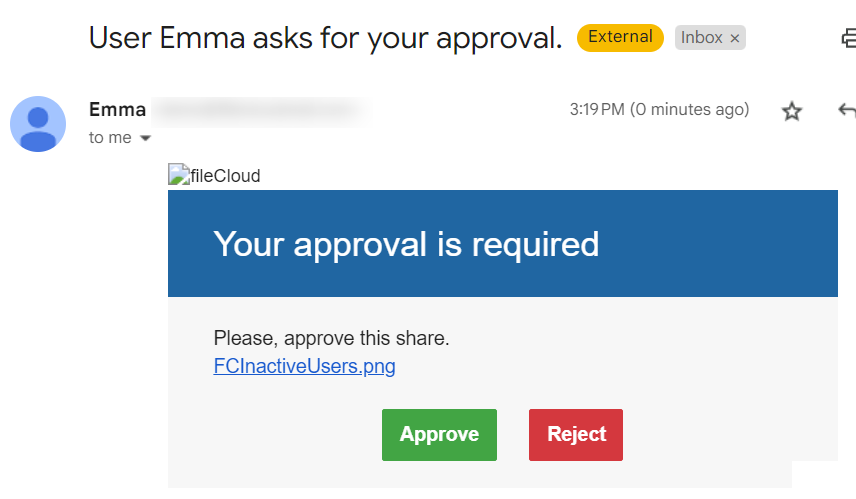
If you check Send Approval Email Notification in the Wait for Share Approval parameters, the share approver also receives an email with buttons for approving or rejecting the share from there. After approving or rejecting the share, the approver is taken to the detailed actions screen for the share.
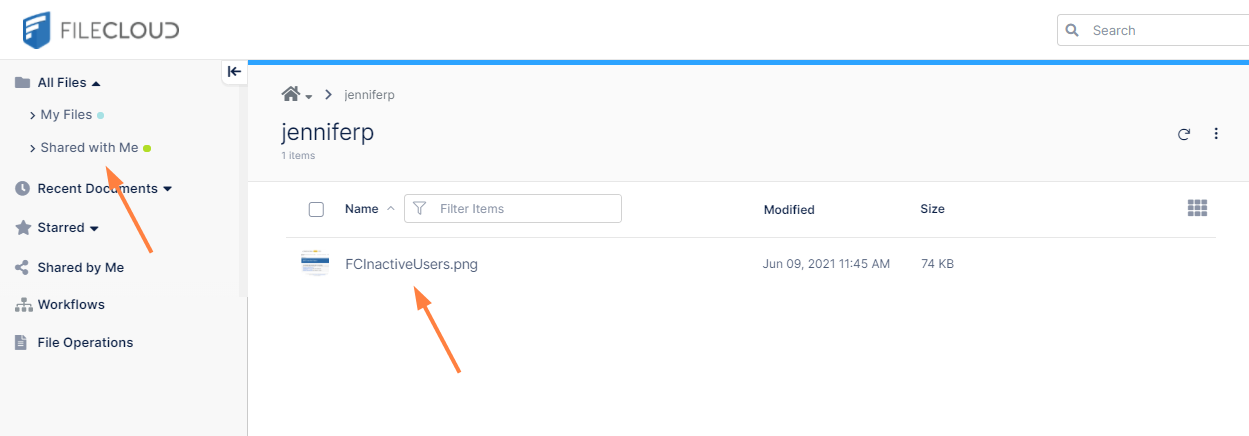
- Have the share recipient log in and click Shared with Me, then confirm that the file has been shared.
- Repeat this procedure, but have the approver reject the share, and confirm that the share recipient does not see it.
- Share a file.
- Notify your FileCloud Admin of the name of the Share Approval workflow, and request that it be enabled.
The workflow will not be active unless your Admin enables Share Approval workflows and specifies this workflow name.


