You are viewing an old version of this page. View the current version.

Compare with Current View Page History

« Previous Version 47 Next »

AirSend channels are the places where you collaborate with clients or team members by exchanging messages, sharing files, assigning tasks, organizing files, and saving notes. You can create an AirSend channel in a few simple steps.

This video shows you how.


1. Open AirSend, and click the Create New Channel icon.

2. Enter a channel name and any number of members.

3. Click Create Channel.


That's it. You're ready to go!

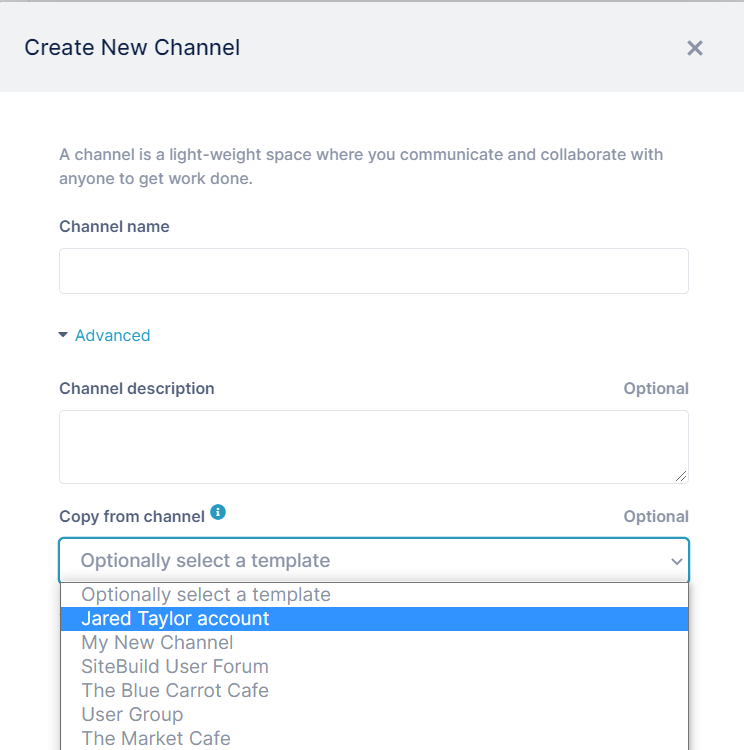
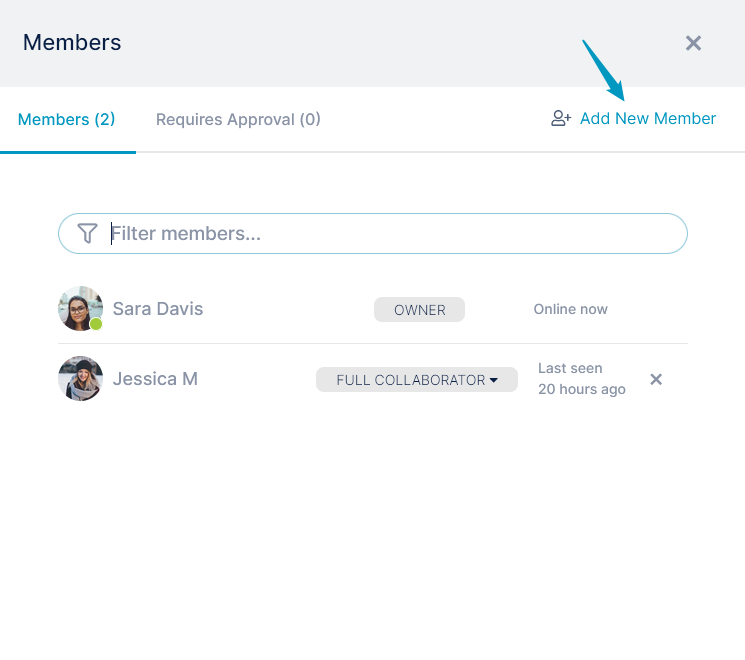
Now you can begin sending messages, sharing files, and assigning tasks.


Advanced create options

When you are creating a channel in the Create New Channel dialog box, you can click Advanced to add a channel description or to copy the channel from an existing one.
If you copy from a channel, the new channel will include the same files, actions, and wiki content as the original channel, and have the same background and logo if you have customized them.  

You can add more members at any time

  1. Click the members icon at the top of the channel.
  2. Click Add New Member.

    The Share Your Channel dialog box opens.
    It enables you to either add users directly to your channel or to copy a link and send it to users to give them the option of joining:


In AirSend, there are different member types. Channel creators are Owners with full privileges, and other members are Full Contributors or Viewers by default. Additional member types can be assigned to give channel users increased privileges.

For more information, see Member types.

To customize your channel by adding your own logo or background, see Style and Customization.


Next: If you've been added to a channel


Also see:

Member types

Messaging inside an AirSend channel

Direct Messaging


  • No labels