Customizing CSS
To customize CSS, you may enter the path of a custom CSS file and directly enter custom CSS entries. They will both take effect.
Using a Custom CSS File
You can specify an alternative Cascading Style Sheet (CSS) to customize any element of the User Portal's interface.
Some in-depth knowledge of CSS is required.
Step 1: Confirm that rewrite rules are enabled
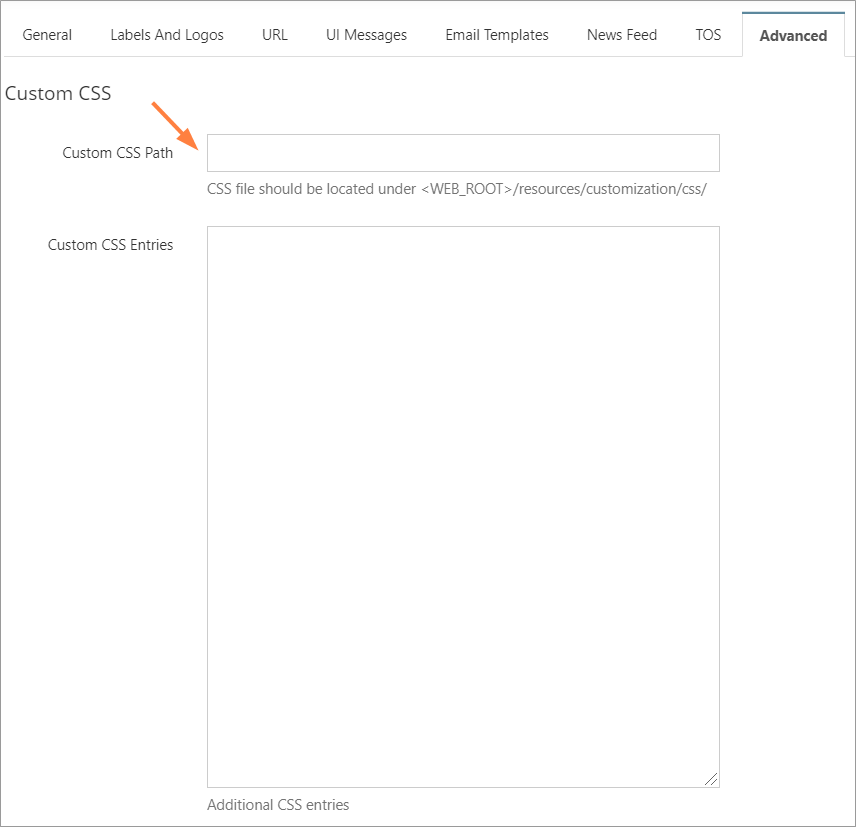
Step 2: Configure the Custom CSS Path
In the Admin Dashboard, navigate to Customization tab and select Advanced tab. Set the relative path to custom CSS file.
For example, set the Custom CSS Path entry to be theme1/style.css, if the CSS file is created under <WEB_ROOT>/resources/customization/css/theme1/style.css.
Important Notes
- Supporting images referred in the CSS file should also be placed under <WEB_ROOT>/resources/customization/css folder, along with the CSS file.
- The directory CSS isn’t there by default. So the user has to create it.
- Some Linux systems might need the Apache user set as the owner and the group of the CSS directory (for example RHEL, set apache:apache)
- Some Linux systems might also need permission for the owner of the CSS directory to be set as read/write/execute.
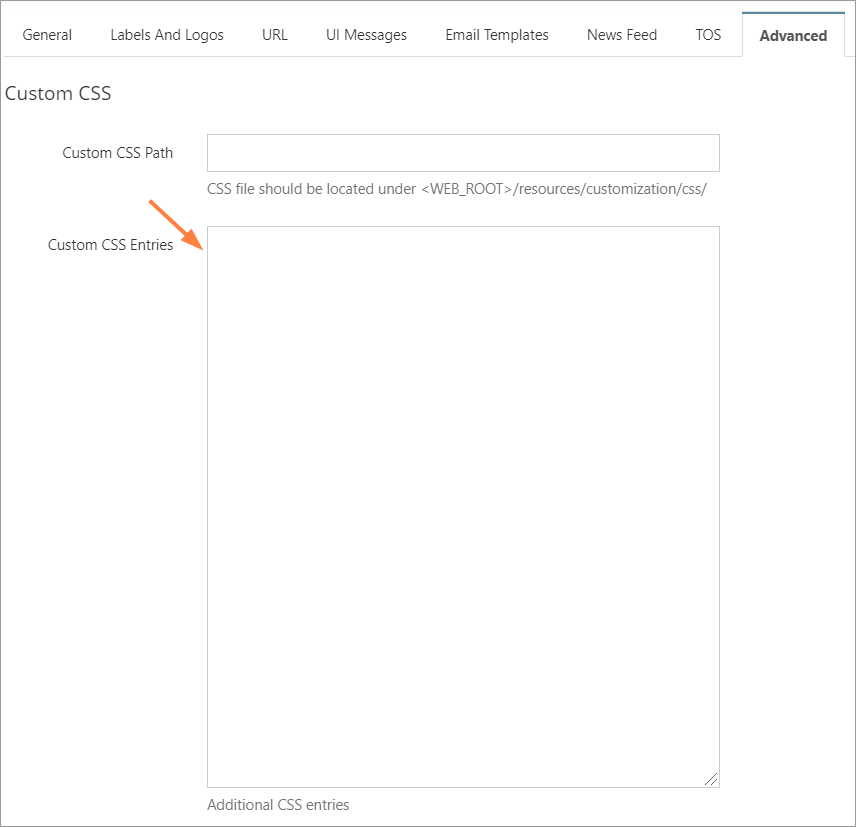
Enter Custom CSS Entries
In the admin portal navigation panel, click Customization, and click the Advanced tab. Enter your custom CSS into the field Custom CSS Entries.
Sample
.navbar {
 background-color: lightyellow;
}

.btn {
    border: none;
    color: black;
    padding: 5px 5px;
    text-align: center;
    text-decoration: none;
    display: inline-block;
    font-size: 16px;
    font-family: cursive;
}

.sidebar {
 background-color: lightblue;
 font-family: "Gill Sans", sans-serif;
}

.main-content {
 font-size: 20 px;
 font-family: "Gill Sans", sans-serif;
}
Note: Additional CSS entries are enforced in addition to those specified in the custom CSS file or manual entries.
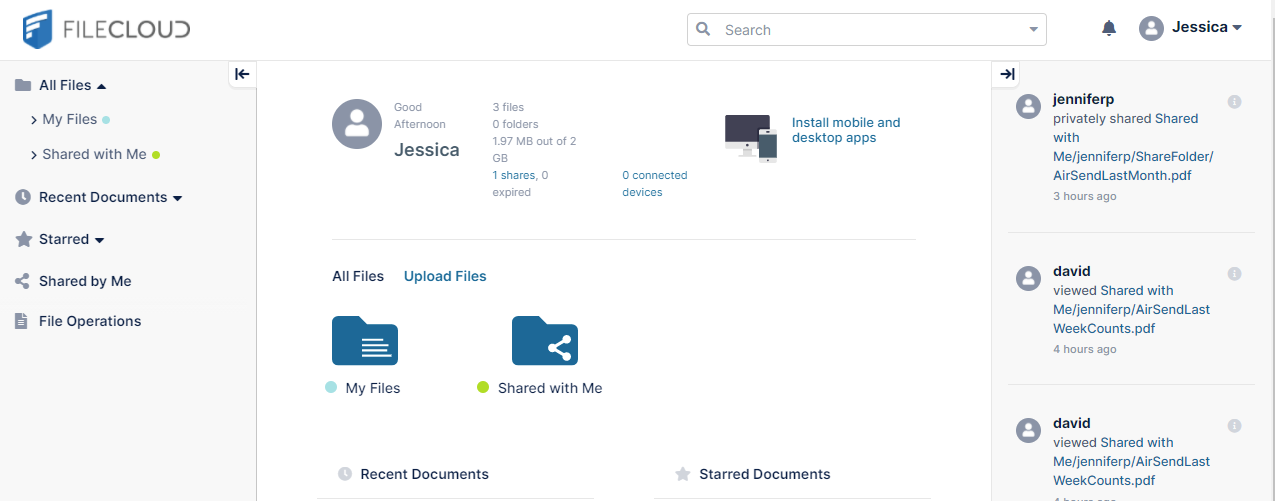
Before Custom CSS
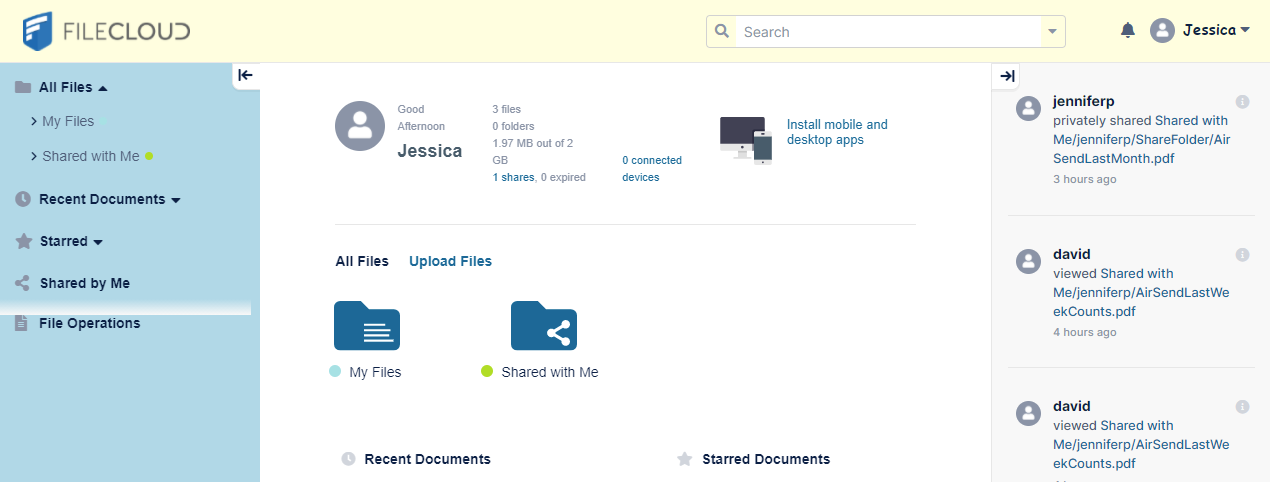
After Custom CSS
Your custom attributes take precedence over the attributes set in the theme assigned by you or the theme users select.


