Managing Groups
A FileCloud Admin can manage User Groups.
Once a user group is created, the following operations can be performed:
- Change group details
- Delete a group
- View and Change Group members
To add a group, see Group Settings.
Change a User Group Name
You can change any FileCloud group's name except for the Everyone group.
To change a group's name:
- Log on to admin portal.
- In the navigation panel, click Groups.
- Click the Edit icon for the desired group from the list of groups.
- In the Manage Group dialog box, change the group name.
- Click Save once the change is complete.

Delete a User Group
To delete a group:
- Log on to the admin portal.
- In the navigation panel, click Groups.
- Click the Delete icon for a group to remove it from the list of groups.
- Click Remove to confirm deletion.

Once a group is removed, network shares shared with that removed group will no longer be available to the former members of the group
View and Change Group Members
You can change the members in any FileCloud group except the Everyone group.
To change a group's members:
- Log on to admin portal.
- In the navigation panel, click Groups.
- Click the Edit icon for the group.
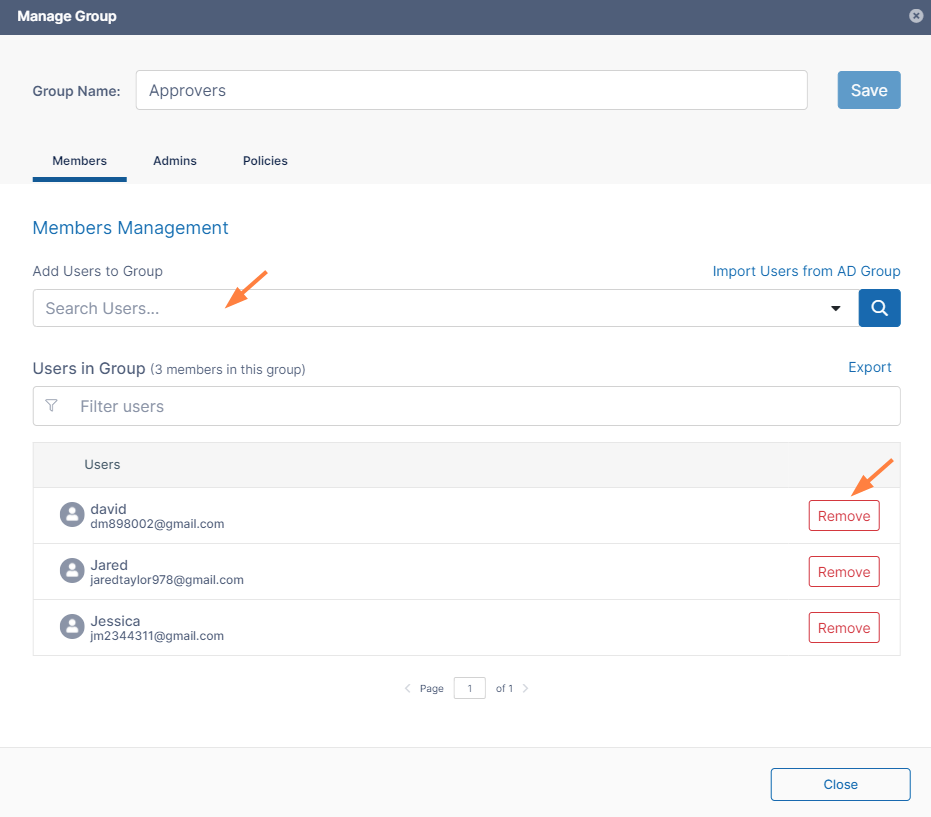
- In the Members tab, view the members of the group.
- To add a member, enter an existing FileCloud user's name or email address in the search bar, and click Add.
- To remove a user, click Remove next to the user's name.
Exporting a list of users in a group
To export a list of users in a group:
- In the navigation pane, click Groups.
- Click the Edit icon for a group.
- In the Members tab of the Manage Group dialog box, click Export.
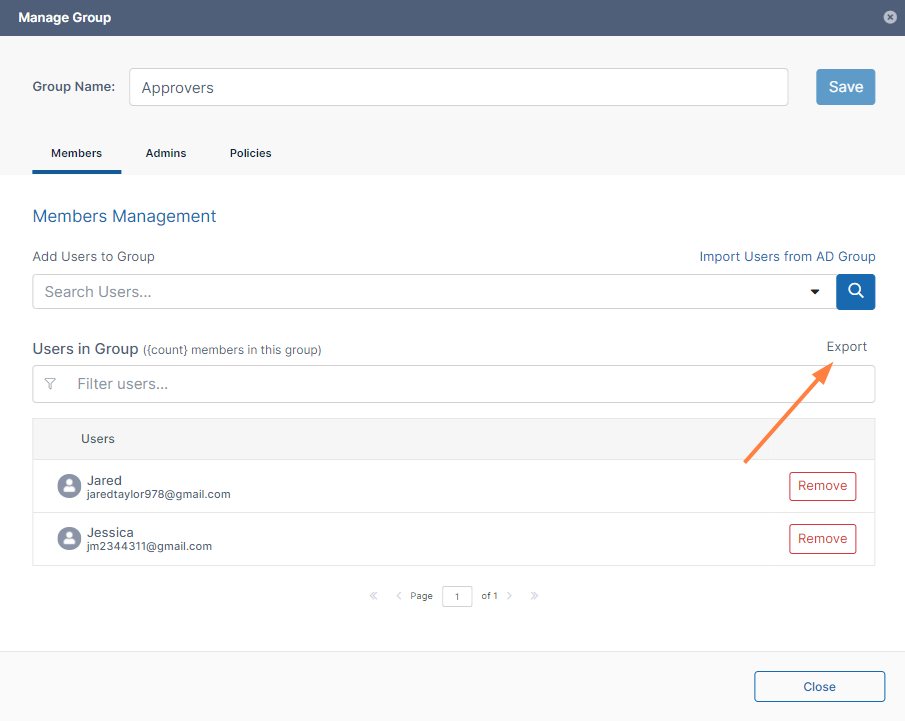
A csv file of users displaying the following fields is exported:
To import an AD group into a FileCloud group, see Group Settings