Create an Archival Policy
![]() An Archival policy type is designed to help you create a more cost effective systems for long term.
An Archival policy type is designed to help you create a more cost effective systems for long term.
Therefore, you can create a policy to move and store old organizational content in the following ways:
- If you choose No Action, you will see an error that it is not supported and you will not be able to create the policy
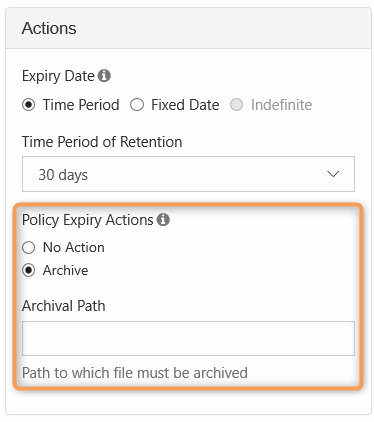
- After the specified time period is reached, content gets moved to a specific folder or location (Archive)
The following table identifies what actions are blocked for an Archival type of retention policy.
| Policy Type | Reads Blocked | Moves Blocked | Copies Blocked | Updates Blocked | Deletes Blocked | Policy Length | Expiration Actions |
|---|---|---|---|---|---|---|---|
| Retention | NO | NO | NO | NO | YES |
|
|
![]()
![]()
Creating the Policy

To create an Archival Policy:
- Log in to the Admin Portal.
- From the left navigation pane, select Retention.
- On the Manage Retention Policies screen, click the Add Policy button.
| Property | Description |
|---|---|
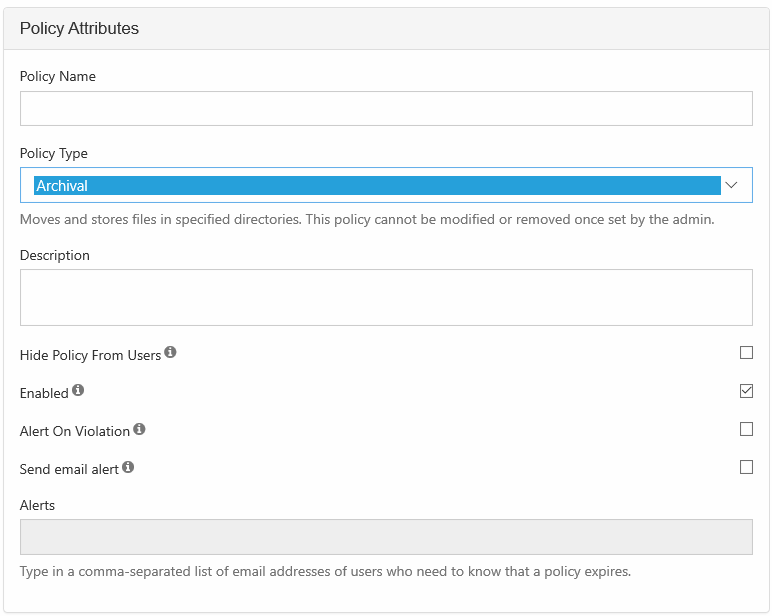
| Policy Name | A string of characters, letters, and numbers that provide a title for the policy |
| Policy Type | Select Archival |
| Description |
|
| Hide Policy from Users |
|
| Alert on Violation | Displays an alert in the Admin portal on the Governance dashboard.
|
| Send email alert | Notifies all provided recipients that there are only 7 days until the policy expires.
|
| Alerts | A list of email addresses separated by a comma who will receive the email notification that there are only 7 days until the policy expires. |
The Path and the Metadata tabs allow you to define the conditions that specify how the policy will be applied in the system.
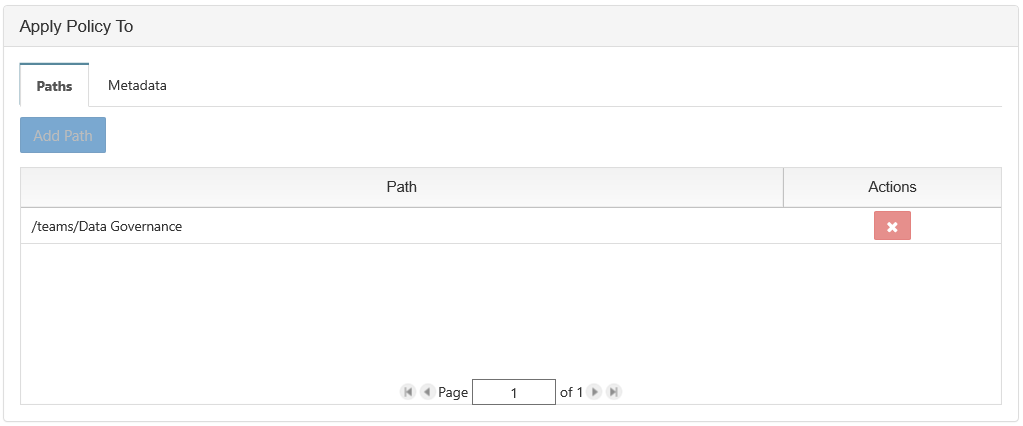
Add a Path
Add Path allows you to define a folder that a policy will apply to AS WELL AS all the files and sub-folders it contains
| What you CAN do in the Path field | What you CANNOT do in the Path field |
|---|---|
|
|
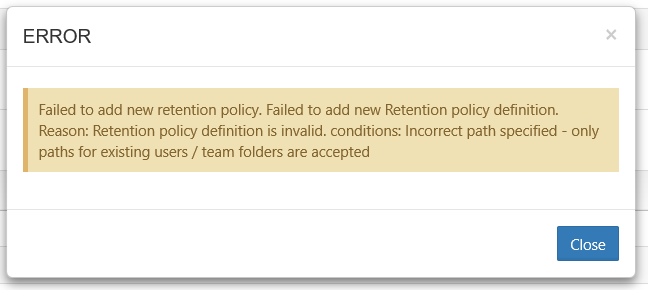
When creating the policy the full path doesn't have to exist, however. At a minimum:
|
This will prevent you from saving the policy
|
Configure Metadata
Data that provides additional information about files and folders is called Metadata.
- To specify files and folders that this policy should apply to, you can use metadata sets, attributes, and tags.
- You can use metadata to apply a policy to all files that meet the metadata conditions even if they are not in the same folder.
You can select metadata from the following existing attributes or sets:
- Default sets = provided with FileCloud and applies to every folder and cannot be modified
- Built-In sets = provided with FileCloud and includes the Document Life Cycle and Image metadata sets
- Custom attributes and sets = created by administrators in the Admin Portal
For more information about metadata, see Managing Metadata.
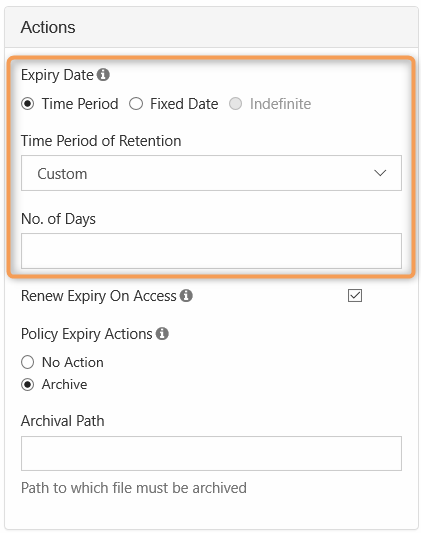
You can configure an Archival policy to expire in a set Time Period or at a Fixed Date.
| To set a Time Period:
To set a fixed date:
| ||||
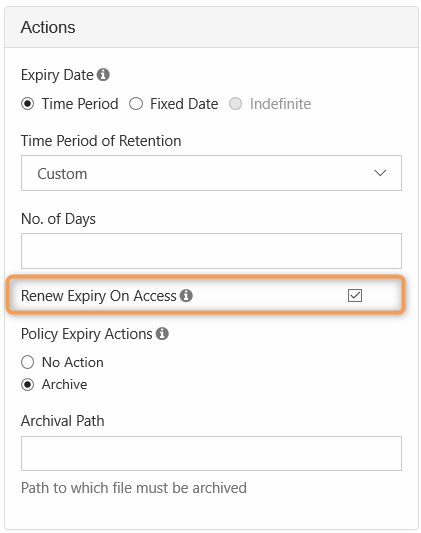
| Renew Expiry on Access: this is a set number of days or years that is used to calculate when the policy expires based on the last access date.
To set Renew Expiry On Access:
| ||||
| When a Retention policy expires, you can configure it to allow access to or delete the attached files and folders. To set Policy Expiry Actions:
|