Sharing Files or Folders Privately in Drive

When you share a file or folder privately, you can either share it with existing FileCloud users or groups or invite a new user to create a FileCloud account and then access the share.

Sharing files or folders privately:

  • Provides more security than sharing files or folders publicly.
  • Is useful when you only have a small number of people you want to share with.
  • Requires the user to log in with a FileCloud account to access the file or folder on the User Portal.


To share files or folders privately with users or groups

  1. Open your Drive folder and navigate to the file or folder that you want to share.
  2. Right-click on the file or folder and choose Show More Options > FileCloud Drive >Share Link.


    The Share Link dialog box opens.
  3. Change any of the settings under Share Options. 
    See Private Share Options for Files or Share Options for Public and Private Folders for help changing the settings.
    The Max number of downloads setting is not available for folders.
  4. In the Sharing Permissions section, click Invite Users.


  5. Click Invite Users.
    An Invite Users to this share dialog box opens.
  6. In the Add email address or account box, enter the email address or username of an existing user or a new user's email address.


    Adding an existing user.


    Adding a new user: when you click Invite, an account is created for the user and the account password is sent to their email.

  7. Click Add to add an existing user or Invite to invite a new user. 
  8. Add any number of share users. When you are done adding users, click Add Users to this Share.
    The users are added to the share and emails are sent to them with a link to the share. For information about sending and editing share emails to users, see Sending an email notification for a private share, below.
    For any new user(s) you have added to the share, a FileCloud account is automatically created for them and an email with the account password is sent to them.
    The Users tab lists the users with checkboxes for various types of permissions next to them.

    View is selected by default, and cannot be edited.
    The permissions available for files and folders are different. See Private Share Permissions for Files or Private Share Permissions for Folders for more information.
  9. Change any of the permissions.
  10. Click OK.

If you are not able to invite a new user to access your share, contact your administrator about allowing new user account creation. See Sharing Files Privately with New Users.

The procedure for sharing files or folders privately with a group is similar to sharing them privately with a user.

  1. Follow steps 1 through 3, above, in Share a file or folder privately with an existing or new user.
  2. In the Share Links dialog box, click the Groups tab.


  3. Click Add Group.
    An Add Group dialog box opens:


  4. Choose a group and click Add.
  5. The Groups tab lists the group with checkboxes for various types of permissions.


  6. View is selected by default, and cannot be edited.
  7. Change any of the permissions.
  8. Add any number of additional groups.
  9. Click OK.

Sending an Email Notification for a Private Share

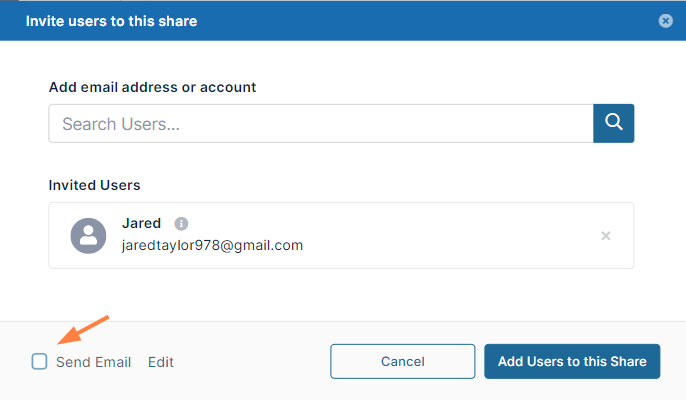
By default, when you are adding a user to a private share, the Send Email box in the Invite users to this share dialog box is checked.  

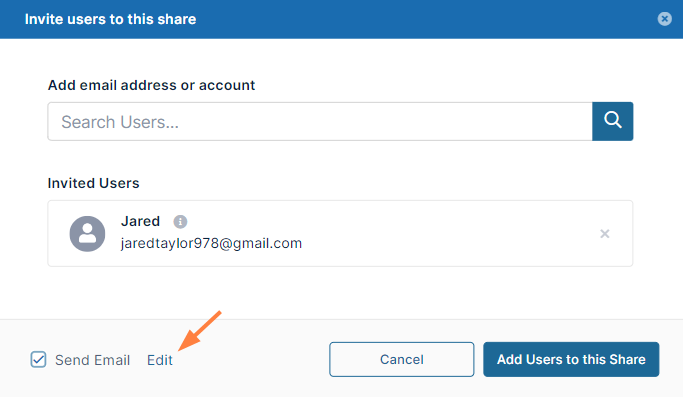
If you leave the box checked, an email with the share link is sent to users added to the share.

To not send the email to share members:

  1. Uncheck Send Email before clicking Add Users to this Share.


To customize the email content

  1. Leave Send Email checked and click Edit.


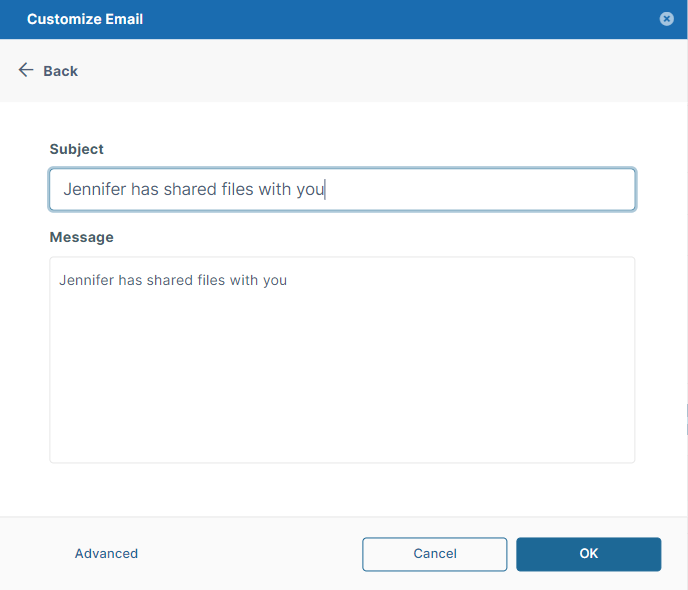
    An email form with the subject and text message of the email opens.
  2. If you want to change the subject or text of the message, change it here, and click OK
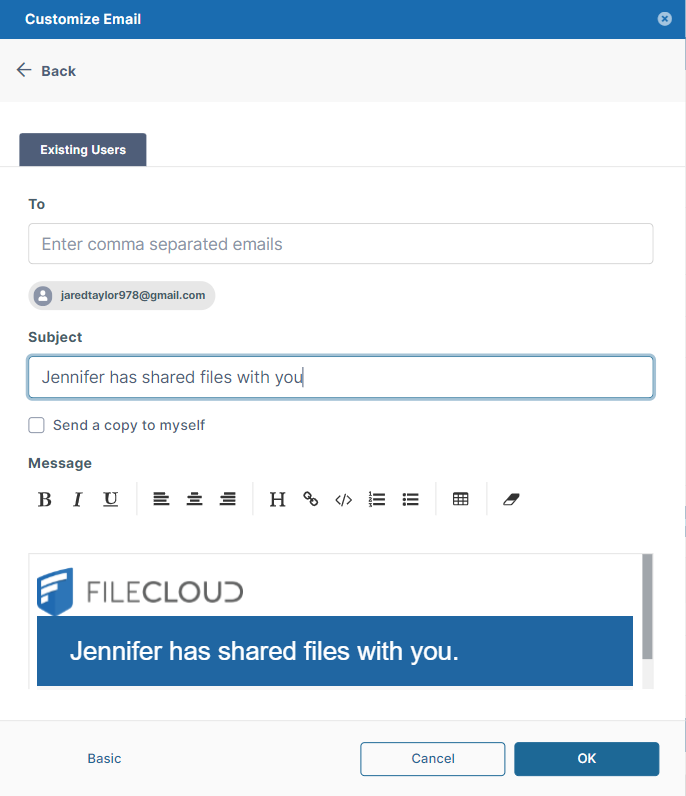
  3. If you want to add additional recipients, change the format of the email, or remove the link, click Advanced.
    An email form with additional customization options opens.
  4. Make any changes, and click OK.