Bulk creation of User Accounts from a CSV File
You can create multiple accounts at one time using a CSV file.
When you create multiple accounts at one time, all accounts will initially have the follow settings:
- Default Authentication
- Status: Guest Access (user account type)
- Email Verified: YES ( allow users to immediately log in with their passwords)
As the Administrator, you can change the authentication and access level once the user account is created.
Format of CSV file for creating user
To import from a CSV, create a simple text file with the all the user account information. The format of the created file is explained below:
UserName, EmailID, Password, DisplayName, Status, ExpirationDate, Groups, EmailVerified
| Field | Description |
|---|---|
| UserName | The user id. |
| EmailID | A unique email id to be associated with the user. |
| Password | Password for the user. Must follow password requirements (minimum length, etc.) |
| DisplayName (optional) | The name that appears in the user interface for the user. Default is same as UserName. |
| Status (optional) | The user's account type (access level). Options are Guest|Full|External. Default is Full. |
| ExpirationDate (optional) | The date the user account will expire. Default is none. |
| Groups (optional) | The group or groups the user belongs to. If there are multiple groups, separate them with the | character. Note: FileCloud can only recognize group names if you do not insert spaces between the group names and the | characters:
|
| EmailVerified (optional) | Whether or not the user can initially log in without administrator approval after the account is created. NO - Email is not verified, so administrator must approve account before user can log in. Administrator approval is only required for the initial login. |
Below is a sample csv file for import.

Importing a CSV File
To import a CSV File:
- Log on to the Administration Portal
- Click Users in the left navigation panel.
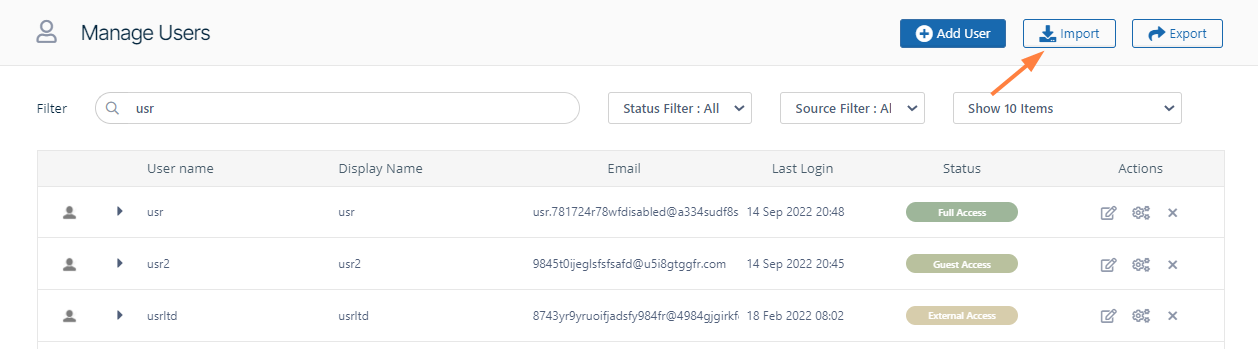
- Click the Import button in the upper-right corner to open the import dialog box.

- Click Choose File, and select the CSV file containing the entries of users to be created.
- To send a notification to each user imported, check Send Email Notification. (Added in FileCloud 20.1)
- To include each user's password in the email, check Include Password in Email.
- Click Import.
When the process is complete, a report is generated indicating the status of each user account creation.
Note: To export a CSV file of the users in your system, click the Export button.
The fields exported are the same as the imported fields with the addition of the fields DisableNotifications, LastLogin, Authentication Type, MobilePhone, and Effective Policy.
Notice that the Password value is not exported.