Workflow Example: PO Approval and Submission
This example shows you how to create a workflow that automatically processes purchase orders from the internal approval phase to the external fulfillment phase.
In the example, a company has a PO In folder, where employees can move purchase orders that they want approved. Once a new file is in the folder, the PO approver is sent a notification. The PO approver reviews the purchase order and approves it or rejects it.
If the PO is approved, it is automatically moved to a PO Approved folder and an email is sent to the user who processes the PO at the external vendor who can then begin reviewing and fulfilling it.
If the PO is rejected, it is automatically moved to a PO Rejected folder and an email is sent to the Purchasing department's email list so the employee who submitted the PO knows its status.
This example can be extended to work with multiple vendors, as shown below under Expanding the example to work for multiple vendors.
One Vendor Workflow Example
This example assumes that you have already added a Purchasing group and Purchasing users, an internal PO Approver user, and an Order Processor user for the external vendor. For help setting up these components, see:
In addition, this example assumes you have a group email set up for your Purchasing group users that includes all of the users in the group.
The example is broken down into the following sections:
- Set up the PO folders and give the Purchasing team, PO approver, and order processor the correct permissions.
- Set up the workflow.
- Test the workflow.
- Optionally, set up processing for multiple vendors.
Set up the Team Folders
For help with Team Folders, see:
- Log into the admin portal, and set up three Team Folders for purchase orders: PO In, PO Approved, and PO Rejected.
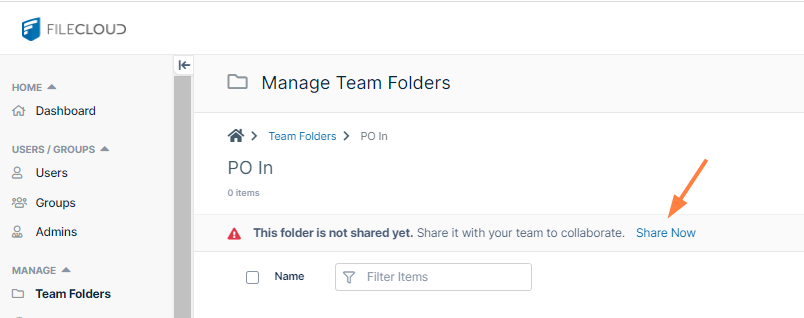
Share the folders with the following users:
PO In - Share with your company's PO approver and your Purchasing team (the users who submit POs).
At minimum, give the PO approver View, Download, Upload and Delete access.
Upload access is only necessary because it is required for Delete access (which is required to move the PO from PO In to PO Accepted or PO Rejected).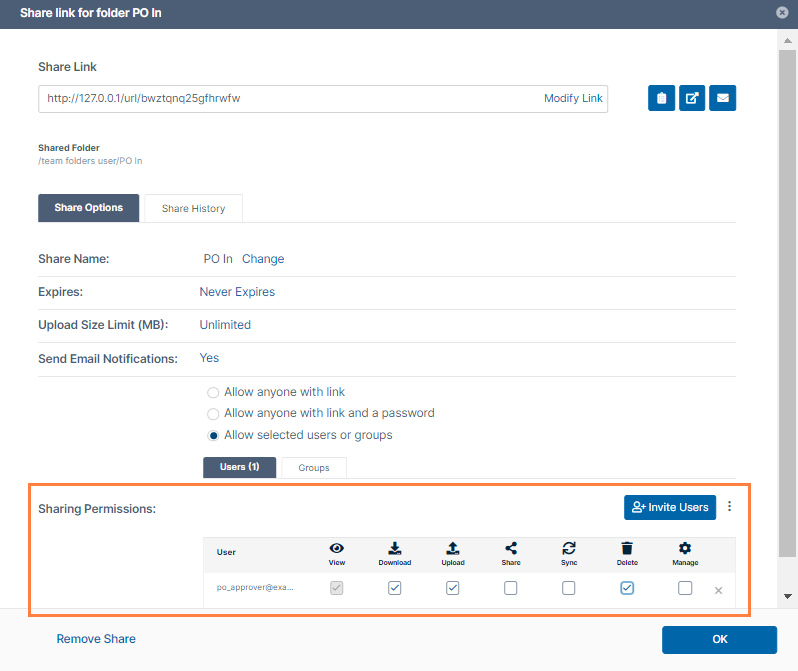
At minimum, give the members of the Purchasing team View and Upload access.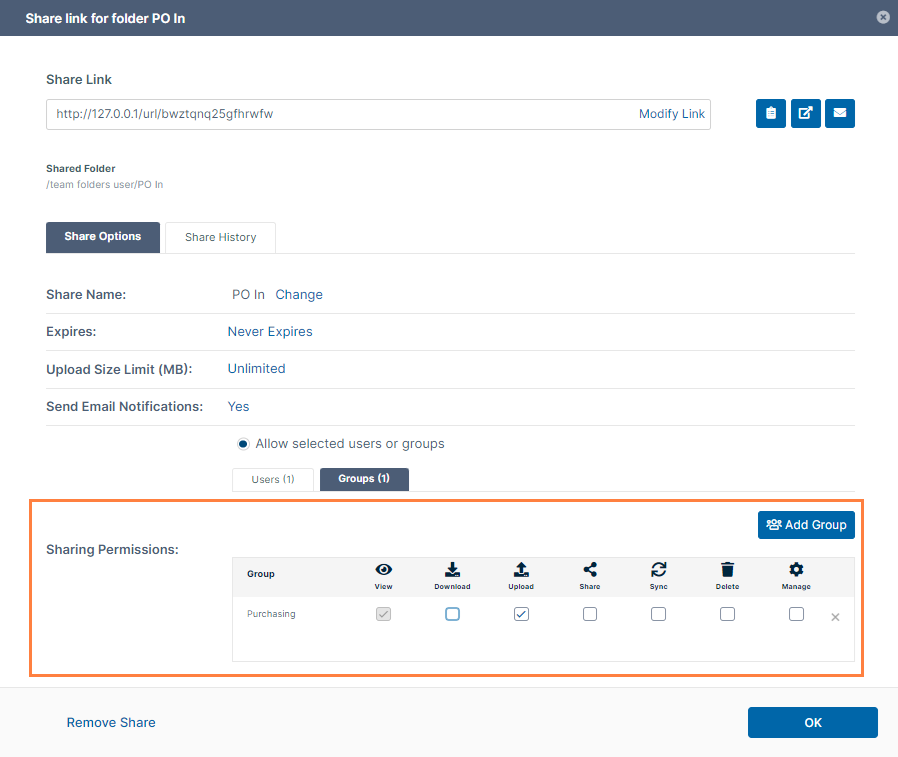
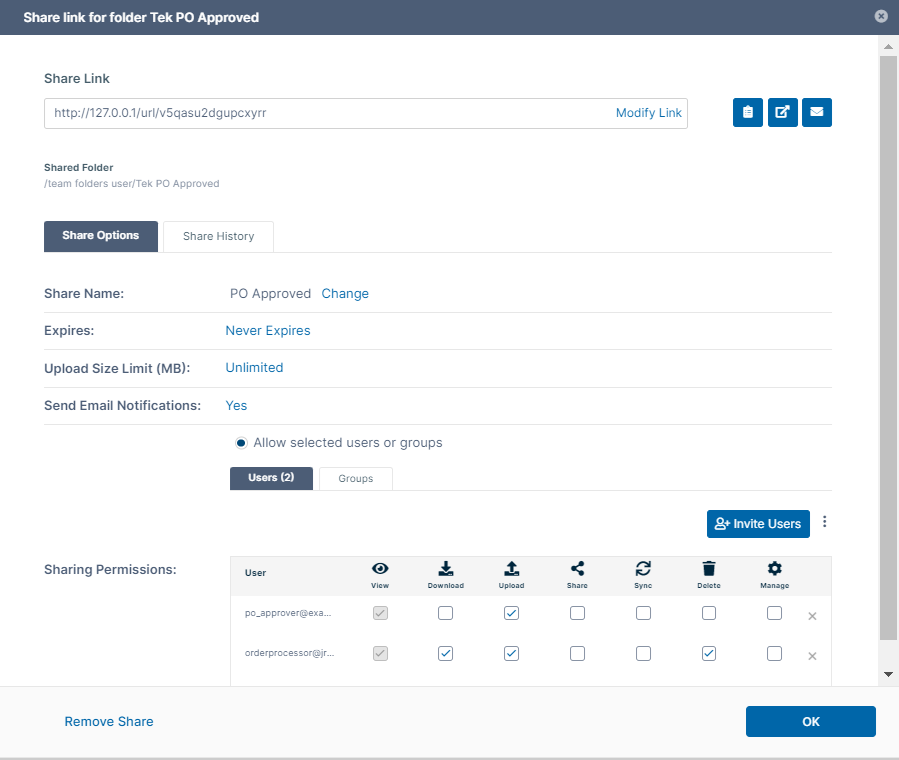
PO Approved - Share with your company's PO approver and with the vendor's order processor.
At minimum, give the PO approver View and Upload access.
Give the order processor at the vendor View, Download, Upload, and Delete access. The order processor may want to download or delete the PO from the folder.
PO Rejected - Share with your company's PO approver and with your Purchasing team.
At minimum, give the PO approver View, Download, and Upload access.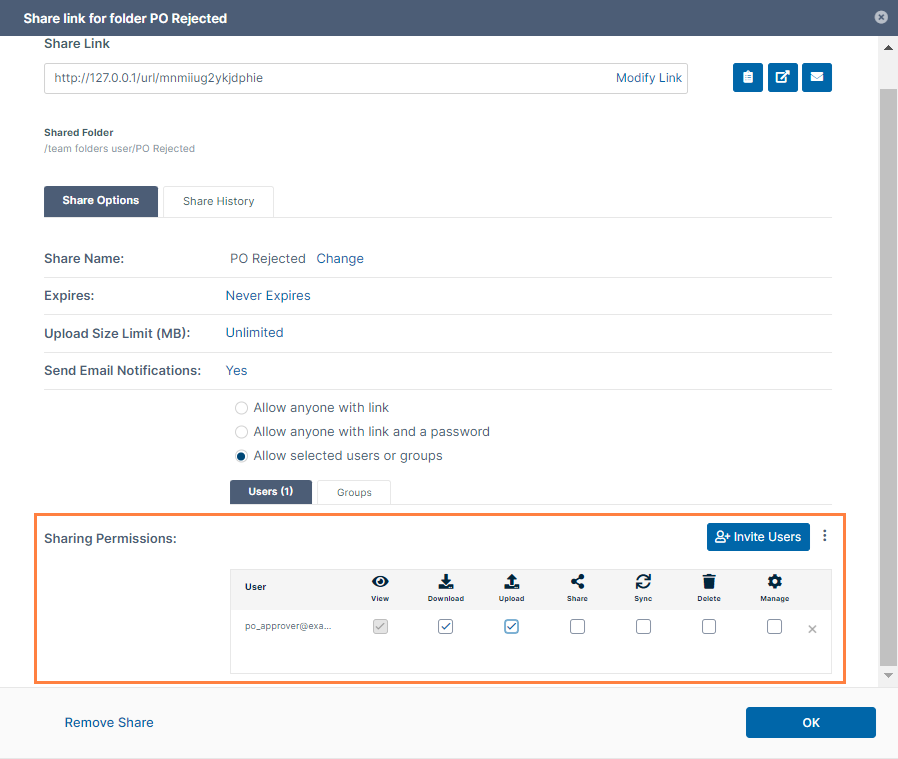
At minimum, give the members of the Purchasing team View, Download, Upload, and Delete access. The Purchasing user may want to download or delete the PO from the folder.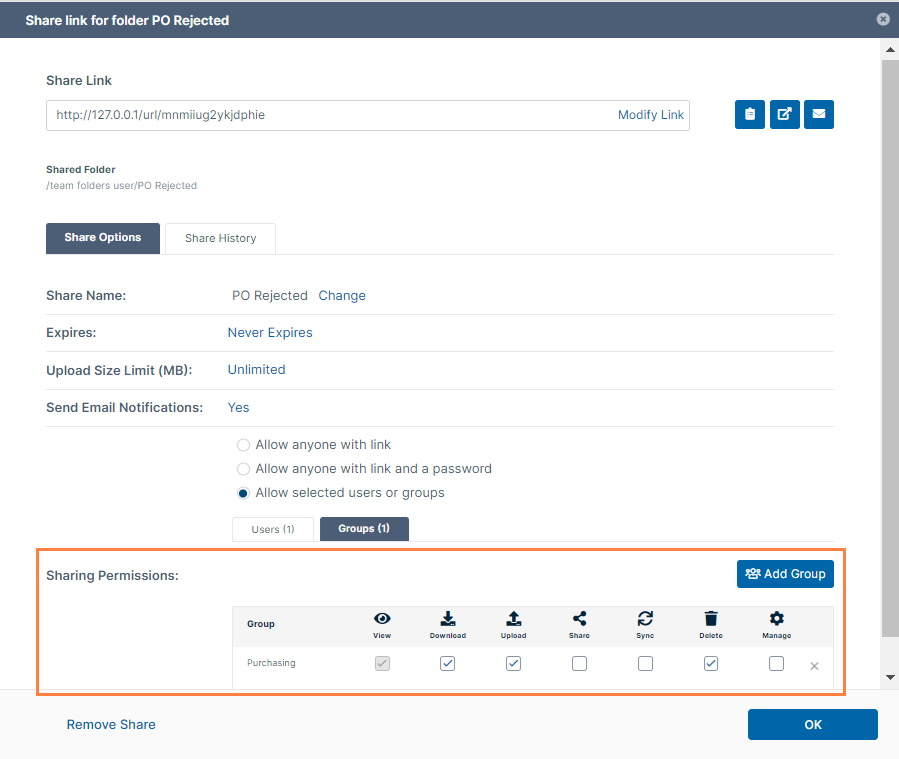
Configure the workflow
Now, create the following workflow:
- If a file is added/uploaded to PO In, notify the internal approver and wait for file approval.
- If the file is approved, move it to the PO Approved folder, and notify the vendor's order processor.
- If the file is rejected, move it to the PO Rejected folder, and notify the Purchasing team.
In this example, the PO Approver creates the workflow.
The process for creating the workflow:
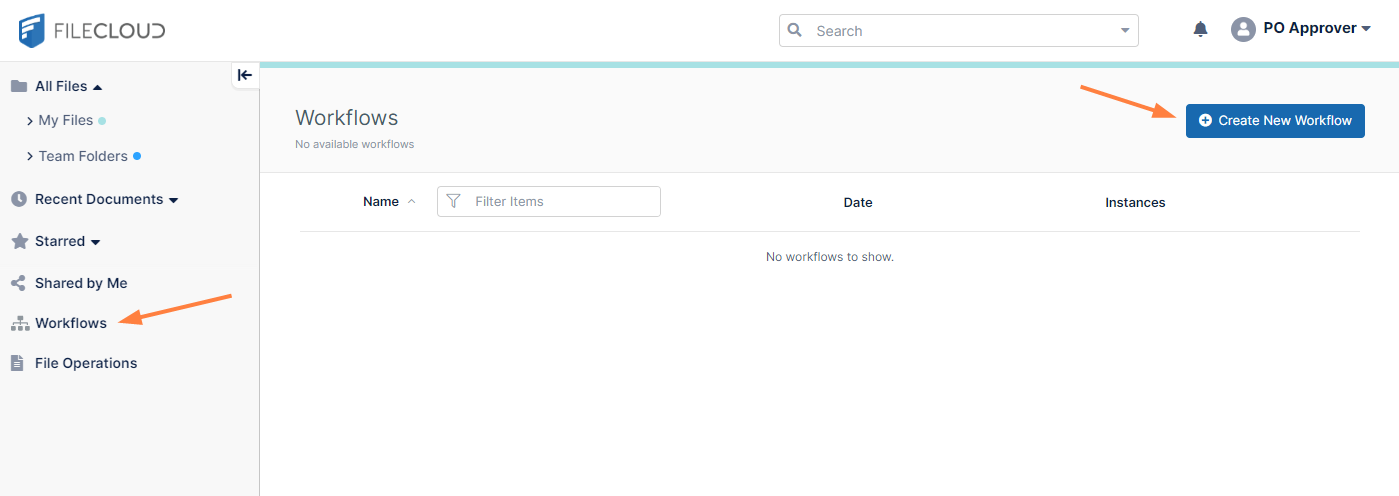
- Log into the user portal and in the navigation panel, click Workflows.
The Workflows screen opens. - Click Create New Workflow.
 .
.
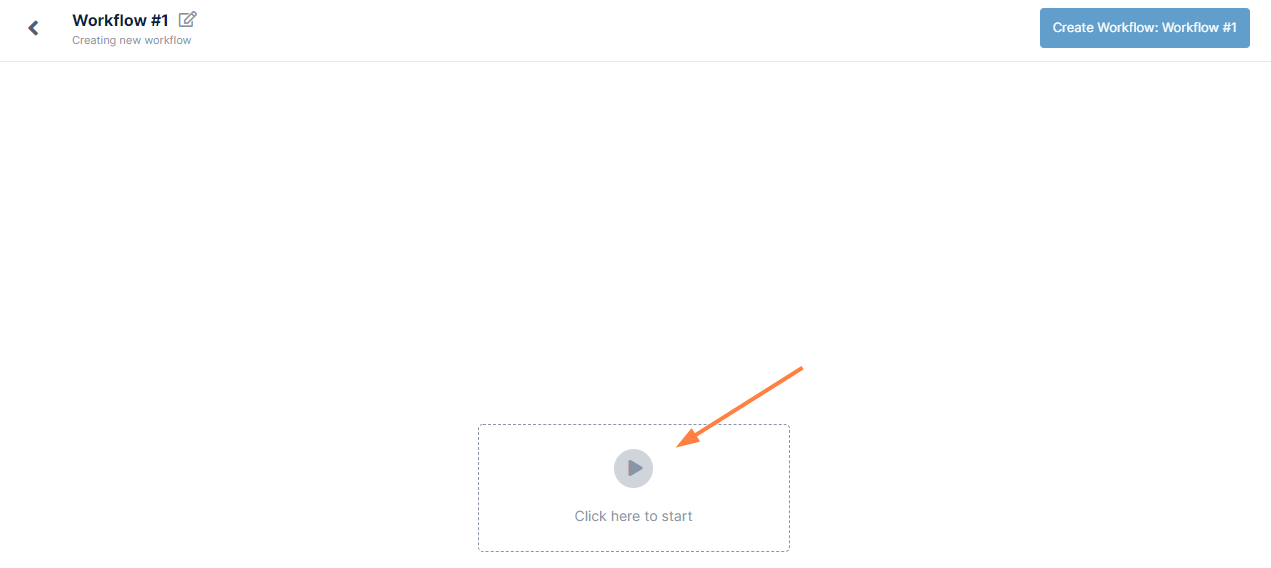
The Create Workflow interface opens. - Click Click here to start.
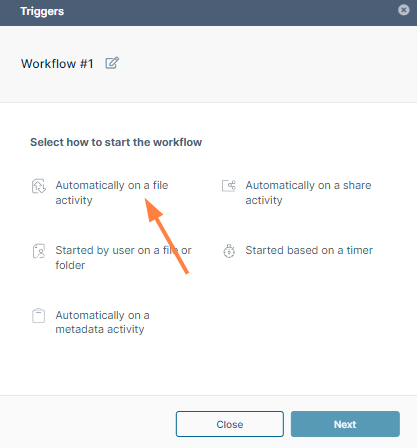
The Triggers dialog box opens. - Click Automatically on a file activity, and then click Next.
The next box allows you to choose the folder where the file activity takes place. - Navigate to Team Folders and choose the PO In folder.
- In File Event, choose If a file is created or updated.
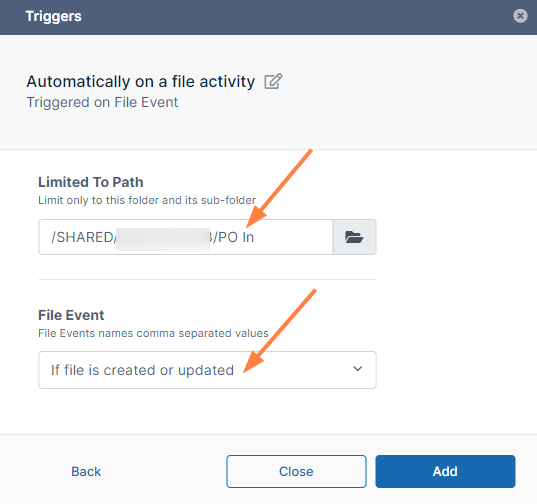
- Click Add.
The Start and Complete boxes for your workflow appear on the interface. - Drag and drop Wait for File Approval from the right panel to the + in your workflow.
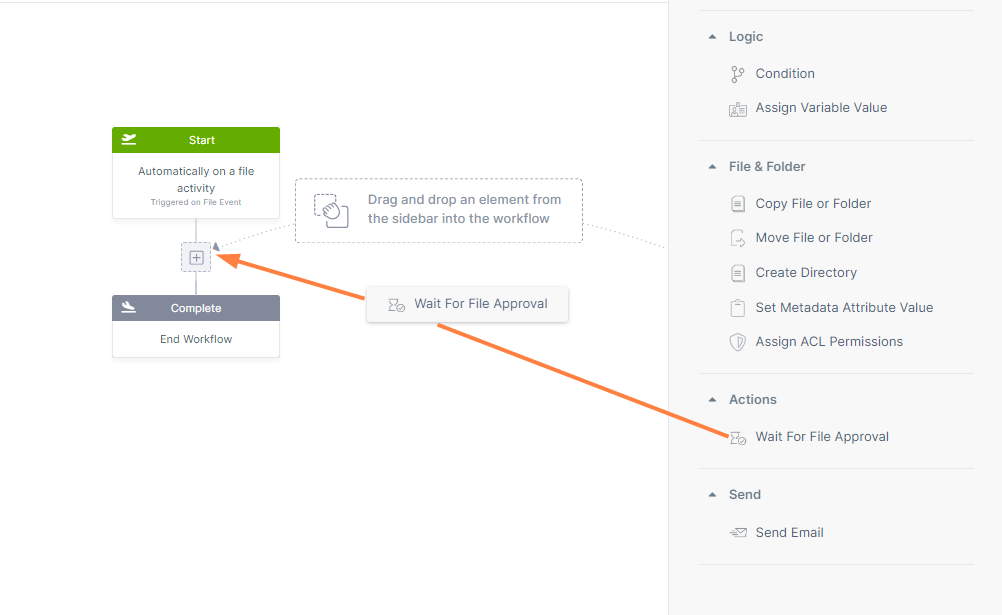
The Wait for File Approval workflow step continues in two directions, one if the file is approved and the other if it is not approved. It also sends a notification to the PO approver to let them know that a file is waiting for their action.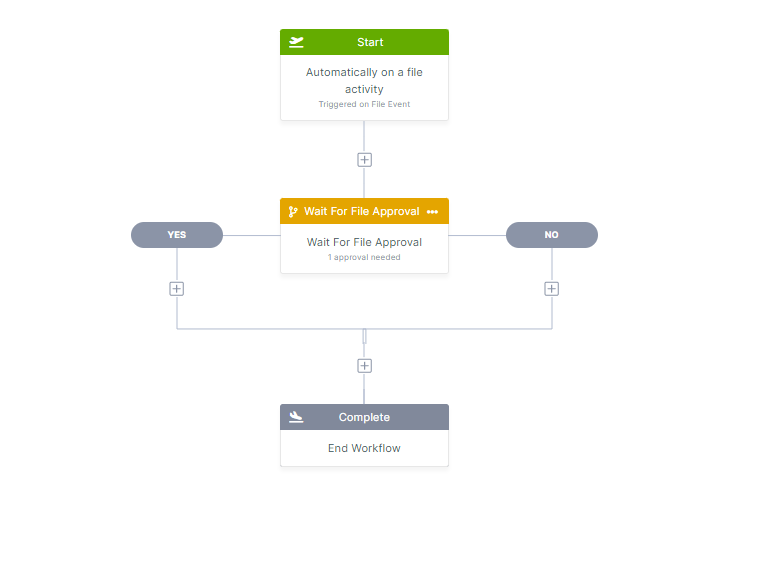
The step requires that you fill in parameters that appear in the right panel.- In Approver Emails, enter the PO Approver's email.
- In Custom Message, enter a message that tells the PO Approver that a file is awaiting action. The PO Approver will receive this notification in their user portal with other notifications.
It will be helpful if users who read the message can see the name of the PO file it refers to, so we'll add a variable with the filename to the message, which will read PO <filename> has been added to the "PO In" folder and is waiting for you to approve or reject it.
Begin typing your message, and when you reach the point at which you want to insert the variable, click + next to Custom Message to open the Insert Variables box. Hover over File full path and click Insert.
The variable is inserted into Custom Message and will appear as the file path and name when the message is displayed. Then complete typing the message.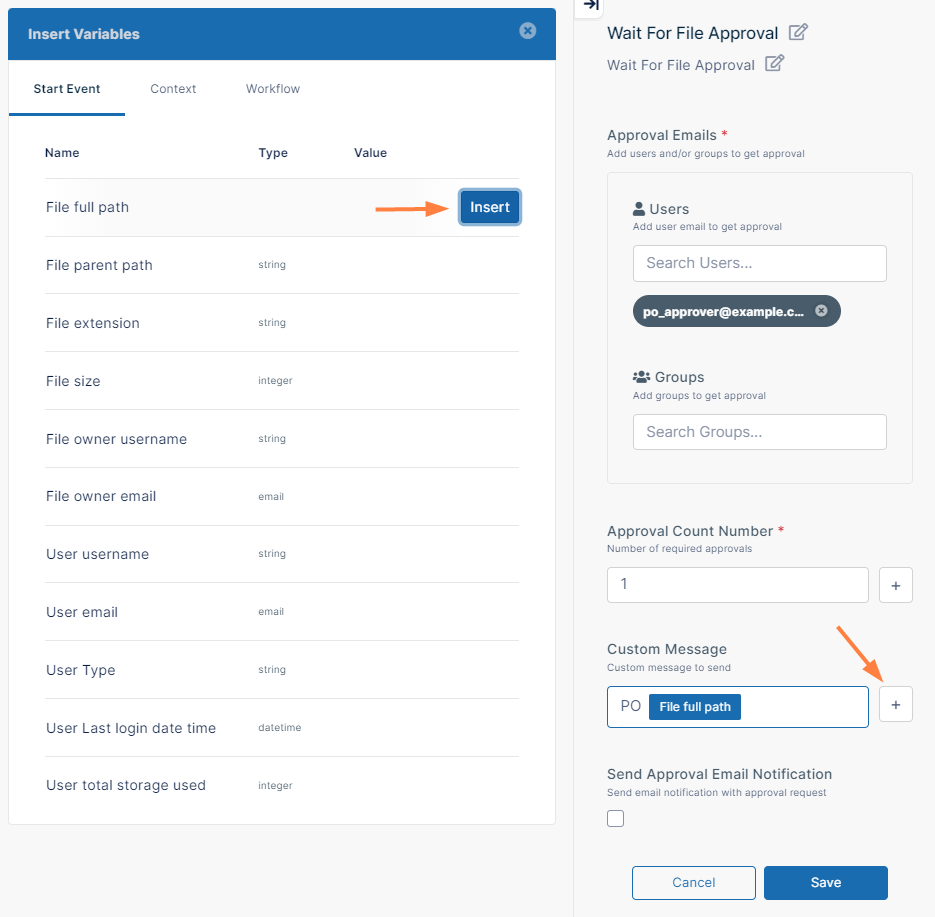
- In this example, we only require one approval, so we leave Approval Count Number at 1.
Your parameters should appear similar to: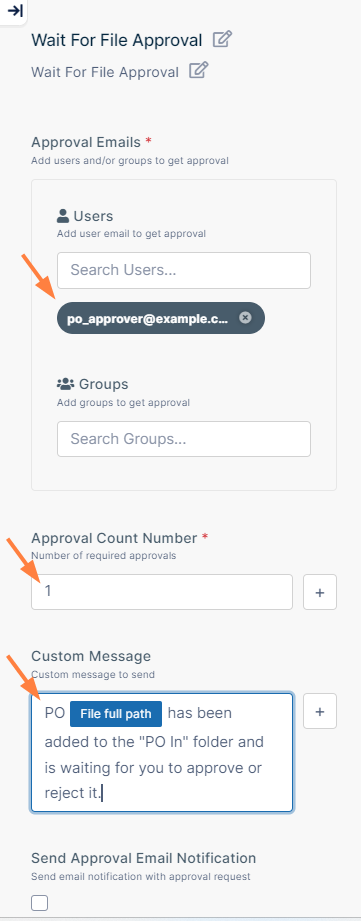
- Click Save.
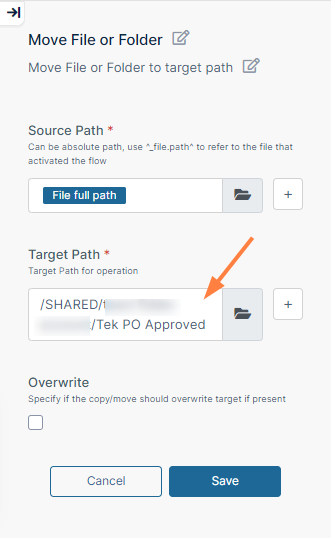
- Since the next step is to move the approved file to the PO Approved folder, drag Move File or Folder from the right panel to the + below Yes.
The Source Path is the file's current path, which is automatically entered as File full path.- Target Path is the PO Approved Team Folder. Click the folder icon and navigate back to Team Folders, and choose PO Approved.
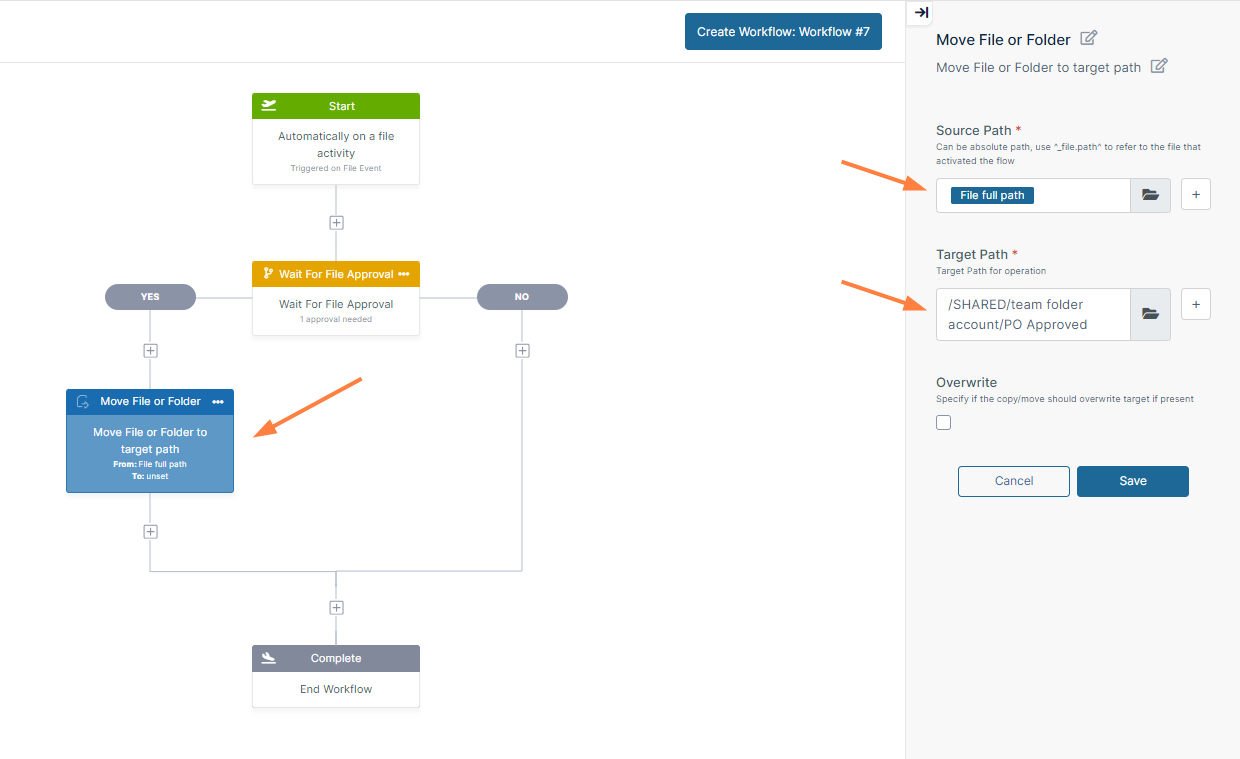
- Click Save.
- Target Path is the PO Approved Team Folder. Click the folder icon and navigate back to Team Folders, and choose PO Approved.
- Now, drag Move File from the right panel to the + below No.
The Source Path is the file's current path, which is automatically entered as File full path.- Target Path is the PO Rejected Team Folder. Click the folder icon and navigate back to Team Folders, and choose PO Rejected.
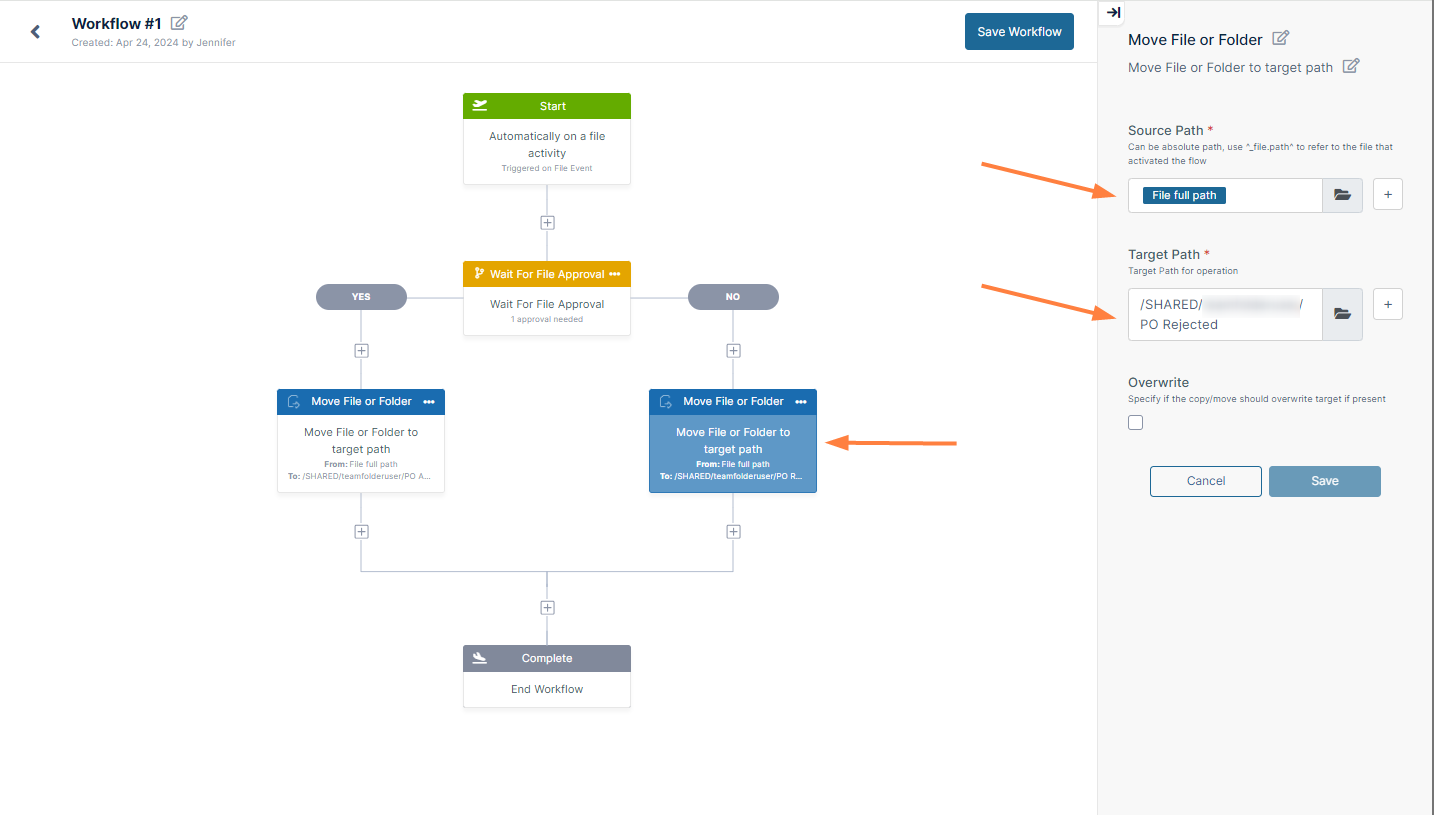
- Click Save.
- Target Path is the PO Rejected Team Folder. Click the folder icon and navigate back to Team Folders, and choose PO Rejected.
- Then add a notification workflow step after the Move File on the Yes side to inform the order processor at the vendor that a PO is awaiting processing.
Also, add a notification for the user who submitted the PO. The user will see the following pop-up notification when the approver approves or rejects the file, and may click Open to see the details: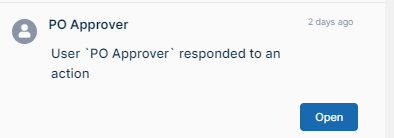
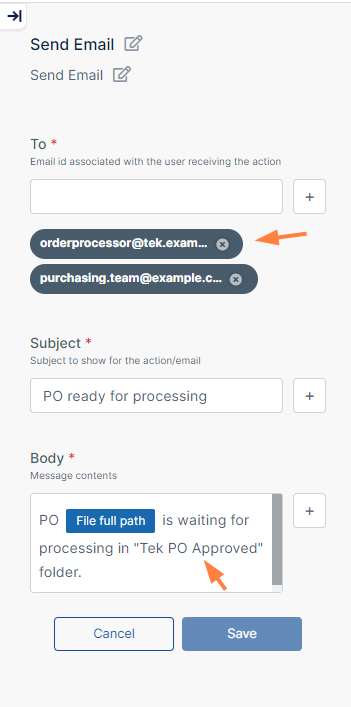
However, they will not receive email notifications unless we add them to the workflow as well.- Drag and drop a Send Email step onto the + after the Move File step on the Yes side.
- In the parameters that open in the right panel, enter:
- In To, the order processor's email and the Purchasing team's group email (add the group email for the Purchasing team since you cannot indicate the email of the specific user who submitted the PO).
- In Subject. add a subject such as PO ready for processing
- In Body add a message such as PO <filename> is waiting for processing in the PO Approved Folder.
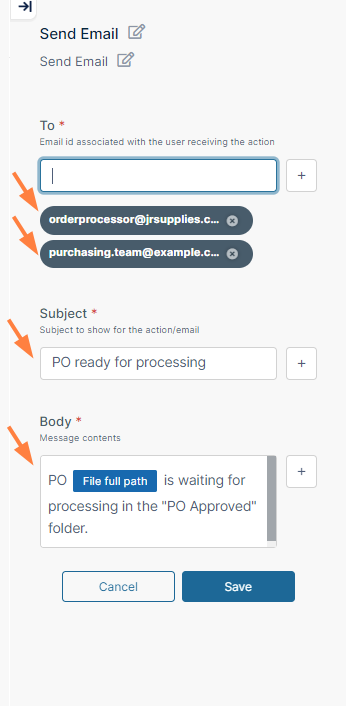
- Click Save.
- Next, drag and drop a Send Email step onto the + after the Move File step on the No side.
- In the parameters that open in the right panel, enter:
- In To: Since the user who submitted the PO could be anyone in the Purchasing department, enter the group email address for the Purchasing team. If there were only one user who added PO's, you could add that user's email.
- In Subject: A subject such as PO rejected.
- In Body: A message such as PO <filename> has been rejected. It is located in the PO Rejected folder.
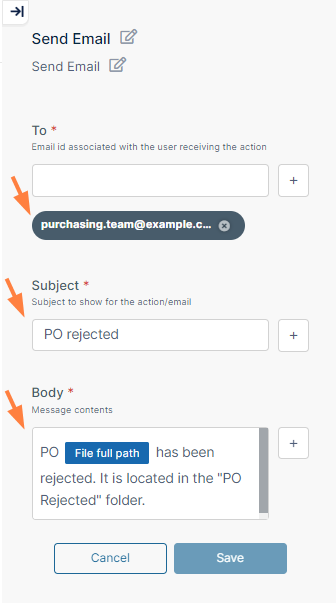
- Click Save.
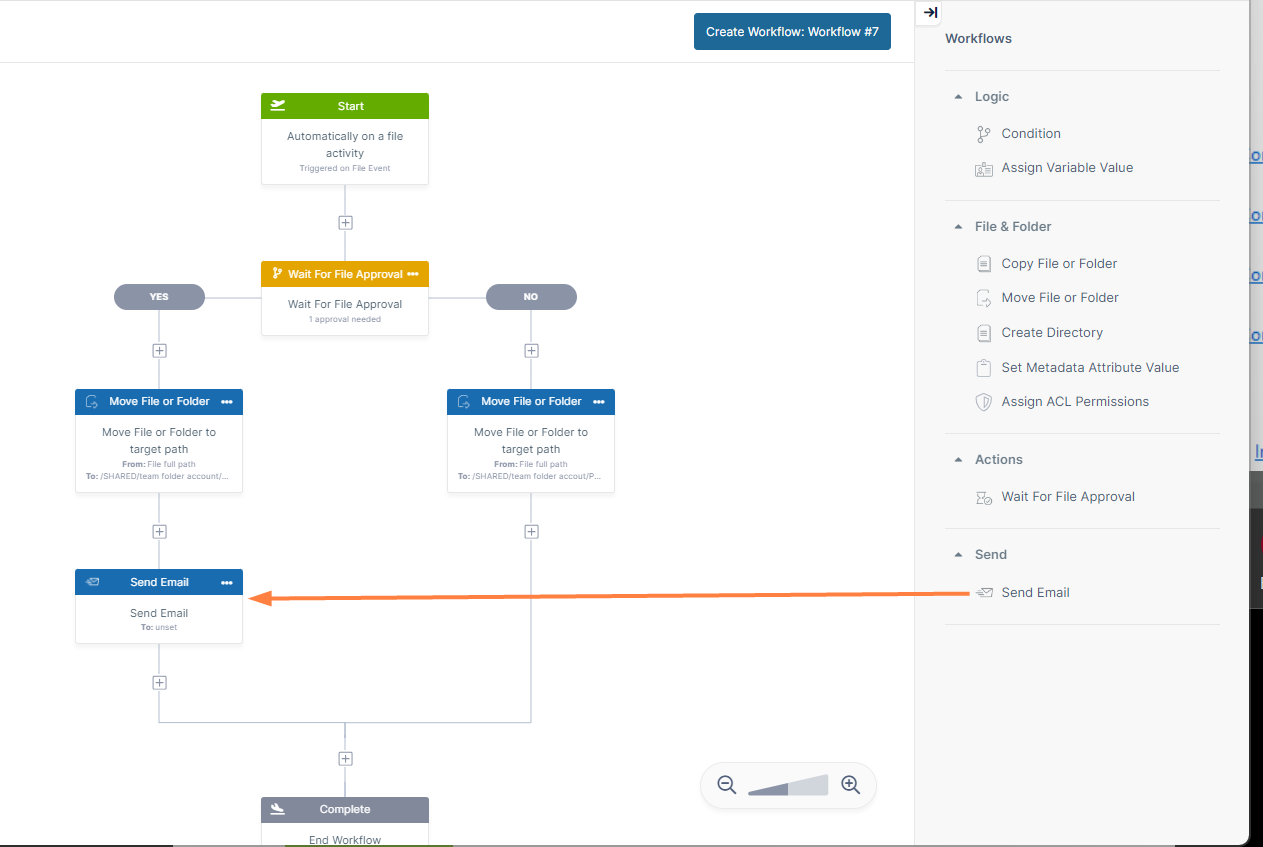
- Drag and drop a Send Email step onto the + after the Move File step on the Yes side.
- Click the edit icon next to Workflow #n in the upper left corner of the screen, and give the workflow a meaningful name, such as PO Approval Workflow.
- Click Create Workflow: PO Approval Workflow.

The workflow is now complete: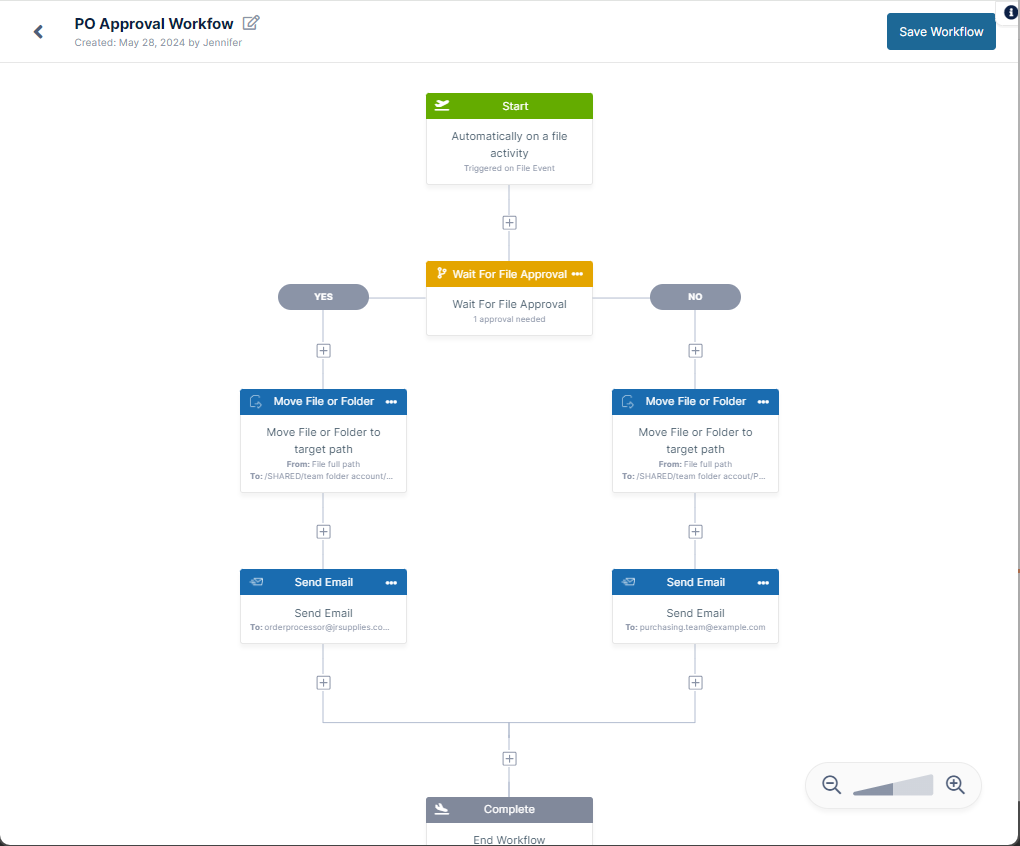
- Click Save Workflow.
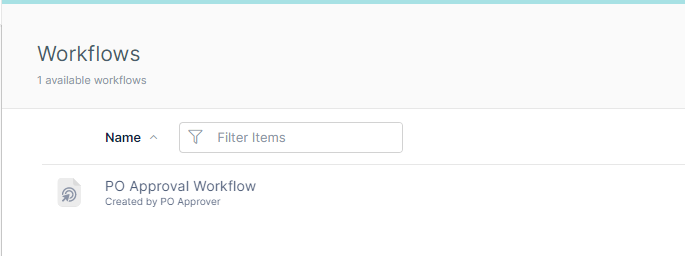
- Click < in the upper-left corner of the screen to exit the workflow and see it listed on the Workflows screen:
Test the Workflow
Before using the workflow, it is important that you test it.
- Log in to the user portal as one of the users in your Purchasing group.
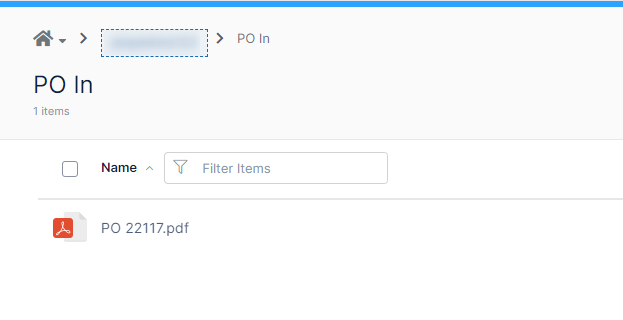
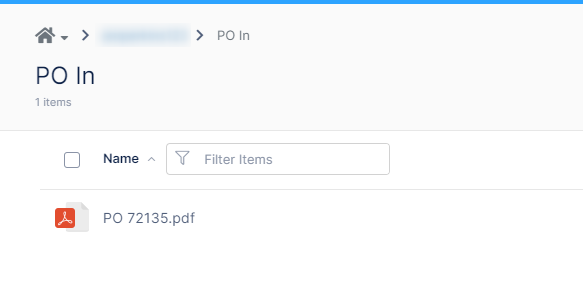
- Create a PO and move it into the PO In Team Folder.
- Now, log in to the user portal as the PO Approver.
Check if you have received a notification about the file awaiting your approval in the user portal. The message should be the same as the one you entered in the Wait for Approval workflow step.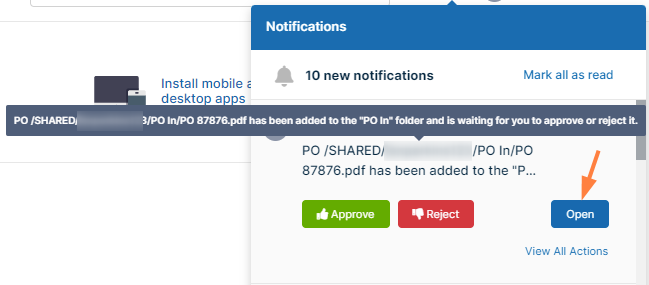
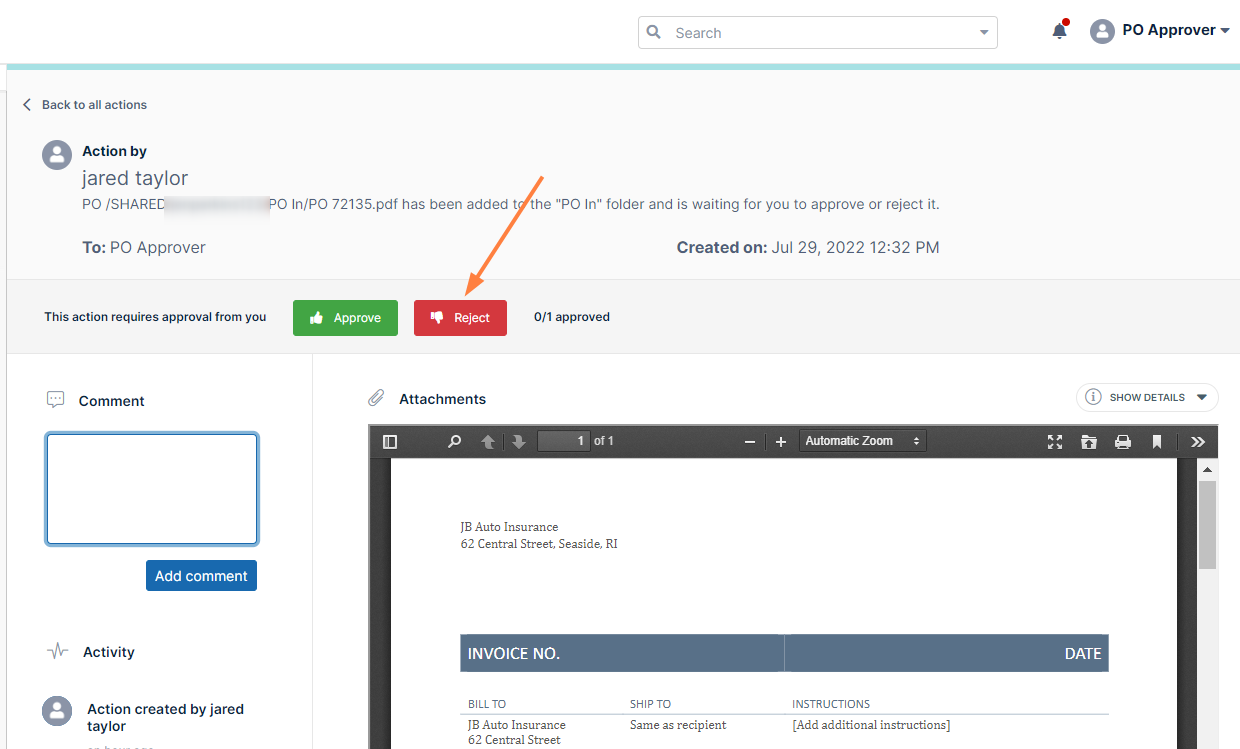
- You can approve or reject the PO from the notification, but in a real-life scenario you would want to review it first, so click Open.
- Click Approve.
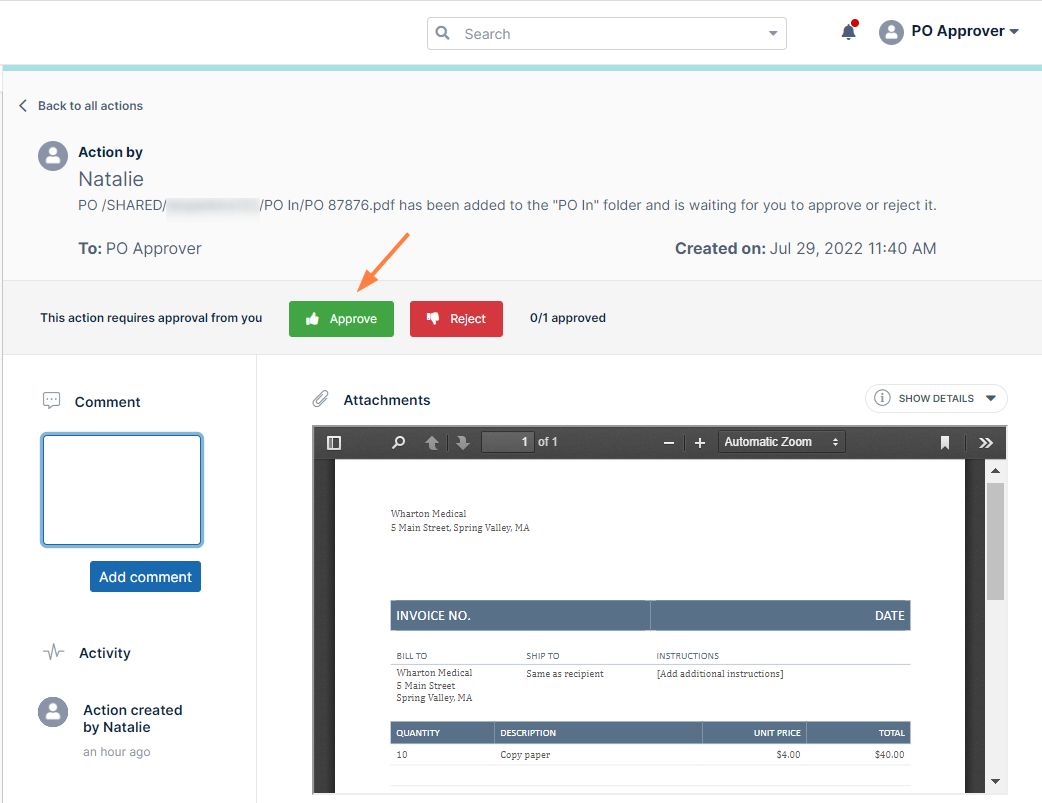
A pop-up should notify you that the file has been approved, and you should see an action under Activity indicating that you have approved the file.
Since the file has been moved, it no longer appears in the preview window.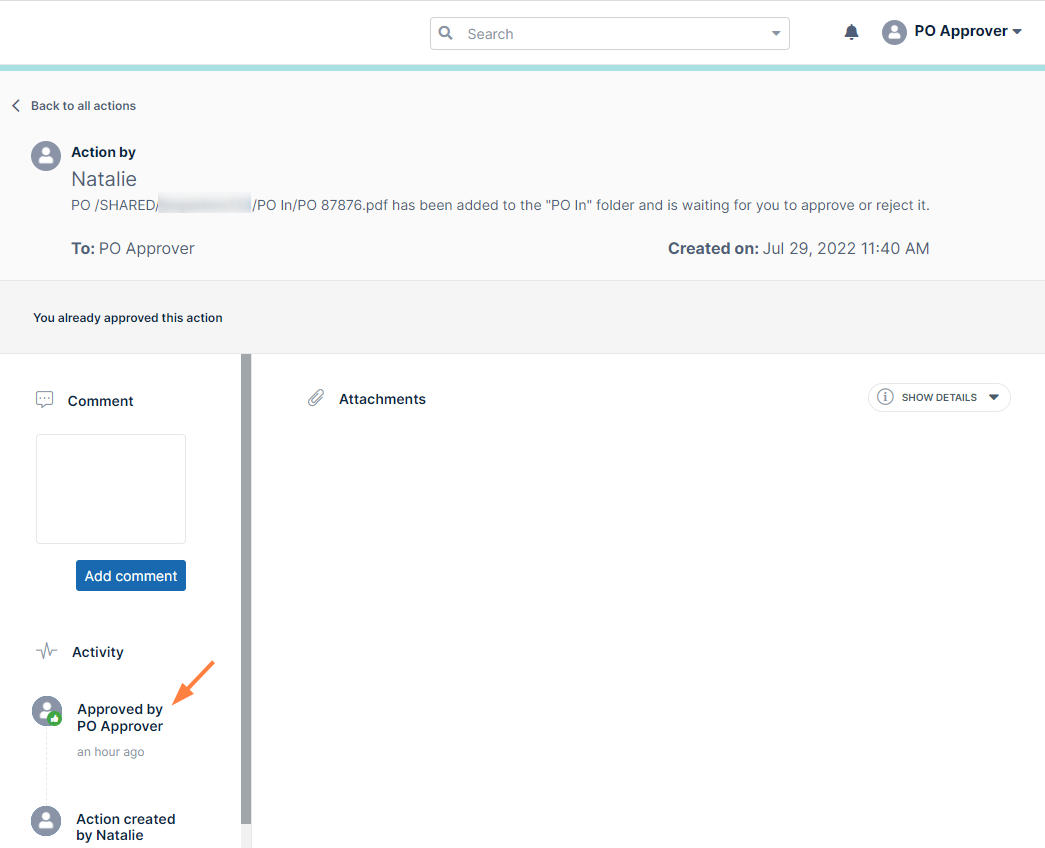
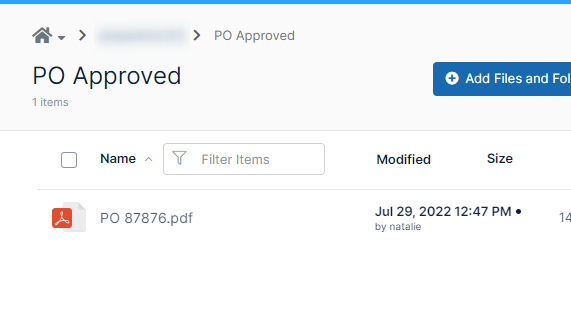
- Go to your Team Folders and confirm that the file has been moved from PO In to PO Approved.
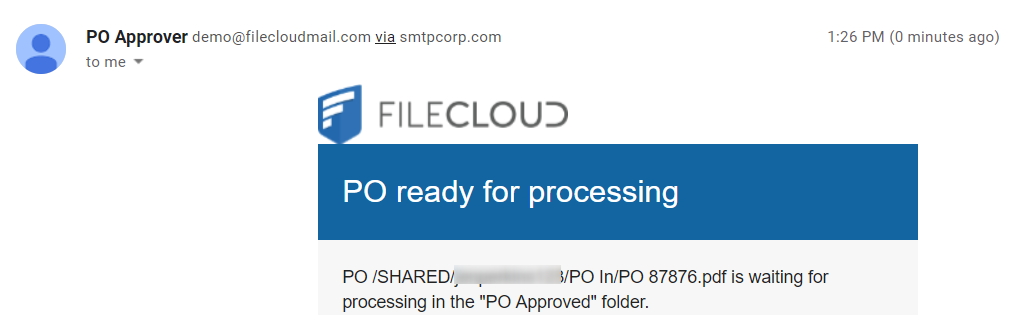
- Then check the emails of the order processor at the vendor and the user who submitted the order, and confirm that they have received email notifications that the PO is waiting for processing:
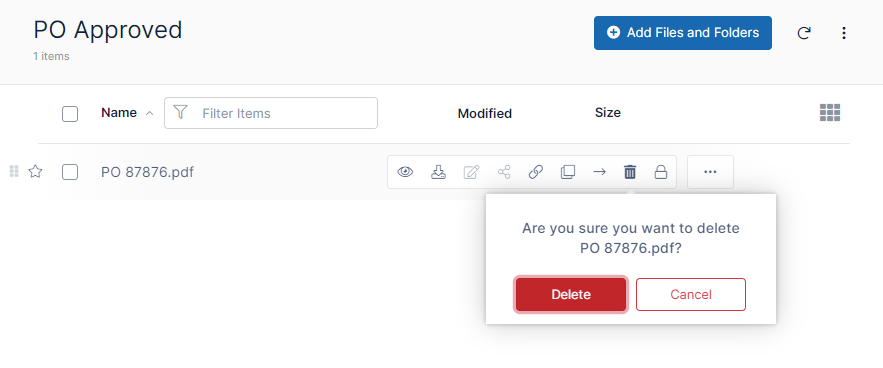
- Log in to the user portal as the order processor and confirm that you can see the file in the PO Approved folder. Download and delete the file to make sure you can perform these actions successfully.
Now, repeat the check for a rejected PO. - Log in to the user portal as one of the users in your Purchasing group.
- Create a PO and move it into the PO In Team Folder.
- Log in to the user portal as the PO Approver.
You should have received a notification about the file awaiting your approval. The message should be the same as the one you entered in the Wait for Approval workflow step.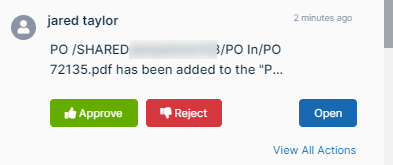
- Click Open.
- In the opened PO, click Reject.
A pop-up should notify you that the file has been rejected, and you should see an action under Activity indicating that you have rejected the file: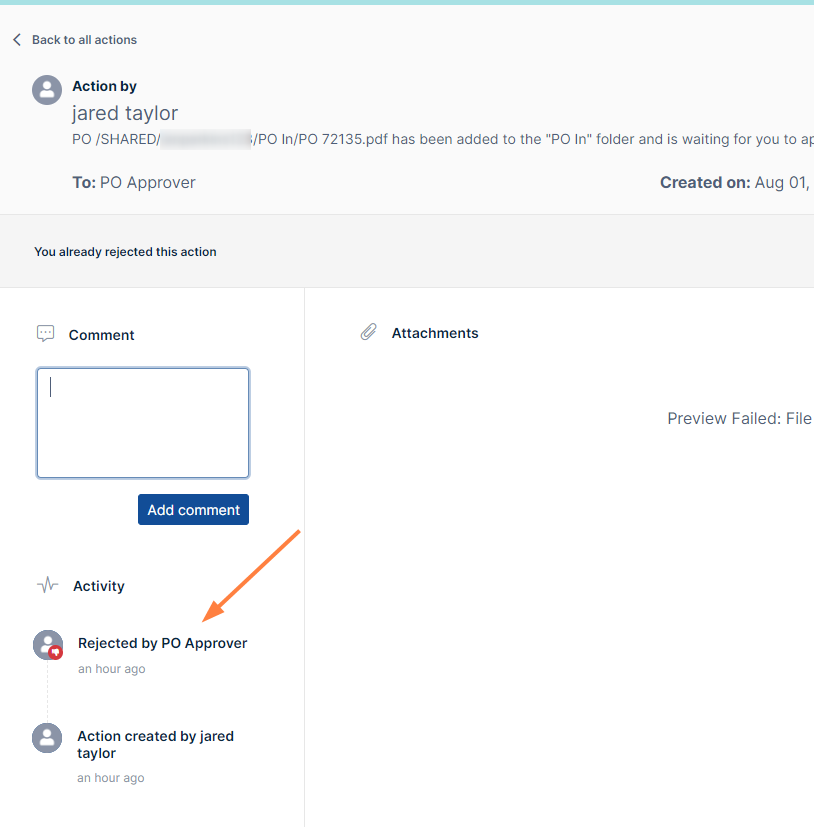
- Go to your Team Folders and confirm that the file has been moved from PO In to PO Rejected.
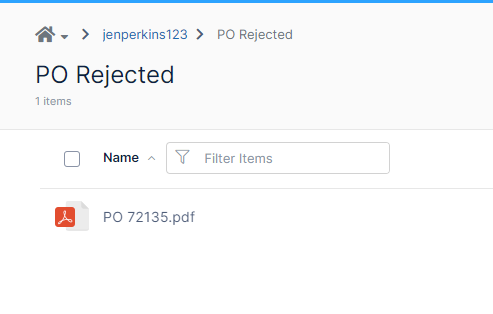
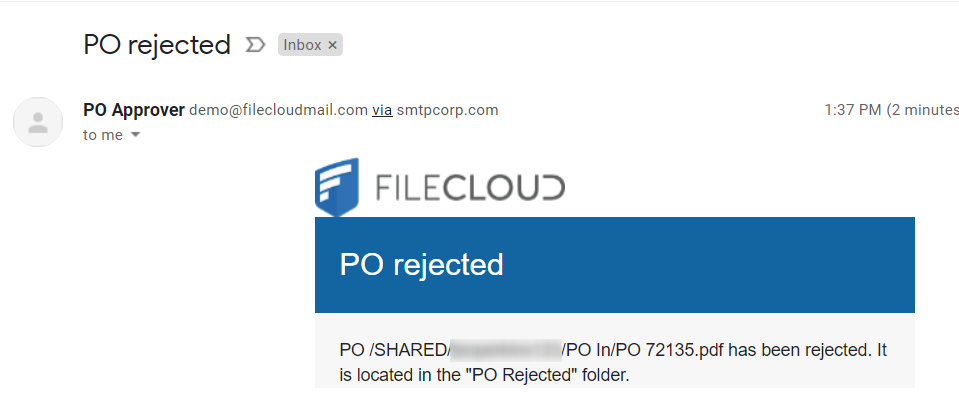
- Check the email of the PO creator, and make sure that the creator has received an email notification that a PO has been rejected. The email should have been sent to the entire Purchasing team.
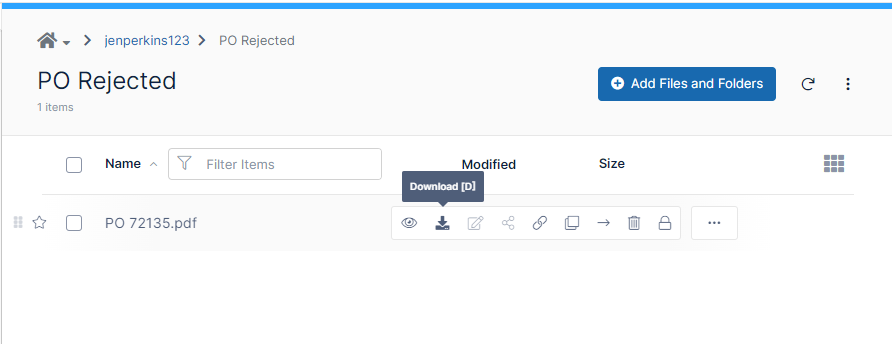
- Log in to the user portal as the PO creator and confirm that you can see the file in the PO Rejected folder. Download and delete the file to make sure you can perform these actions successfully.
Your workflow has passed testing! You can now begin using it.
Expanding the example to work for multiple vendors
If you want to use this example to automate processing for several of your vendors take the following steps:
- Create separate PO In, PO Approved and PO Rejected folders for each vendor.
For example: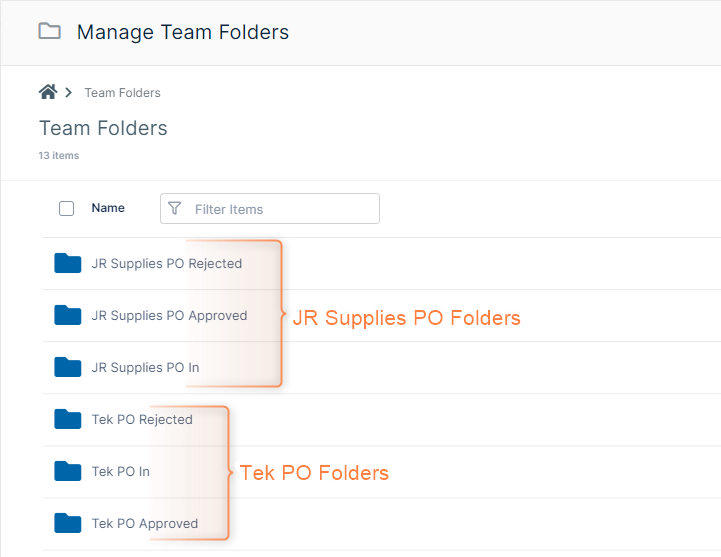
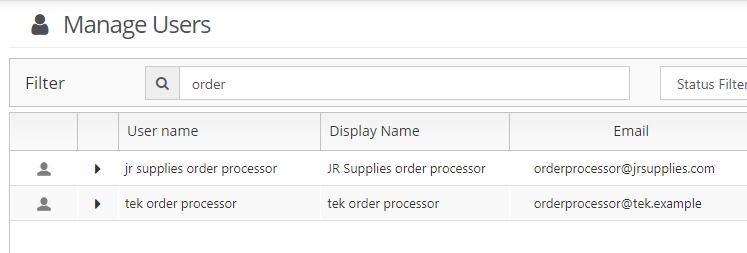
- Create a different vendor order processor user for each vendor, and in its corresponding PO Approved folder, give each order processor permissions.
- On the Yes and No side of each workflow, in the Move steps, choose the correct PO Approved and PO Rejected folder path for each specific vendor.
- On the Yes side of each workflow, in the Send Email step, in To put the correct vendor's order processor email address, and in Body, put the PO Approval folder name for the specific vendor.
- In the Send Email step on the No side of each workflow, in Body, put the PO Approval folder name for the specific vendor.
- Test each additional workflow.