Sync: Share options for files
When you initially share a file or when you edit the share, you can add share options.
Note: To configure share options for a file that has already been shared, right-click a file in the Sync folder and choose Share FileCloud Link.
Perform advanced share actions:
- In your system tray, right-click on the Sync icon and choose Open.
- At the bottom of the mini-dashboard, click the folder icon.
Your Sync folder in file explorer opens. - Navigate to the file or folder that you want to share, then right-click on it and choose Share FileCloud Link.
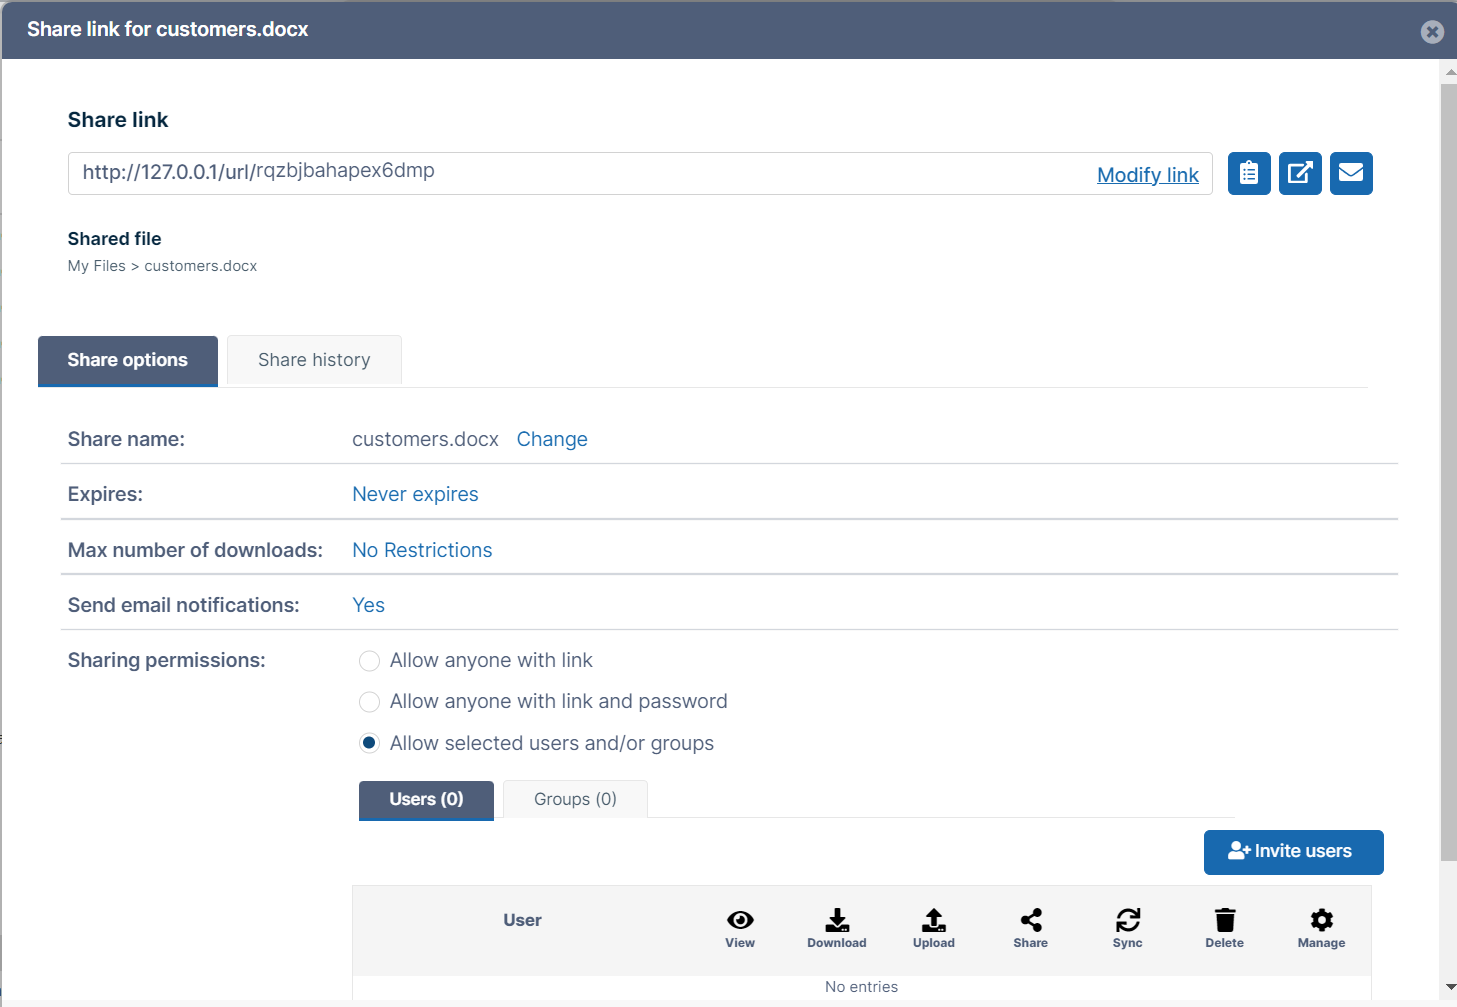
The Share link dialog box opens. By default the share is private. - Click the icons beside the share link to perform basic actions on it.
- Click Copy Link to paste the link into a message or email.
- Click Open Link to view the shared file in the FileCloud user portal.
- Click Email Link to email the link to one or more users.
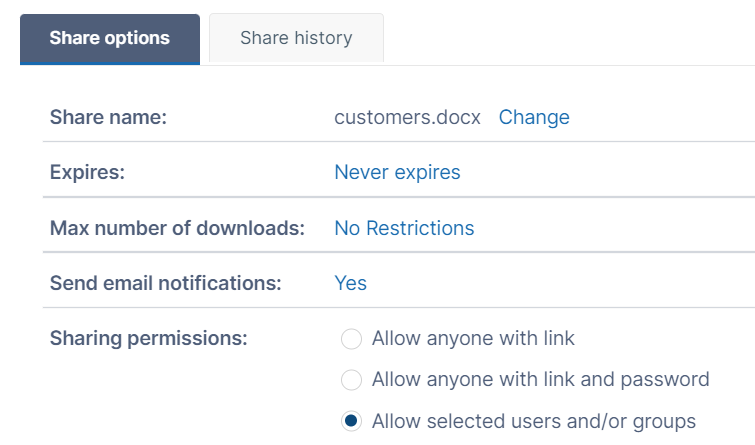
- Change any of the values under Share Options, and click OK.
Advanced option | To change |
|---|---|
| Share Name | Click the link, and enter a new name in Share Name. This is useful if you want to give the share a descriptive or memorable name. |
| Expires | Click the link, and click Yes, then choose an expiration date in the date picker. |
| Max number of downloads | Click No Restrictions, and select Restricted to. In Max download allowed, enter the maximum number of downloads. This enables you to prevent excessive distribution of the file. |
| Send email notifications | Yes, by default. Notifies you when the recipients make changes to the share. Click Yes and select No to stop receiving these notifications. |
| Password (Public Shares only) | Click the link, and click Yes. You may use the automatically generated password or change it to a more descriptive or memorable one. Check Show Password to check what you've entered. |
| Sharing permissions | Select an option:
|


