If you’re currently using Tonido and considering switching to FileCloud Community Edition, there is one key difference to note: Tonido uses a relay server to access your local server.
For example, <username>.tonido.com is your external URL; this means that you will need to use a third-party service to redirect from a custom URL to your local IP address. You can use commercial or free services to accomplish this.
Some available options include:
Redirect Your Tonido URL
This article will explain how to accomplish this using a Freemium service like NoIP.
Requirements:
- Server Computer Running FileCloud Community Server
- com Account
- Your Public IP Address
- Port Forwarding in Your Router
- External URL Access
- Set Up Automatic Updates for Local IP Changes
Install FileCloud Server
FileCloud provides installation guides for Windows and Linux operating systems. Select the right one for your computer below.
Windows: https://www.filecloud.com/supportdocs/display/cloud/Installation+on+Windows
Linux: https://www.filecloud.com/supportdocs/display/cloud/Ubuntu+Package+Installation
NoIP account
If you don’t have a NoIP.com account, please create one here.
Public IP address
Several options can help you identify your public IP address. For our tutorial, we will use this website: https://www.whatismyip-address.com/?check
When you open this website from your local home network, you will see something like this:
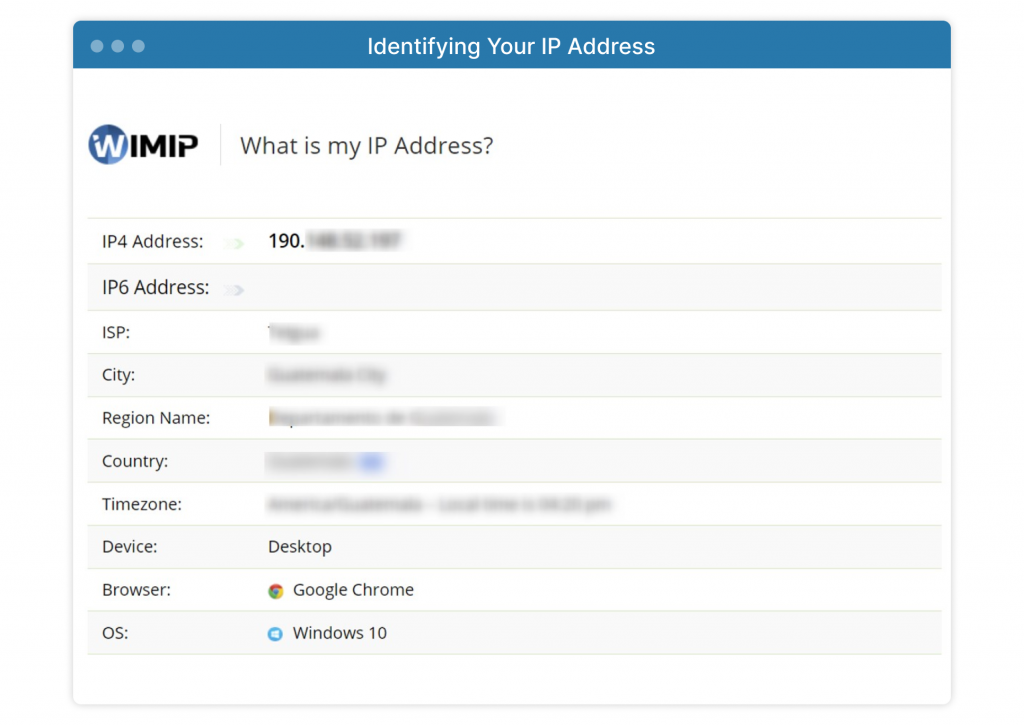
Please take note of your IP4 Address as we will use this shortly.
Set Up Port Forwarding in Your Router
To access your FileCloud Community Edition server outside of your local network, you will need to create a rule in your router to redirect traffic from your public IP address to the local IP address of your server.
The instructions may vary depending on your router brand. You can check the guide from NoIP to help you set up the port forwarding for a comprehensive list of router brands (D-Link, Netgear, Linksys, Asus, TP-Link, etc.)
Create and Configure External URL Access
Once you have completed the above steps, it is time to create your hostname in NoIP. Go to dynamic DNS and create a new hostname.
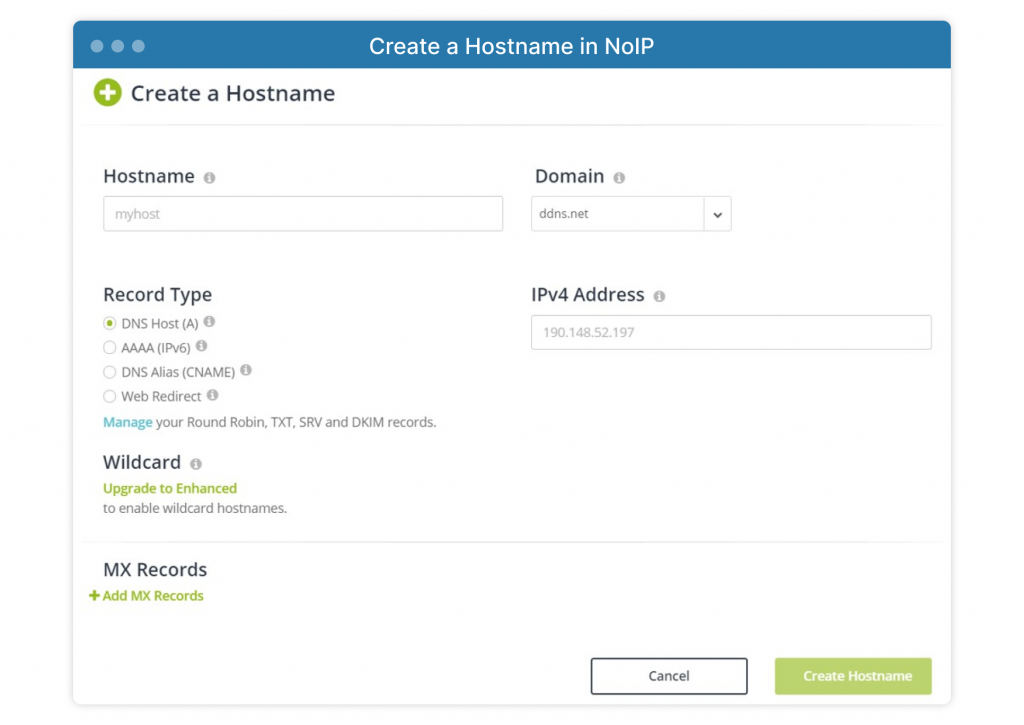
You can choose your preferred hostname and direct a DNS Host (A) to your IPc4 Address.
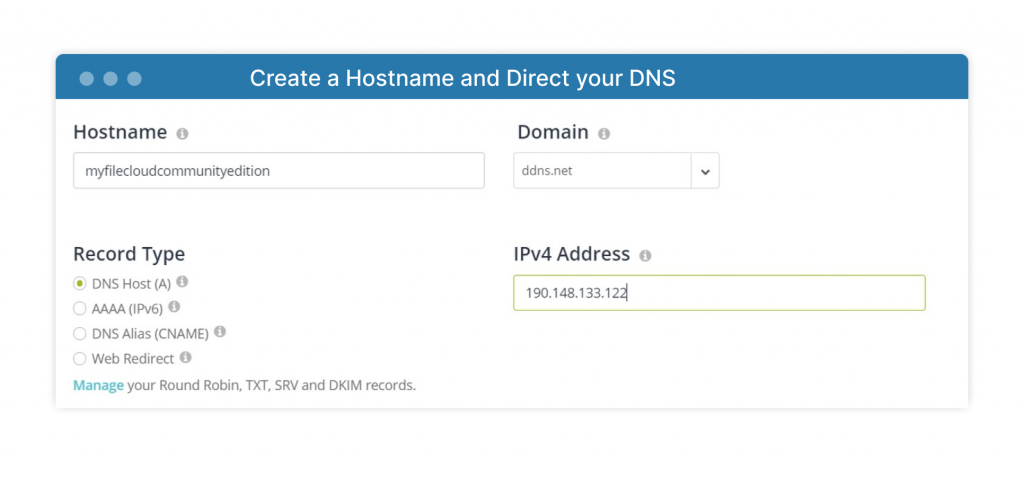
After waiting an average of 30 minutes, your DNS entry should be ready. Now you can access your FileCloud Community Edition Server from anywhere using the URL you chose, including via mobile application and web access.
Set Up Automatic Updates for the IP Address
To make updating the IP address simple, NoIP offers an application you can install on your server or any computer that runs from your local network. The application will monitor if the public IP is updated; whenever the IP address changes, the app will automatically update your DNS entry in your account. You can find and download the application from NoIP.
Once you install the application, log in to your NoIP account and select the hostname. You will see the following:

Now, whenever your local IP address is updated, your DNS entry will also be updated, ensuring you never lose access to your FileCloud Community Edition Server.
Article written by Daniel Alarcon

By Katie Gerhardt
Jr. Product Marketing Manager