Migrating Storage: AWS S3 vs Wasabi
FileCloud supports S3 compatible storage such as Wasabi storage; however, migrating from one Wasabi bucket to another in a different region is not possible, unlike AWS S3 storage. This blog will help you migrate the managed storage in your FileCloud system from one location to another.
Usually, the best method to perform an S3-to-S3 migration is with the help of the AWS CLI tool. However, Wasabi restricts the use of the AWS CLI tool migration if both the buckets are in different regions due to architecture issues within Wasabi.
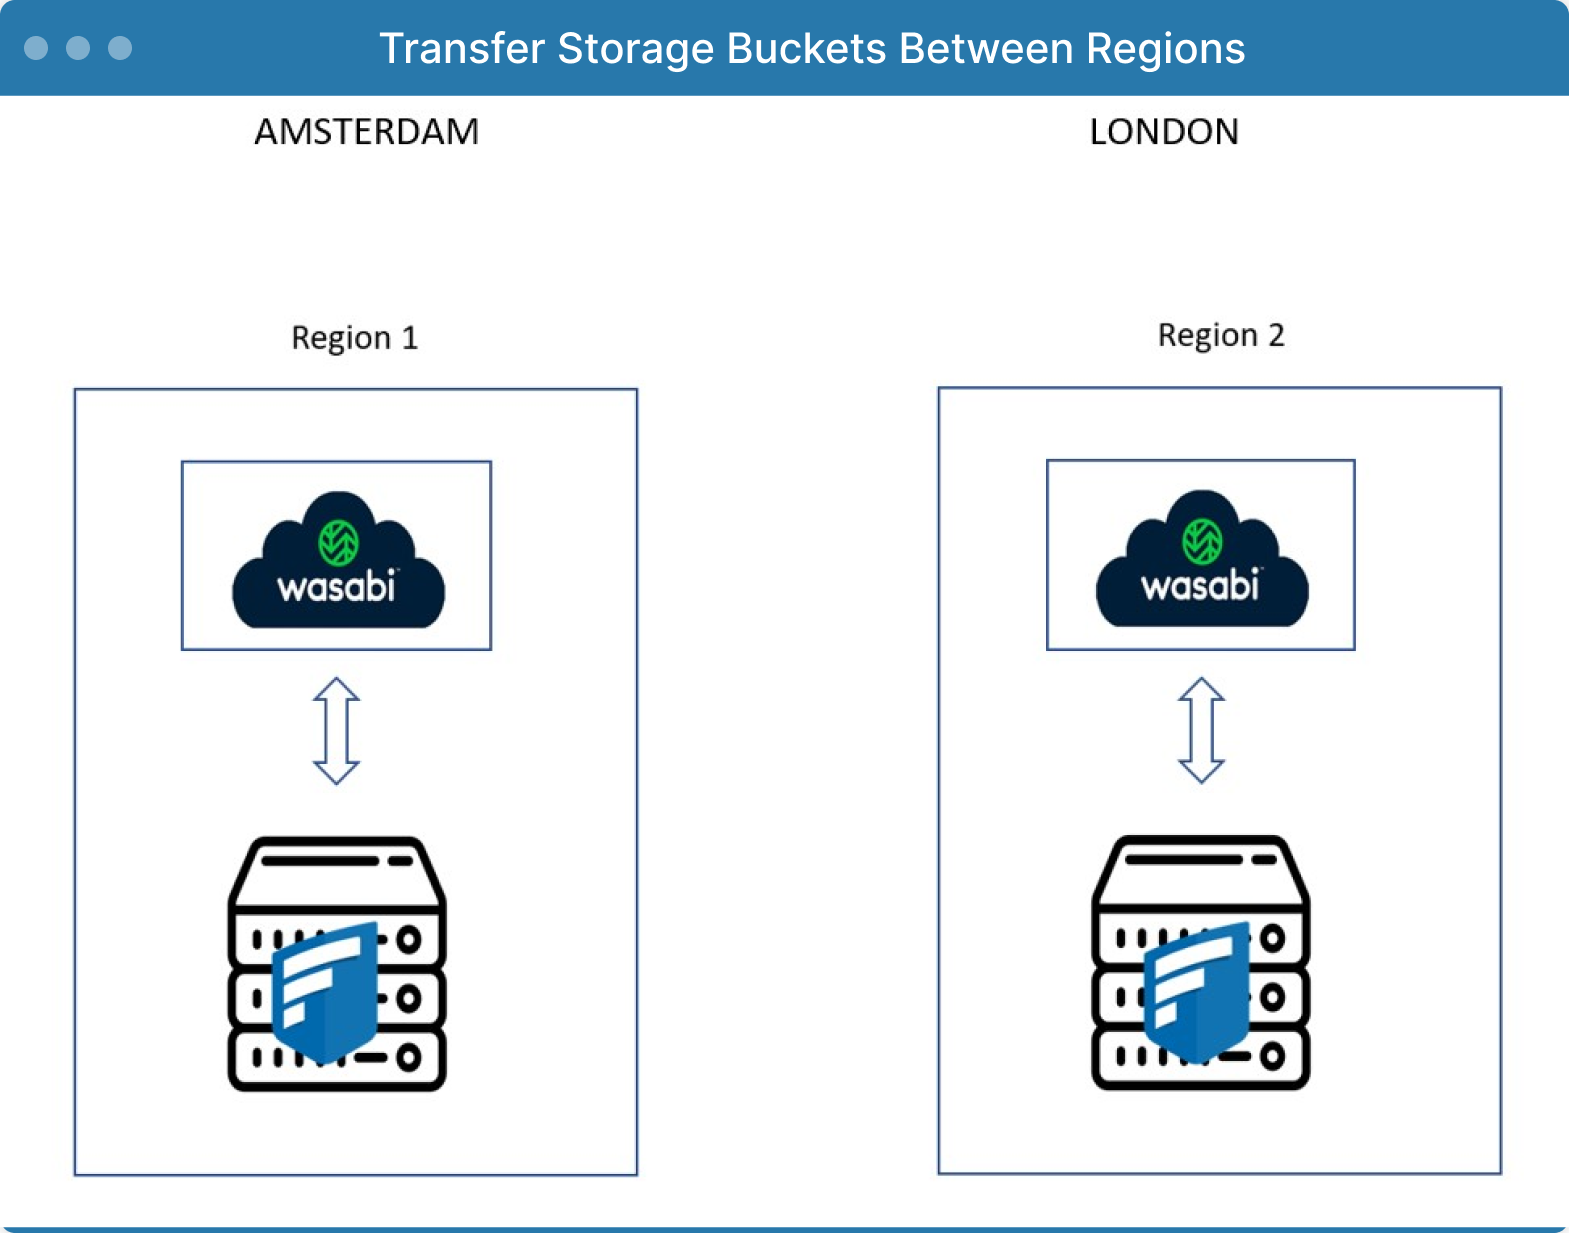
In this post, we will review how to migrate a FileCloud server running in Ubuntu 18.04 LTS, where the server and Wasabi storage is in Amsterdam, to London.

Step 1: Setting up the Environment
Set up the new server and install the latest version of FileCloud on it. In our case, we are installing a new FileCloud instance on Ubuntu 20.04 LTS.
Step 2: Running the Required Services
Stop all the services in Region 1 except MongoDB.
Step 3: Exporting Data
Mount additional disk space to export the data in Region 1.
In our test case here, the servers are hosted in linode server. We have created a temp disk space of 1 TB and then mounted on Region 1. Using our export method mentioned in the below documentation, we can export all the data into the temp disk which we created for Region 1.
https://www.filecloudFileCloud.com/supportdocs/fcdoc/2v/server/filecloudFileCloud-server-administrator-guide/manage-filecloudFileCloud-data/export-files
:/WWWROOT/resources/tools/fileutils$ sudo php ./exportfs.php -d /cloudexport/ -u all -p / -r realRun
The temporary storage is mounted to /cloudexport
Step 4: Transferring the Exported Data
In Region 2, we must ensure that we have a temporary disk attached similar to the specs in Region 1 and that it is mounted to /cloudexport
To transfer data between two regions, we prefer to use rsync client over ssh. Run the below command on the Region 1 server:
rsync -avz /cloudexport root@192.168.1.2:/cloudexport
Replace the IP 192.168.1.2 with the public IP of Region 2. Then wait until the rsync is completed.
Step 5: Transferring the Database from Region 1 to Region 2
To transfer the MongoDB data, we can take a mongodump from Region 1, transfer it using rsync (as in Step 4), and then perform mongorestore in Region 2.
The below commands should be executed in the same order to complete the DB migration:
mongodump –out /root/db-dumps

rsync -avz /root/db-dumps roo@192.168.1.2:/root

mongorestore –noIndexRestore /root/db-dumps
Step 6: Seeding the Exported Data into a New Server
To seed the exported data, we can use the documentation here:
https://www.FileCloud.com/supportdocs/fcdoc/2v/server/FileCloud-server-administrator-guide/installing-FileCloud-server/installation/amazon-web-services-aws-installation/seeding-FileCloud-for-amazon-s3
sudo php ./seed.php -h default -p /cloudexport -i -r
After the data is completed, please restart all services and make sure the data is copied across properly before making the DNS switch to the new server.
Conclusion
The above documentation is tested on a standard FileCloud installation with the default site. For multitenant setups, the commands need to change accordingly. We recommend getting in touch with our support team at support@filecloud.com for any clarifications.
Article written by Nandakumar Chitra Suresh

By Katie Gerhardt
Jr. Product Marketing Manager