Security Recommendations, Part 2: Encryption at Rest
April 25, 2022
Continuing our 2022 Security Recommendations series, in this post, we will discuss why it’s important to use encryption at rest in all your devices. What is Encryption at Rest? In simple words, encryption at rest is the process of securely saving all your files on your devices. This typically means that the files stored on […]
Continuing our 2022 Security Recommendations series, in this post, we will discuss why it’s important to use encryption at rest in all your devices.
What is Encryption at Rest?
In simple words, encryption at rest is the process of securely saving all your files on your devices. This typically means that the files stored on your computer, your phone, tablet, or other devices can only be accessed by you and anyone else who has the encryption key.
Though it sounds complicated, it is transparent to the user in practice. You will continue to use your device as usual but with added security –files saved on your hard drive or other memory cannot be easily accessed by other users.
Let’s use some examples to explain this better.
Example 1:
Your computer has encryption at rest enabled.
All your files are saved on your hard drive.
Your computer is stolen/lost.
If anyone tries to read the files from the hard drive by connecting it to another computer. However, the files cannot be decrypted, meaning all your files are protected against unauthorized access.
Example 2:
You save your files on your mobile device.
Encryption is enabled on your device storage.
Your device is lost/stolen.
No one can read your files from your device, regardless of their method to extract the files since they don’t have the encryption key.
Important note: encryption at rest will only make sense as a security measure if your computer/device has login protection with a strong password or a secure access method that no one else possesses.
How to Enable Encryption at Rest
Depending on your device and operating system, the instructions may vary. This article will focus on Windows/macOS and Android/iOS.
Enable Encryption on Windows 10/11
To encrypt your data at rest in Windows, you must enable BitLocker Drive Encryption. Depending on your hardware, this may not be possible on your device.
The basic requirements to enable BitLocker Drive Encryption are the following:
The computer must have a TPM 1.2 or later. (If your computer doesn’t have a TPM, this can still be possible by saving the key to a removable device, such as a USB Flash Drive.)
The hard disk must have at least two partitions.
The operating system drive must be formatted with the NTFS file system.
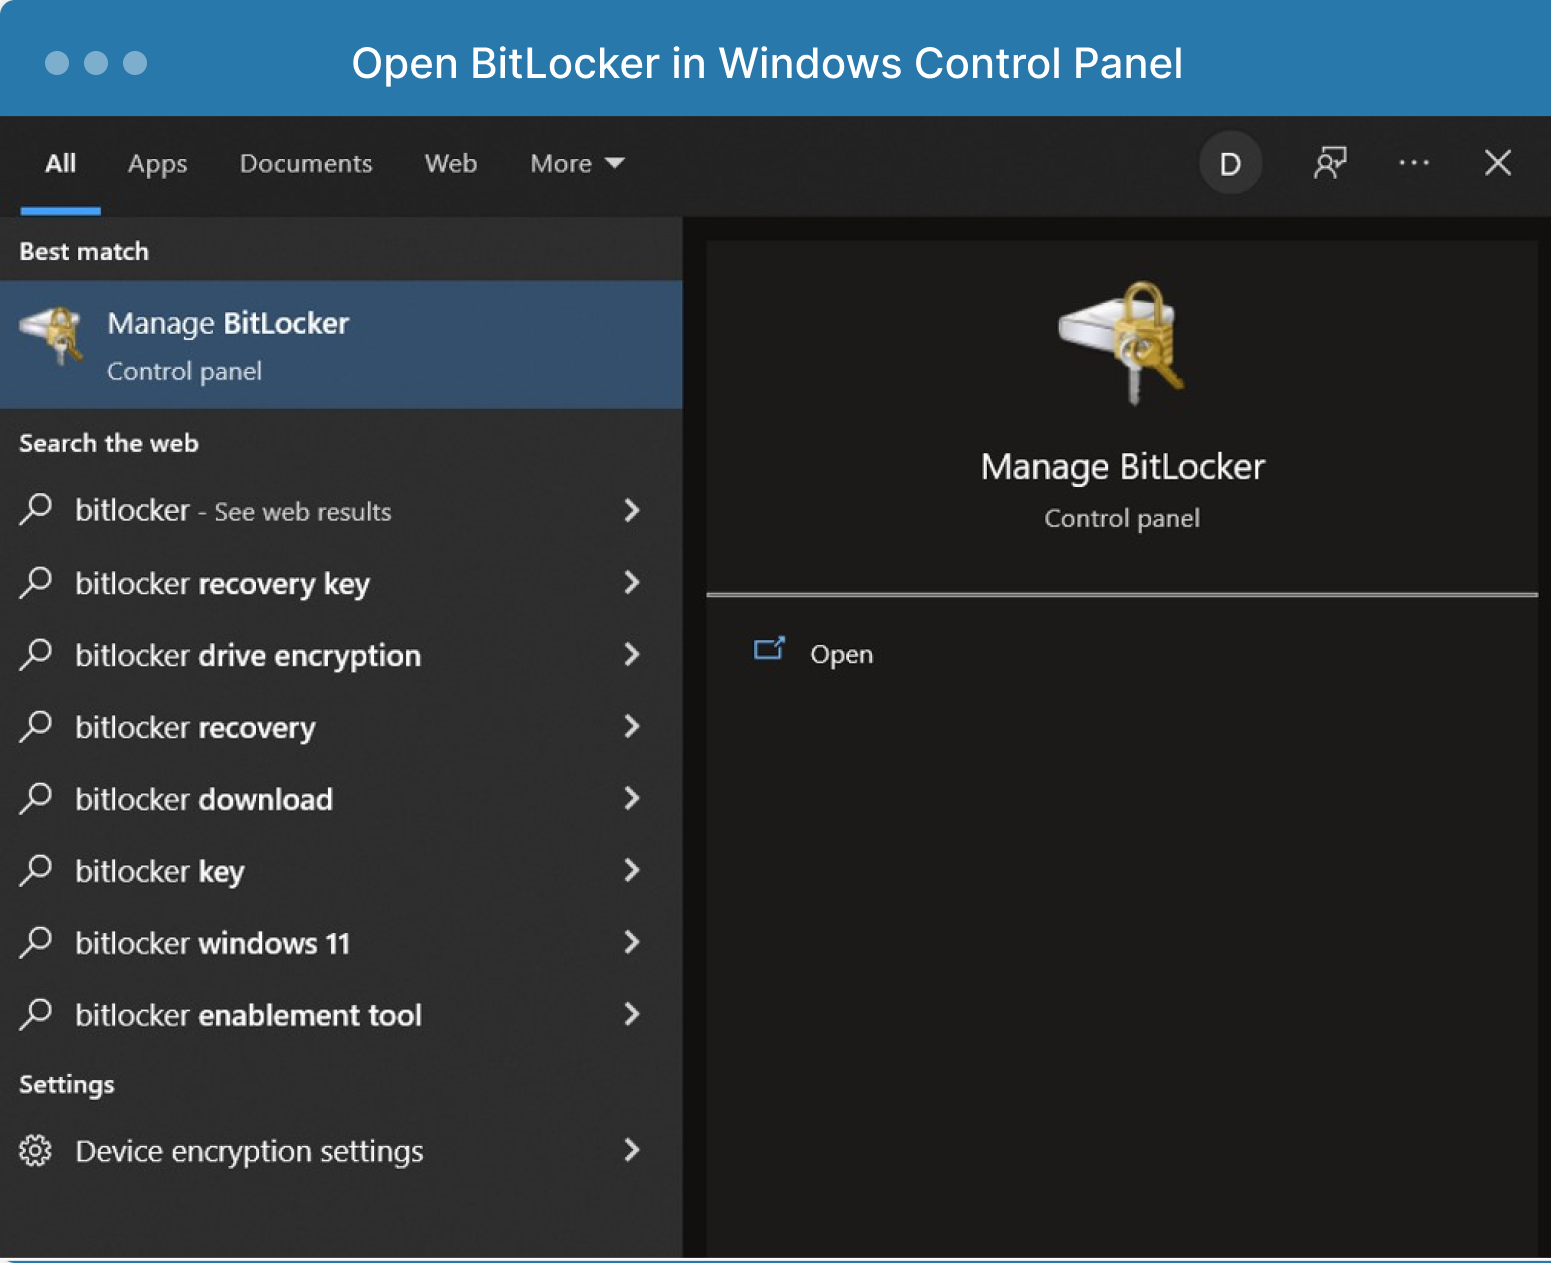
If your Windows computer supports BitLocker, you can launch the configuration window by opening it from your Windows menu.
This will open the BitLocker Control Panel; from here, you will be able to enable/disable and save your recovery key. However, if your company provided your computer, the IT department typically has BitLocker enabled already.
Enable Encryption on macOS Devices
Similar to Windows, macOS has an encryption tool built into the system called FileVault. Similarly, all your files will now be encrypted when FileVault is enabled. To open FileVault on your Mac, choose the Apple menu > System Preferences > Security & Privacy > FileVault.
Check the FileVault help page on macOS documentation for more details on how it works and how to enable or disable it.
“Note: If you have an iMac Pro or another Mac with an Apple T2 Security Chip, the data on your drive is already encrypted automatically. However, turning on FileVault provides further protection by requiring your login password to decrypt your data.” –Encrypt Mac data with FileVault, macOS Monterrey User Guide
Enable Encryption on Android Devices
Encryption at rest is not enabled by default on new devices; you must enable it manually.
Like Windows/macOS, the first step is to enable PIN/password protection to access your device. Even though this doesn’t automatically encrypt your data, it will ensure that no one gains access to your files by unlocking the screen.
Depending on your phone brand and OS, you can open your settings/security and look for the Encryption option. Once enabled, your files will be securely saved on your device storage.
Enable Encryption on iOS Devices
Unlike Windows/macOS and Android, since iOS 8, personal data on iPhones are encrypted by default, as long as the phone is locked with a passcode or Touch ID.
Depending on your iOS version, the passcode/Touch ID/Face ID location may be located differently, but generally, you can find it under General Settings>Passcode Lock. Use a solid passcode to ensure your data is not easily accessed.
Final notes
Enabling encryption at rest is one of the top recommendations to improve the security of your files. In a previous article, we explained how to protect your personal information. We will continue to provide you with general recommendations to protect your information online and offline.